
ASP.NET Core3.1使用Identity Server4建立Authorization Server-1
阿新 • • 發佈:2020-07-13
# 前言
網上關於Identity Server4的資料有挺多的,之前是一直看楊旭老師的,最近專案中有使用到,在使用.NET Core3.1的時候有一些不同。所以在此記錄一下。
> 預備知識: https://www.cnblogs.com/cgzl/p/9405796.html
>
> 本文內容參考
>
> * 楊旭老師之前部落格:https://www.cnblogs.com/cgzl/p/7780559.html
>
> * 官方文件:https://identityserver4.readthedocs.io/en/latest/
>
> 如楊旭老師所說,官方文件真的很詳細,有時間建議大家看下官方文件。
# 建立Authorization Server
建立ASP.Net Core專案使用空模板。
專案建立之後,執行方式改為使用控制檯執行而不是IIS Express,以便檢視各種debug資訊。
> 這個已成為習慣,也是學習楊老師的,確實比較方便,當然如果不喜歡可以不設定,只需要埠號配置的時候對應好就可以的。

修改後檔案程式碼為:
``` csharp
{
"profiles": {
"IdentityServer4.AuthServer": {
"commandName": "Project",
"launchBrowser": true,
"applicationUrl": "http://localhost:5000",
"environmentVariables": {
"ASPNETCORE_ENVIRONMENT": "Development"
}
}
}
}
```
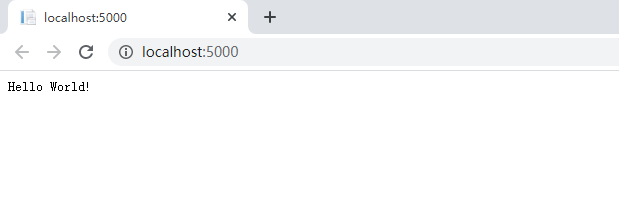
埠號為`5000`,此時執行程式,會顯示出`Hello World!`,預設的,沒有修改。
# 安裝Identity Server4

點選安裝就好啦。
# 配置Identity Server4
## API和客戶端
> API的配置和之前有所不同,之前是`ApiResources`,現在分為`ApiResources`和`ApiScopes`,後續會說到。
``` csharp
using IdentityServer4.Models;
using IdentityServer4.Test;
using System.Collections.Generic;
namespace IdentityServer4.AuthServer.Configuration
{
public class InMemoryConfiguration
{
///
/// Api Scopes
///
/// ApiResources
///
///
/// Clients
/// Clients()
{
return new[]
{
new Client
{
ClientId = "client",
AllowedGrantTypes = GrantTypes.ResourceOwnerPasswordAndClientCredentials,
ClientSecrets =
{
new Secret("secret".Sha256())
},
AllowedScopes = { "scope1" }
}
};
}
///
/// Users
/// Users()
{
return new[]
{
new TestUser
{
SubjectId = "1",
Username = "[email protected]",
Password = "password"
}
};
}
}
}
```
> `ApiScopes`: 這個應該怎麼翻譯我也不清楚,API範圍?如果沒理解錯的話,就是給之前的`ApiResources`進行了一個分組。授權的時候會驗證`Scope`。
>
> `ApiResources`:比如官網的第一個demo,可能會有疑問,你怎麼知道我是api1呢?其實,就沒有驗證,只要有授權碼就可以訪問的。如果說,我只要api1的話,那就用到`ApiResources`了,生產環境中,也必然是需要用到的。
## 載入資源和客戶端
修改`Startup.cs`
``` csharp
public void ConfigureServices(IServiceCollection services)
{
services.AddIdentityServer()
.AddDeveloperSigningCredential()
.AddTestUsers(InMemoryConfiguration.Users().ToList())
.AddInMemoryClients(InMemoryConfiguration.Clients())
.AddInMemoryApiScopes(InMemoryConfiguration.ApiScopes())
.AddInMemoryApiResources(InMemoryConfiguration.ApiResources());
}
```
當然,也需要`app.UseIdentityServer();`
> 首次啟動時,Identity Server4將建立一個開發人員簽名金鑰,該檔名為`tempkey.rsa`。不必將該檔案簽入原始碼管理中,如果不存在該檔案將被重新建立。也就是`AddDeveloperSigningCredential()`。 這個方法只適合用於Identity Server4在單個機器執行, 如果是生產環境你得使用`AddSigningCredential()`這個方法.
>
>
執行一下,發現並沒有什麼改變,不過開啟:http://localhost:5000/.well-known/openid-configuration,則應該看到所謂的發現文件。發現文件是身份伺服器中的標準端點。客戶端和API將使用發現文件來下載必要的配置資料。

# 獲取Token
開啟Postman,按照配置的輸入然後試一下
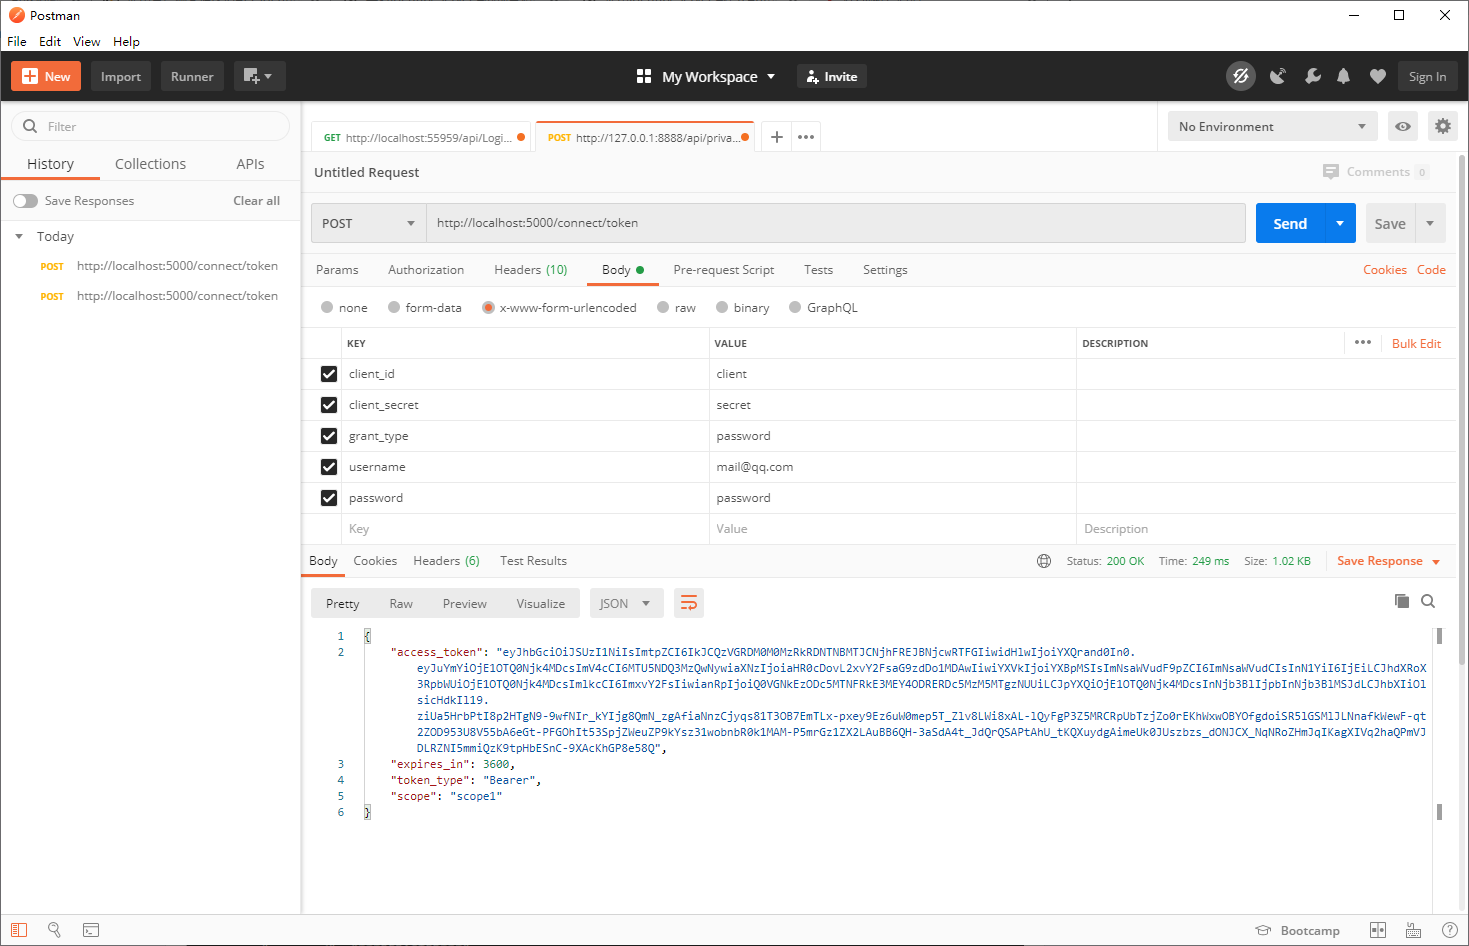
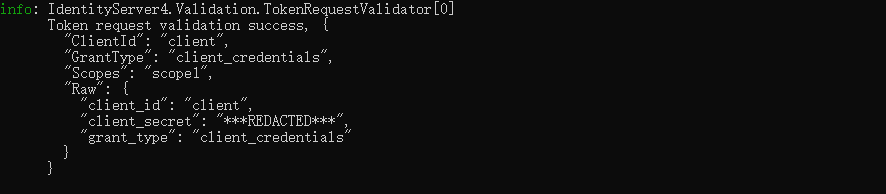
獲取到Token,控制檯輸出如下:
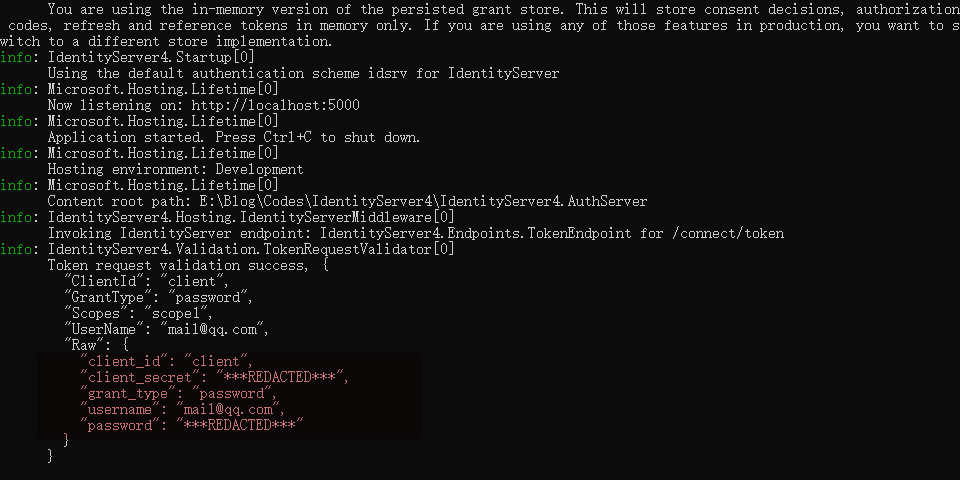
這裡是有使用者的資訊的,但是我們可以把使用者資訊去掉,然後`GrantType`改為`client_credentials`,我們設定的是 `ResourceOwnerPasswordAndClientCredentials `這個`GrantType`,所以使用使用者名稱密碼以及使用`ClientCredentials`都可以。
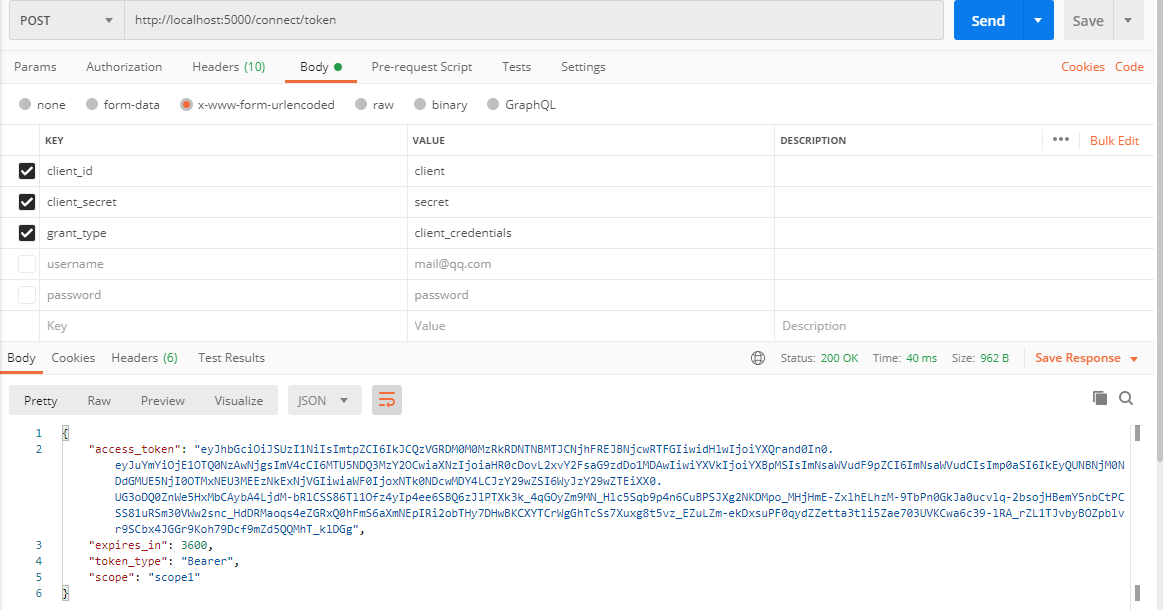
不過此時控制檯會有區別,沒有使用者資訊了。
# 美化美化UI
Identity Server 4 提供了一套QuickStart UI
> https://github.com/IdentityServer/IdentityServer4.Quickstart.UI
>
> 此儲存庫包含UI所需的控制器,模型,檢視和CSS檔案。只需下載/克隆並將其複製到Web專案中即可。
開啟專案根目錄,執行Powershell,然後輸入命令:
``` cmake
iex ((New-Object System.Net.WebClient).DownloadString('https://raw.githubusercontent.com/IdentityServer/IdentityServer4.Quickstart.UI/main/getmain.ps1'))
```

不過可能你會遇到我前三次那種錯誤,嗯,訪問不了,那就全域性或者先下載下來人工貼上過去吧~
好了以後我們的專案是醬紫的:
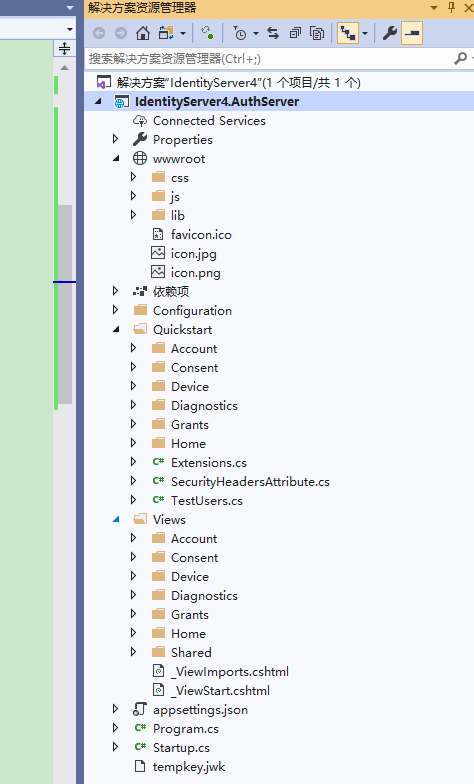
由於有wwwroot下很多靜態檔案, 所以asp.net core 需要啟用服務靜態檔案的功能: 修改Startup的Configure方法
先看修改前的樣子吧
``` csharp
public void Configure(IApplicationBuilder app, IWebHostEnvironment env)
{
if (env.IsDevelopment())
{
app.UseDeveloperExceptionPage();
}
app.UseIdentityServer();
app.UseRouting();
app.UseEndpoints(endpoints =>
{
endpoints.MapGet("/", async context =>
{
await context.Response.WriteAsync("Hello World!");
});
});
}
```
修改後
``` cs
public void Configure(IApplicationBuilder app, IWebHostEnvironment env)
{
if (env.IsDevelopment())
{
app.UseDeveloperExceptionPage();
}
app.UseIdentityServer();
app.UseStaticFiles();
app.UseRouting();
app.UseAuthorization();
app.UseEndpoints(endpoints =>
{
endpoints.MapControllerRoute(
name: "default",
pattern: "{controller=Home}/{action=Index}/{id?}"
);
});
}
```
> 是不是拋異常了?
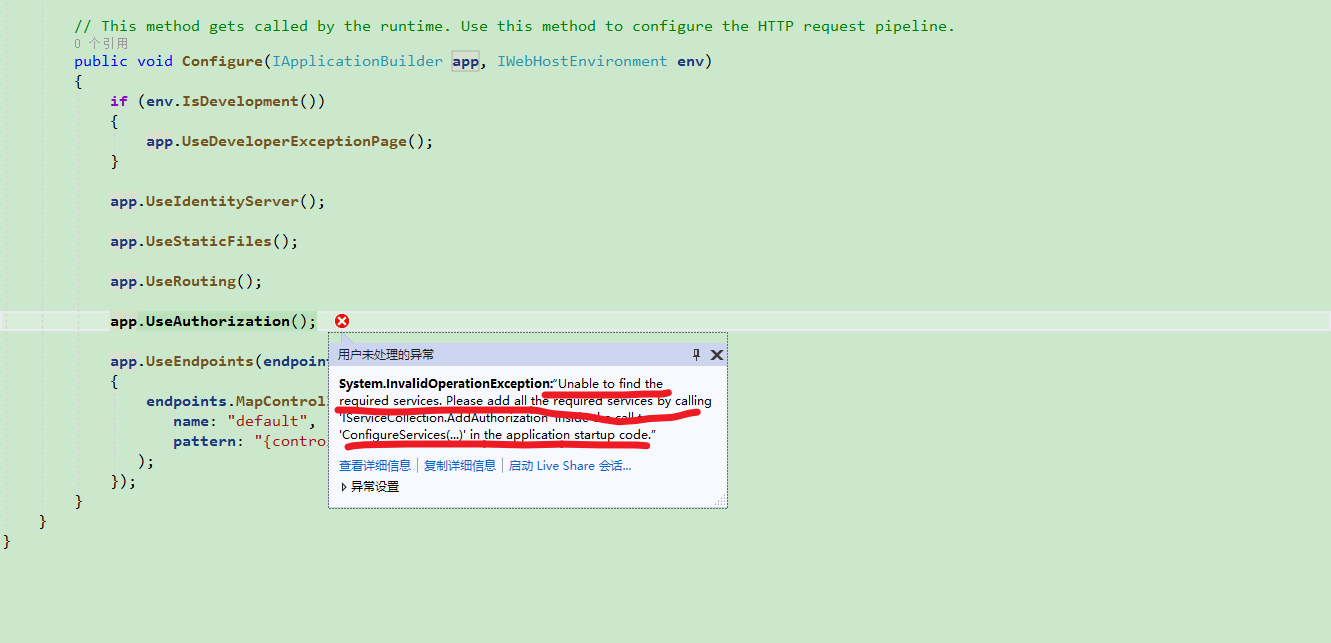
因為我們現在有UI了,所以不要忘記在`ConfigureServices`裡面註冊MVC。
``` csharp
public void ConfigureServices(IServiceCollection services)
{
services.AddControllersWithViews();
services.AddIdentityServer()
.AddDeveloperSigningCredential()
.AddTestUsers(InMemoryConfiguration.Users().ToList())
.AddInMemoryClients(InMemoryConfiguration.Clients())
.AddInMemoryApiScopes(InMemoryConfiguration.ApiScopes())
.AddInMemoryApiResources(InMemoryConfiguration.ApiResources());
}
```
然後執行一下試試:
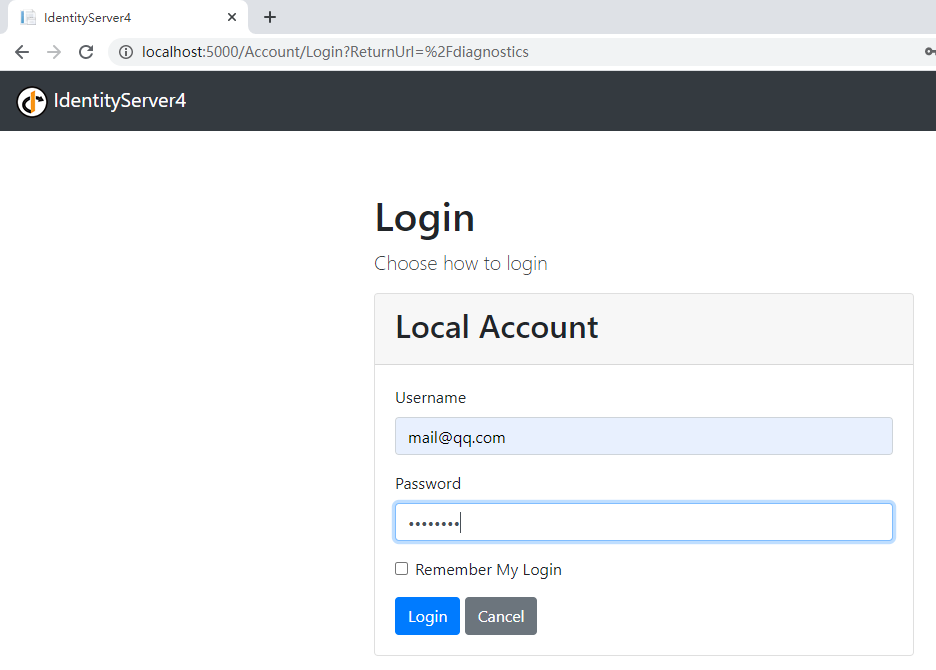
登入一下~
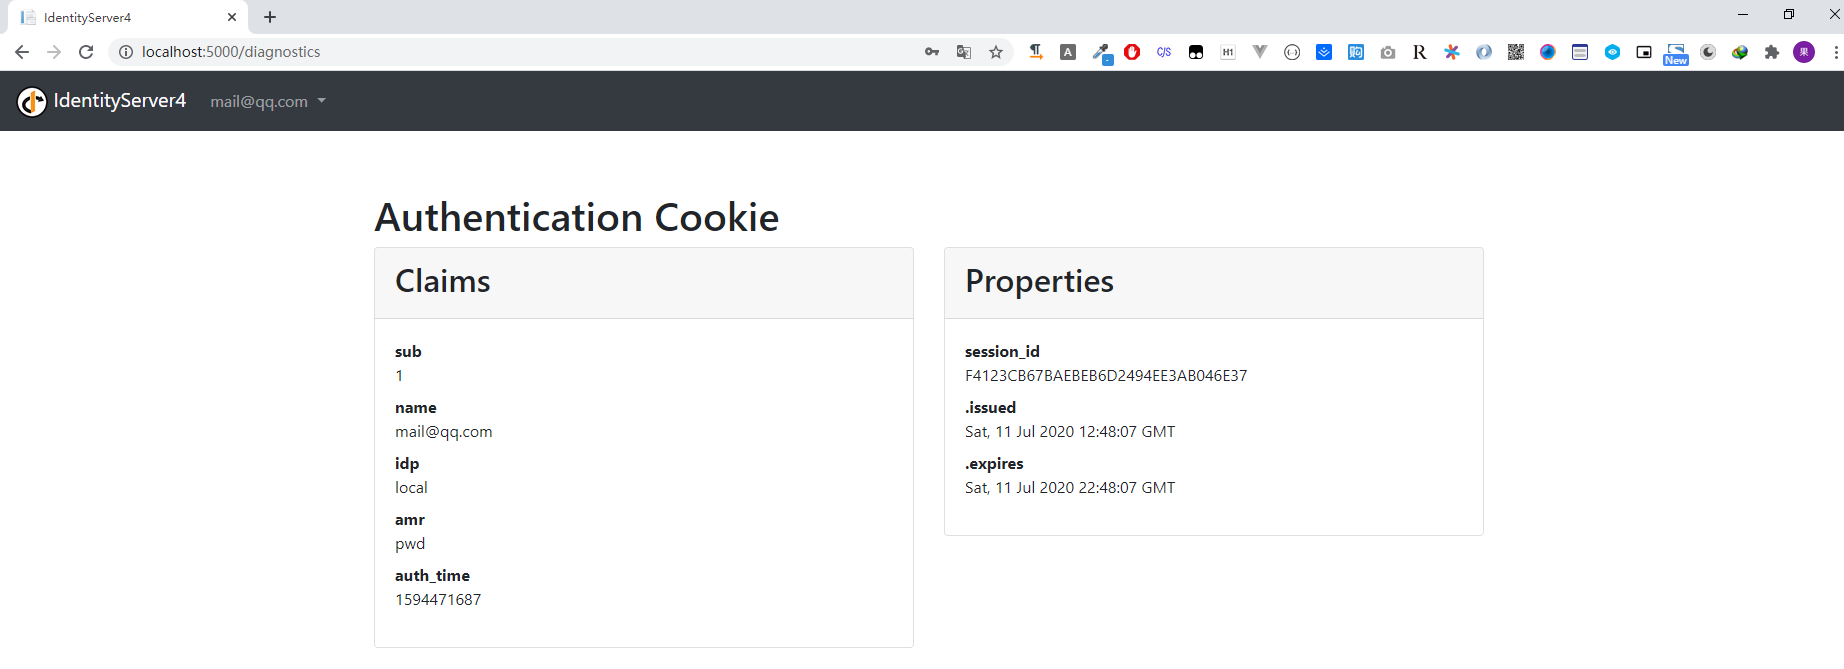
好了,現在我們已經可以登入成功了。
登入介面可以自定義的~,OK,今天就到這裡
# 計劃
接下來會說一下
* 建立我們的API專案並使用Token測試介面
* 建立一個MVC客戶端專案訪問我們的API
* 建立一個JS(Vue)客戶端訪問我們的API專案
# End
推廣下自己的公眾號`一個逗逼的程式設計師`,主要記錄自己工作中解決問題的思路分享及學習過程中的筆記。絕對不會`程式設計師販賣程式設計師的焦慮來割韭菜`。
![](https://img2020.cnblogs.com/blog/1006210/202007/1006210-20200713193732547-18255078