
( 二 )springboot整合rabbitmq
阿新 • • 發佈:2018-11-22
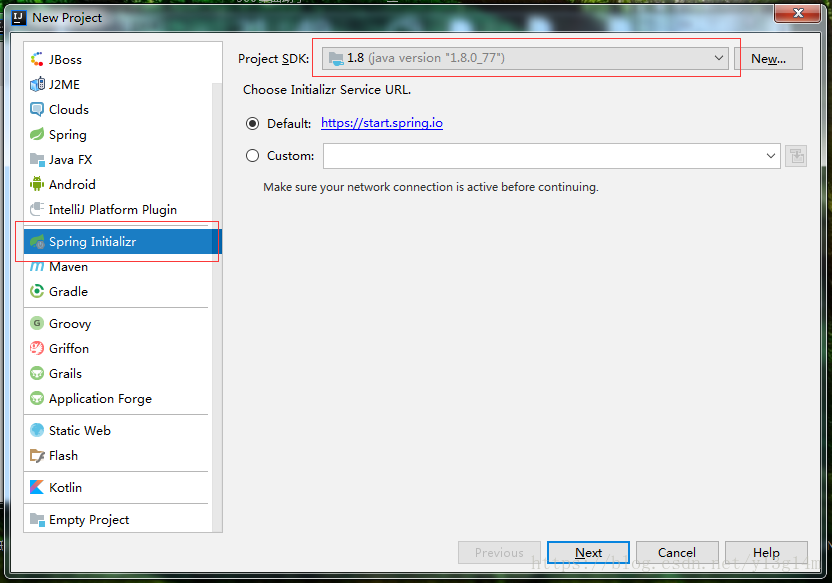
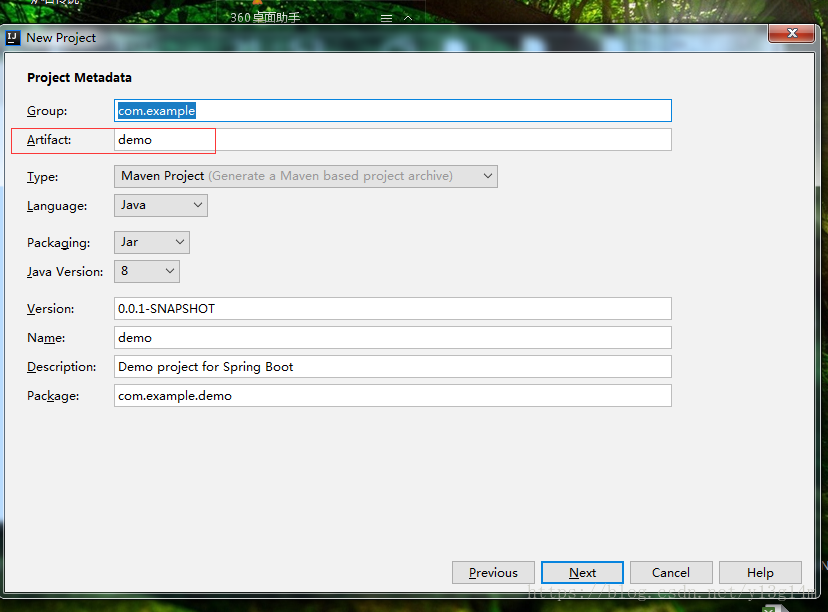
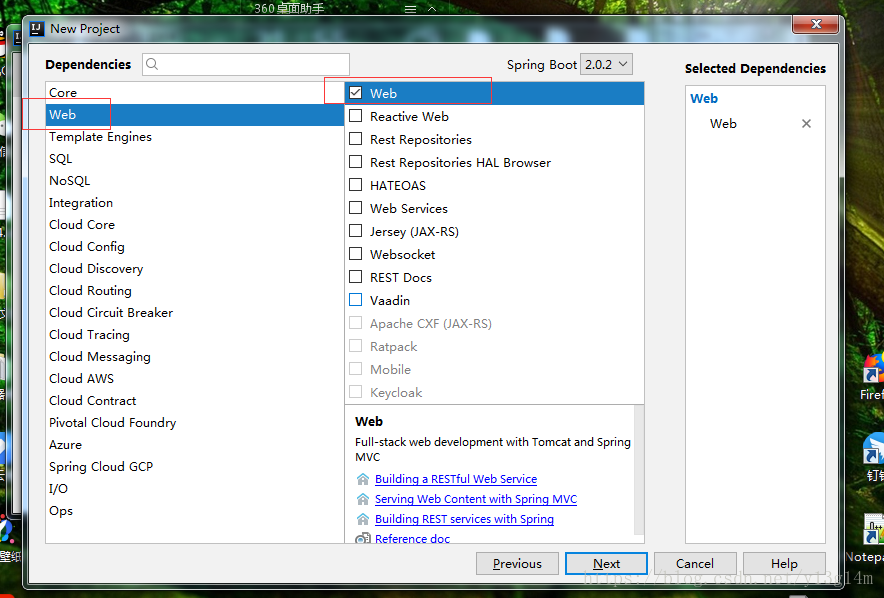
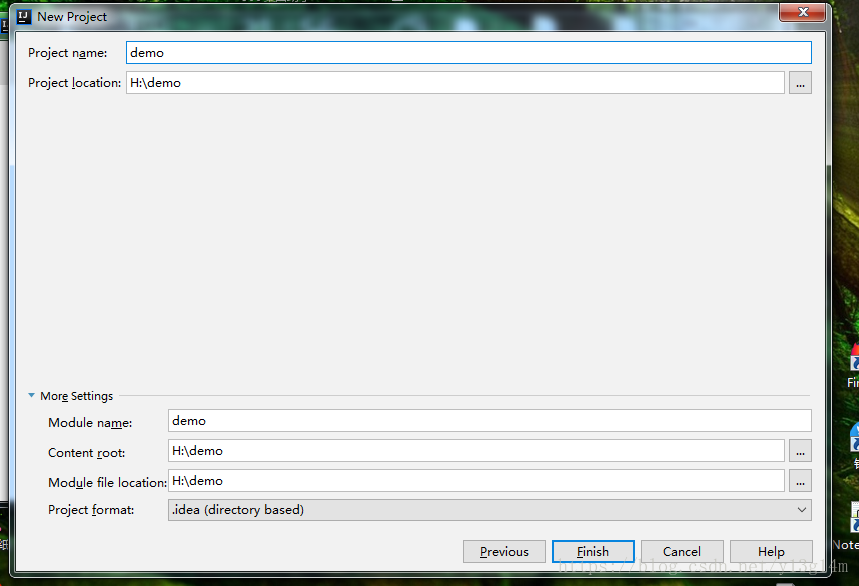
一、首先是先建立一個springboot專案:
1、
2、
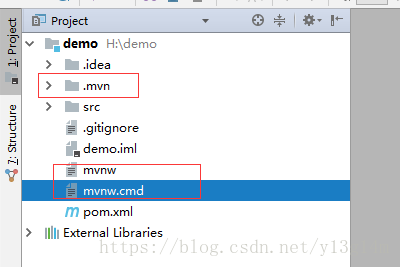
3、
4、
5、將這幾個圈起來的刪除
6、接下來在pom中新增rabbitmq的maven依賴
<dependency>
   <groupId>org.springframework.boot</groupId>
   <artifactId>spring-boot-starter-amqp</artifactId>
</dependency>
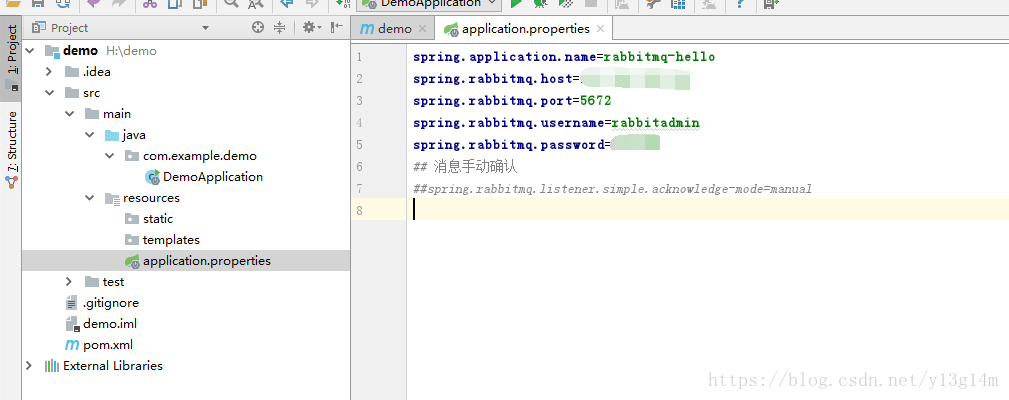
7、在application配置檔案中新增如下程式碼
8、寫一個controller類,生產者程式碼如下
package com.example.rabbitmqdemo.web; import com.example.rabbitmqdemo.entity.User; import org.springframework.amqp.rabbit.core.RabbitTemplate; import org.springframework.beans.factory.annotation.Autowired; import org.springframework.web.bind.annotation.RequestMapping; import org.springframework.web.bind.annotation.RestController; /** * 用於測試的控制類 * Created by yanggm */ @RestController public class SendMessageController { @Autowired private RabbitTemplate rabbitTemplate; /** * http://localhost:8080/send?message=hello * * @param message * @return */ @RequestMapping("/send") public String sendMQ(String message) {rabbitTemplate.convertAndSend("my-queue",message); return "OK!Message send success!"; }
}
9、消費者端程式碼如下
package com.example.rabbitmqdemo.consumer;


import com.example.rabbitmqdemo.entity.User;
import com.rabbitmq.client.Channel;
import org.springframework.amqp.core.Message;
import org.springframework.amqp.rabbit.annotation.RabbitListener;
import org.springframework.stereotype.Component;

import java.io.IOException;


/**
 * Created by yanggm
 */
@Component
public class ReceiveDirect {
    @RabbitListener(queues = "my-queue")
    public void receiveMessage(Message message){
    String messageRec = new String(message.getBody());
    System.out.println("接收到的字串訊息是 => " + messageRec);
}
}
10、MqConfig配置類程式碼如下
package com.example.rabbitmqdemo.config;


import org.springframework.amqp.core.*;
import org.springframework.context.annotation.Bean;
import org.springframework.context.annotation.Configuration;

/**
 * 特別說明:如果在配置檔案中聲明瞭 Queue 物件,就不用在控制檯建立隊列了
 * Created by yanggm
 */
@Configuration
public class MqConfig {
    /**
     * 宣告接收字串的佇列
     *
     * @return
     */
    @Bean
    public Queue stringQueue() {
        return new Queue("my-queue");
    }
}
11、這樣程式碼就寫完了,還要將rabbitmq伺服器的5672埠向外開放,然後開始啟動專案,並在瀏覽器訪問如下網址
http://localhost:8080/send?message=hello
這樣生產者就向rabbitmq伺服器中的佇列推送了一條訊息,消費者也會監聽並消費到這條訊息後在控制檯上打印出相應資訊
注意:試驗過程中可能會遇到依賴版本不對報錯的問題,以下版本是不會報錯的,其他版本的不知道:
<parent>
   <groupId>org.springframework.boot</groupId>
   <artifactId>spring-boot-starter-parent</artifactId>
   <version>1.5.10.RELEASE</version>
   <relativePath/> <!-- lookup parent from repository -->
</parent>