
SpringBoot整合RabbitMQ之基礎例項1
阿新 • • 發佈:2018-11-19
在pom檔案中匯入依賴
		<dependency>
			<groupId>org.springframework.boot</groupId>
			<artifactId>spring-boot-starter-amqp</artifactId>
		</dependency>
在application.properties中新增如下配置資訊
spring.rabbitmq.host=192.168.43.127(這裡配置自己的虛機地址)
spring.rabbitmq.port=5672
spring.rabbitmq.username=admin
spring.rabbitmq.password=admin
建立佇列
package com.etoak.crazy.config.rabbitmq;

import org.springframework.amqp.core.Queue;
import org.springframework.context.annotation.Bean;
import org.springframework.context.annotation.Configuration;


@Configuration
public class RabbitMQConfig {

		@Bean
		public Queue queue() {
			//建立佇列名為TEST的佇列
			return new Queue("TEST");
		}
}
建立生產者
package com.etoak.crazy.study.rabbitmq.producer;

import java.util.Date;

import org.springframework.amqp.core.AmqpTemplate;
import org.springframework.beans.factory.annotation.Autowired;
import org.springframework.stereotype.Component;

@Component
public class ProducerDemo {
	@Autowired
	private AmqpTemplate rabbitTemplate;

	public void send() {
		String message = "hello!Now the time is " + new Date();
		System.out.println("傳送的資訊為 : " + message);
		//傳送message給名為TEST的佇列
		this.rabbitTemplate.convertAndSend("TEST", message);
	}
}
建立消費者
package com.etoak.crazy.study.rabbitmq.consumer;

import org.springframework.amqp.rabbit.annotation.RabbitHandler;
import org.springframework.amqp.rabbit.annotation.RabbitListener;
import org.springframework.stereotype.Component;

@Component
//監聽名為TEST的佇列
@RabbitListener(queues = "TEST")
public class ConsumerDemo {
    //@RabbitListener 標註在類上面表示當有收到訊息的時候,就交給 @RabbitHandler 的方法處理,具體使用哪個方法處理
    @RabbitHandler
    public void process(String message) {
        System.out.println("接收訊息為  : " + message);
    }
}
測試類測試
package com.etoak.crazy.test.rabbitmq;

import org.junit.Test;
import org.junit.runner.RunWith;
import org.springframework.beans.factory.annotation.Autowired;
import org.springframework.boot.test.context.SpringBootTest;
import org.springframework.test.context.junit4.SpringRunner;

import com.etoak.crazy.study.rabbitmq.producer.ProducerDemo;

@RunWith(SpringRunner.class)
@SpringBootTest
public class RabbitmqDemoTest {

	@Autowired
	private ProducerDemo producerdemo;

	@Test
	public void hello() throws Exception {
		producerdemo.send();
	}

}
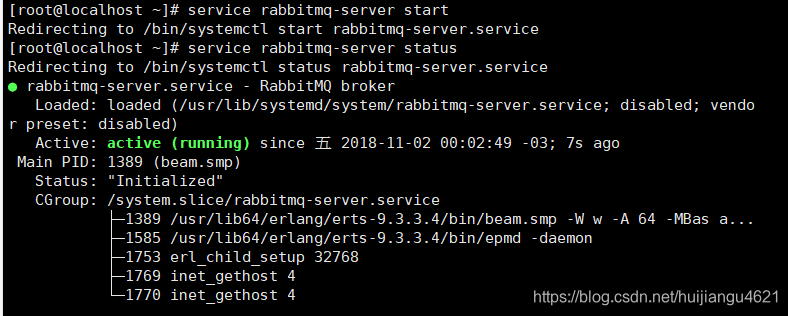
在虛擬機器中service rabbitmq-server start輸入開啟RabbitMQ服務
啟動後輸入service rabbitmq-server status檢視RabbitMQ服務狀態
測試結果:
