
03 . Django之騰訊雲簡訊
阿新 • • 發佈:2020-06-11
#### 簡介
> 由於專案在註冊、登入、找回密碼 時需要傳送簡訊驗證的功能,我們使用騰訊雲簡訊做。
>
> 為什麼要用騰訊雲簡訊呢? 因為註冊就送 100條免費簡訊 的額度。
#### 實現
##### 註冊騰訊雲
> 註冊一個騰訊雲賬戶,騰訊雲中提供了很多功能:雲伺服器、雲端儲存你、雲直播、雲簡訊等很多功能。
>
> 註冊地址:https://cloud.tencent.com/
>
> 註冊並要實名認證
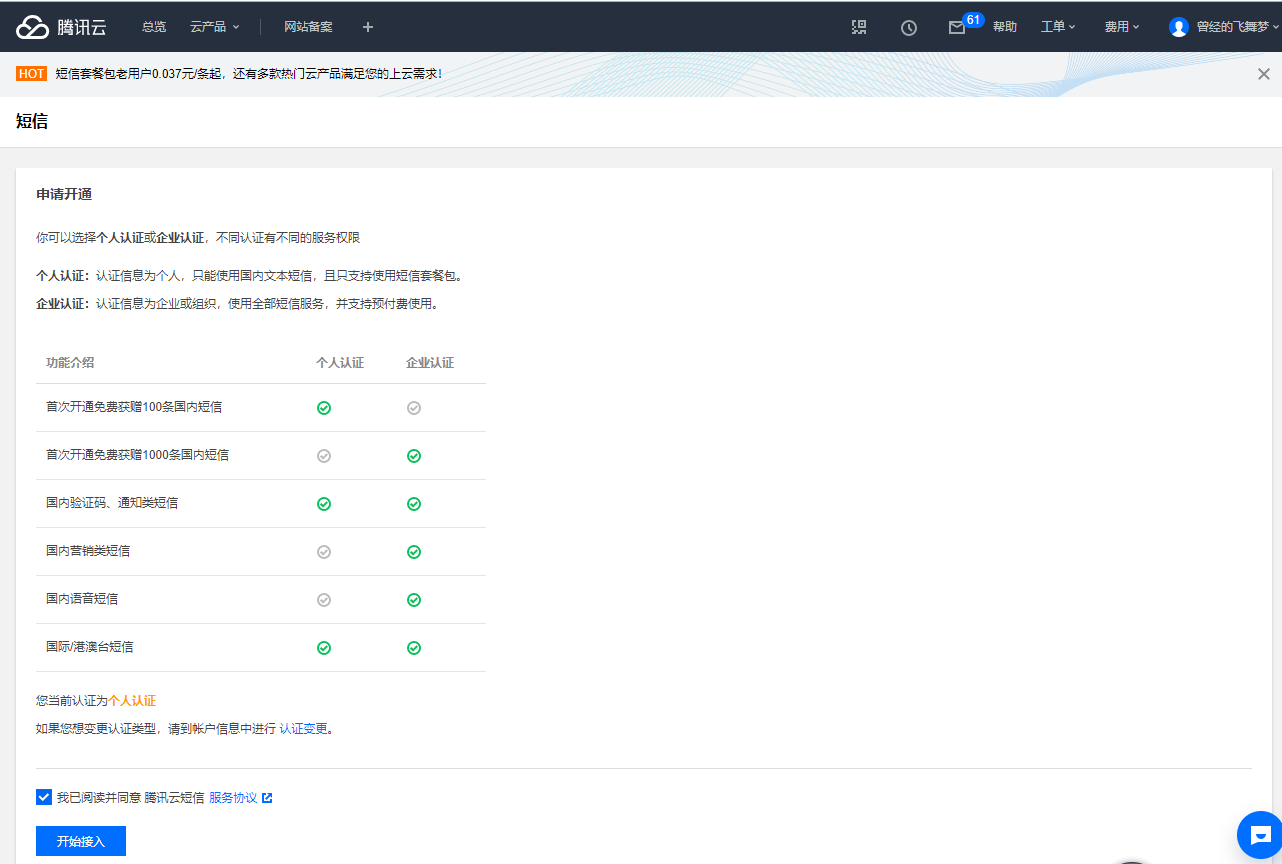
##### 開通雲簡訊
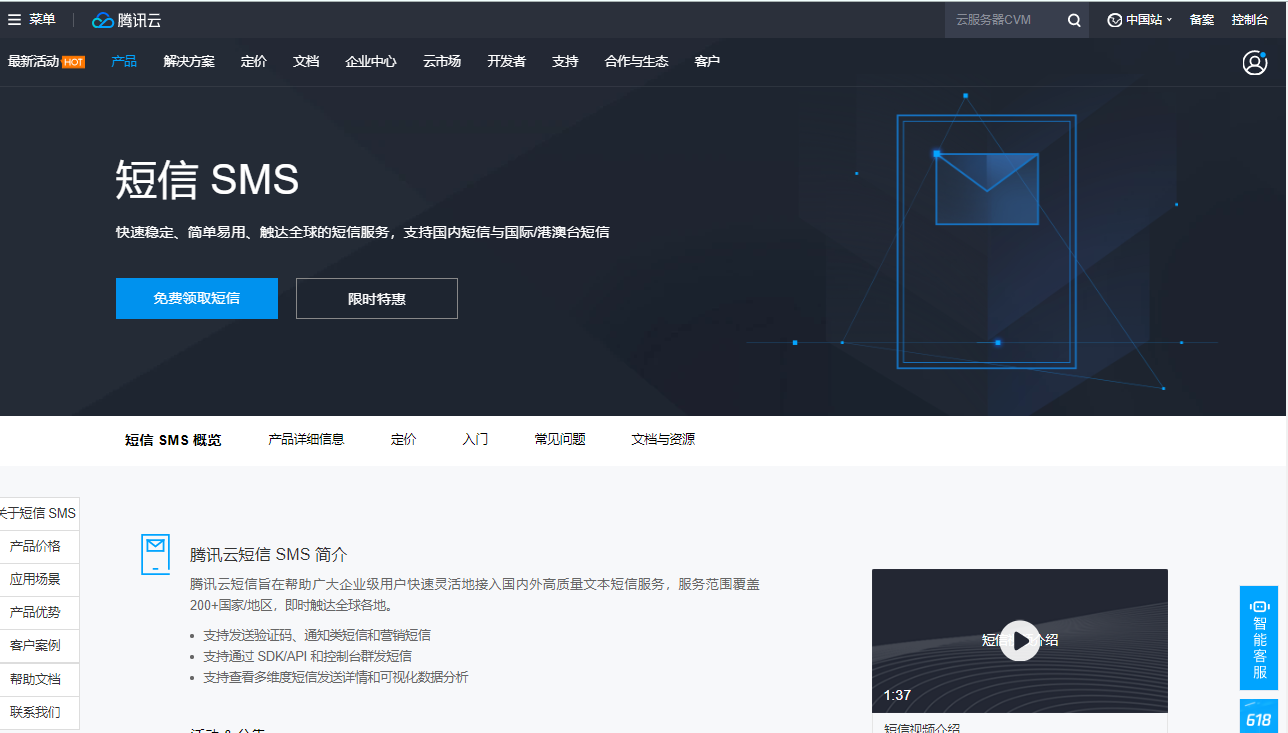
##### 建立應用
> 建立應用並將應用中生成的 `SDK AppID`和 `App Key` 複製下來,之後通過python傳送簡訊時需要用到。


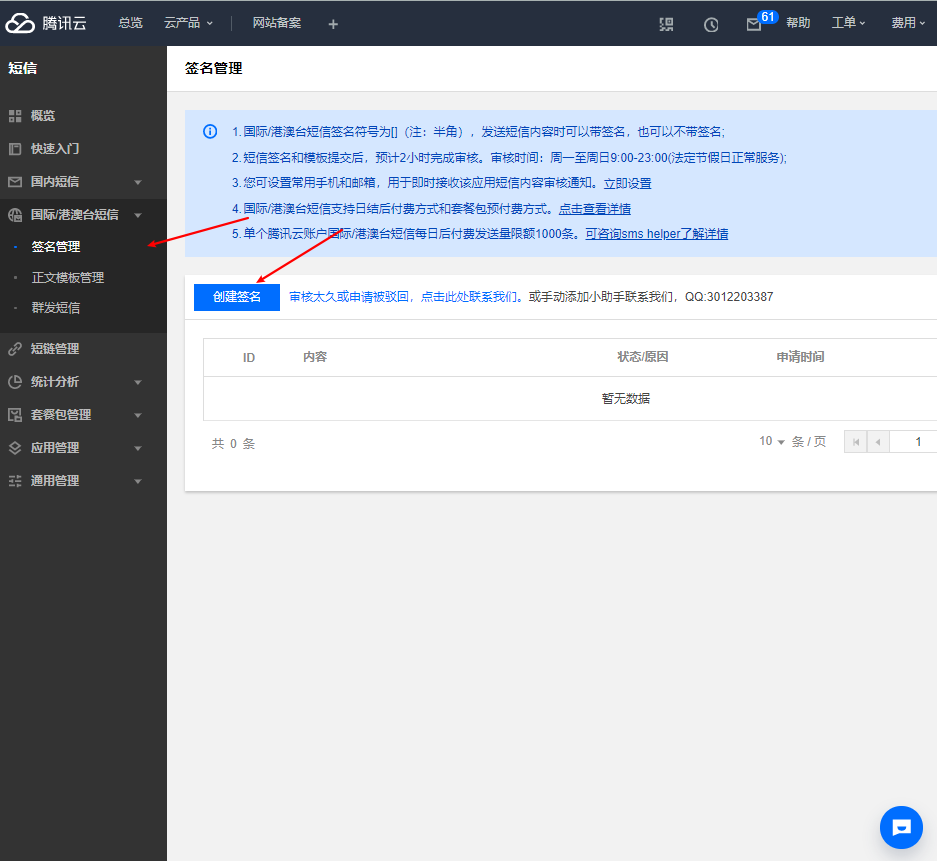
##### 建立簽名
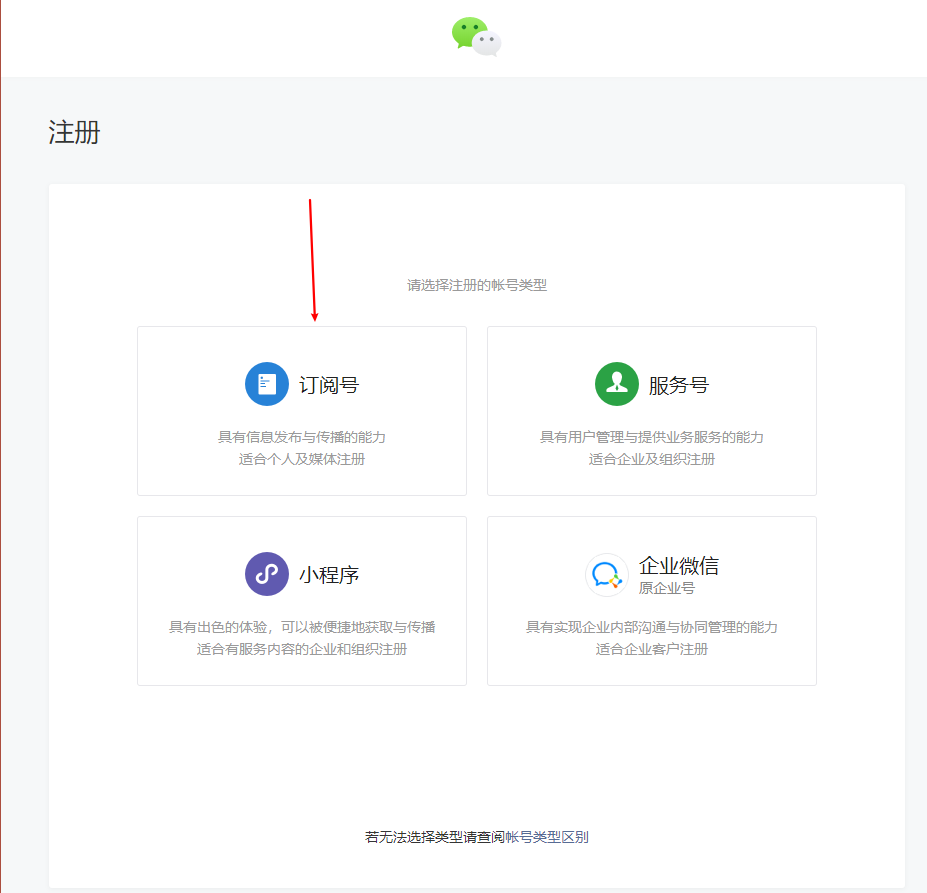
> 在騰訊雲簡訊簽名時需要認證,認證需要填寫簽名型別:網站、APP、小程式、公眾號,前三種需要提供企業資質等複雜的東西,個人公眾號認證會比較便捷,所以推薦個人開發的話使用 公眾號 進行簽名。
>
> so,咱們需要先 `申請一個公眾號` 然後 `建立簽名`
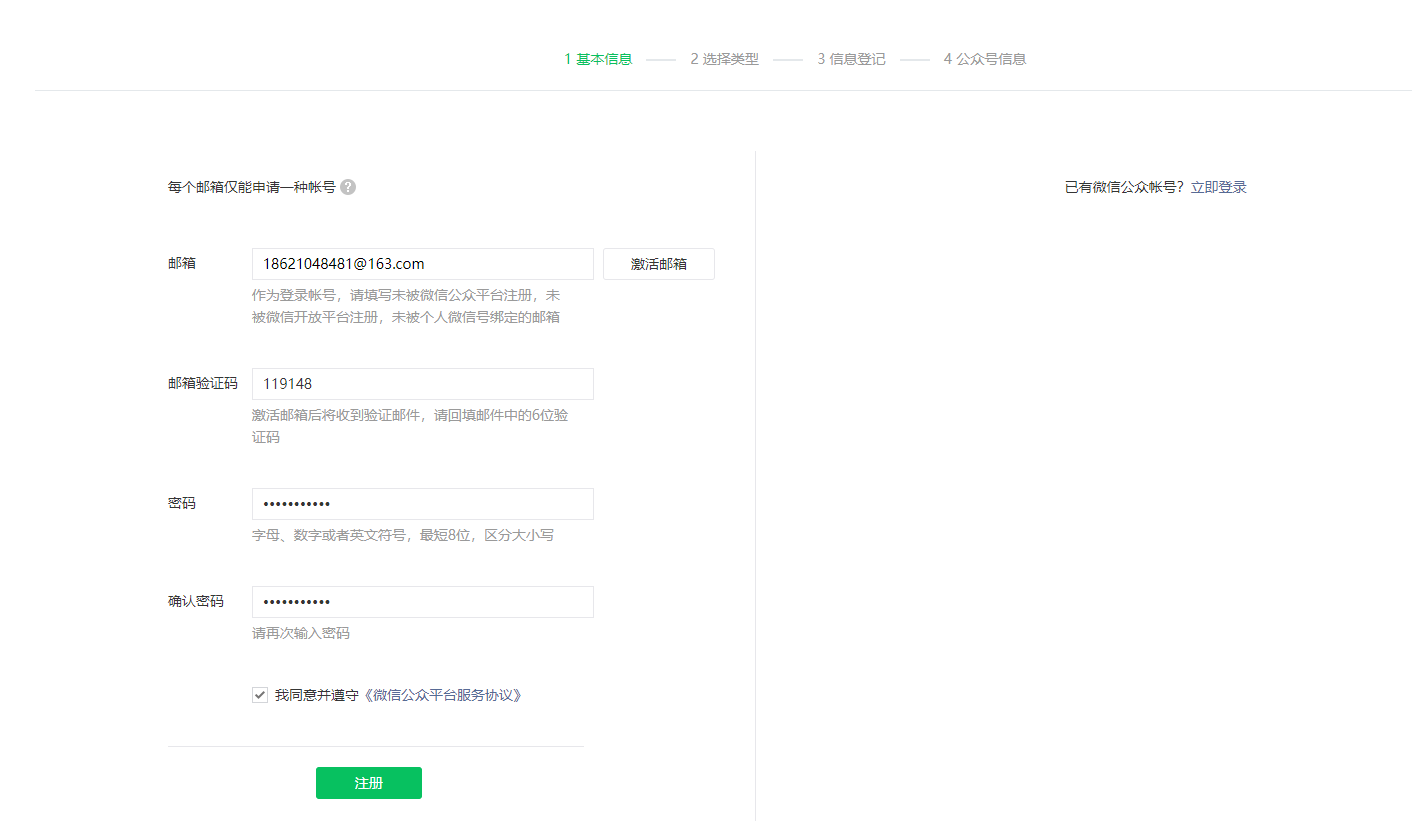
##### 申請微信訂閱號
> 註冊地址:https://mp.weixin.qq.com/
##### 建立簽名

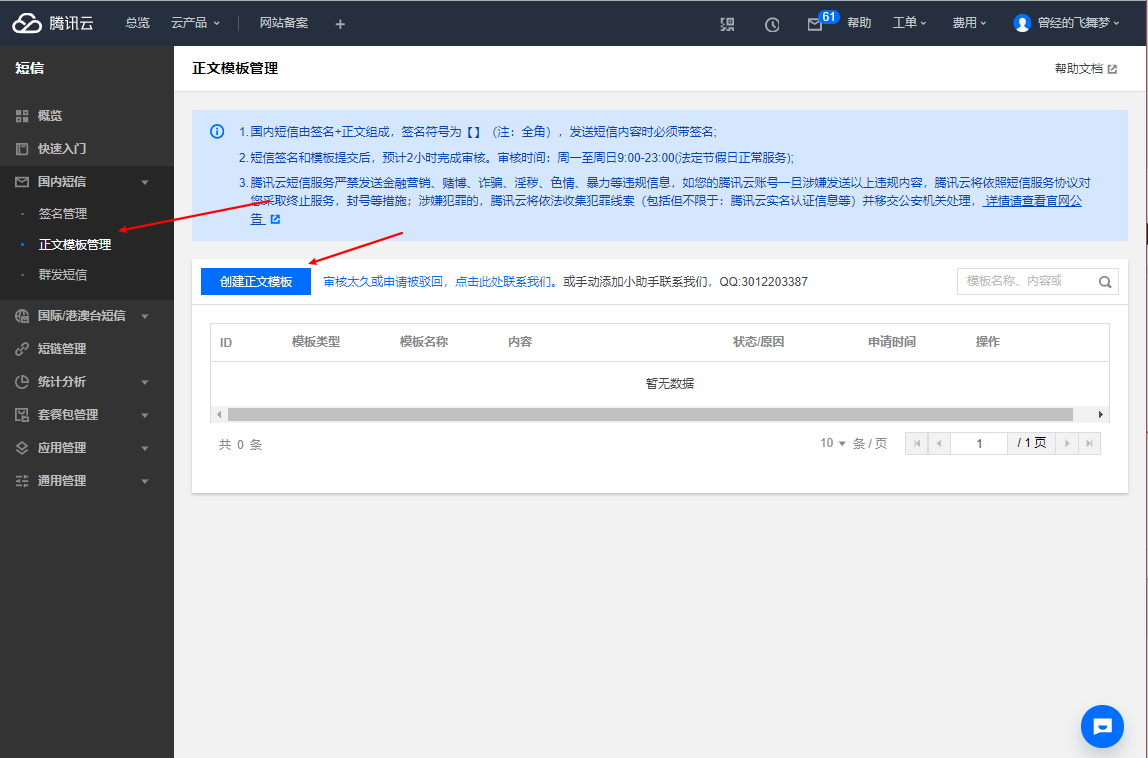
##### 建立模板
##### 傳送簡訊
`上述的準備工作做完中我們開通相關服務並獲取到如下幾個值:`
```shell
# 建立應用,獲取到 appid 和 appkey
# 建立簽名,獲取 簽名內容
# 建立模板,獲取 模板ID
```
`接下來開始使用Python傳送簡訊。`
`安裝SDK`
```shell
pip install qcloudsms_py
```
`基於SDK傳送簡訊`
```python
#!/usr/bin/env python
# -*- coding:utf-8 -*-
import ssl
# ssl._create_default_https_context = ssl._create_unverified_context
from qcloudsms_py import SmsMultiSender, SmsSingleSender
from qcloudsms_py.httpclient import HTTPError
def send_sms_single(phone_num, template_id, template_param_list):
"""
單條傳送簡訊
:param phone_num: 手機號
:param template_id: 騰訊雲簡訊模板ID
:param template_param_list: 簡訊模板所需引數列表,例如:【驗證碼:{1},描述:{2}】,則傳遞引數 [888,666]按順序去格式化模板
:return:
"""
appid = 112142311 # 自己應用ID
appkey = "8cc5b87123y423423412387930004" # 自己應用Key
sms_sign = "Python之路" # 自己騰訊雲建立簽名時填寫的簽名內容(使用公眾號的話這個值一般是公眾號全稱或簡稱)
sender = SmsSingleSender(appid, appkey)
try:
response = sender.send_with_param(86, phone_num, template_id, template_param_list, sign=sms_sign)
except HTTPError as e:
response = {'result': 1000, 'errmsg': "網路異常傳送失敗"}
return response
def send_sms_multi(phone_num_list, template_id, param_list):
"""
批量傳送簡訊
:param phone_num_list:手機號列表
:param template_id:騰訊雲簡訊模板ID
:param param_list:簡訊模板所需引數列表,例如:【驗證碼:{1},描述:{2}】,則傳遞引數 [888,666]按順序去格式化模板
:return:
"""
appid = 112142311
appkey = "8cc5b87123y423423412387930004"
sms_sign = "Python之路"
sender = SmsMultiSender(appid, appkey)
try:
response = sender.send_with_param(86, phone_num_list, template_id, param_list, sign=sms_sign)
except HTTPError as e:
response = {'result': 1000, 'errmsg': "網路異常傳送失敗"}
return response
if __name__ == '__main__':
result1 = send_sms_single("15131255089", 548760, [666, ])
print(result1)
result2 = send_sms_single( ["15131255089", "15131255089", "15131255089", ],548760, [999, ])
print(result2)
```
##### 關於頻率限制
> 騰訊雲簡訊後臺可以進行 簡訊頻率 的限制。
>
> 但是,由於我們是免費使用者所以無法進行設定,只能使用預設的配置(30秒發1條/1小時發5條/1天發10條)。
![](https://img2020.cnblogs.com/blog/1871335/202006/1871335-20200610210256231-1725588