
基於python的OpenCV圖像1
阿新 • • 發佈:2019-03-21
import ctu 分離 show pro content total from shape
目錄
1. 讀入圖片並顯示
import cv2

img = cv2.imread("longmao.jpg")
cv2.imshow("longmao", img)
cv2.waitKey(0) #等待按鍵,0表示永久等待
cv2.destroyAllWindows() #完成之後銷毀窗體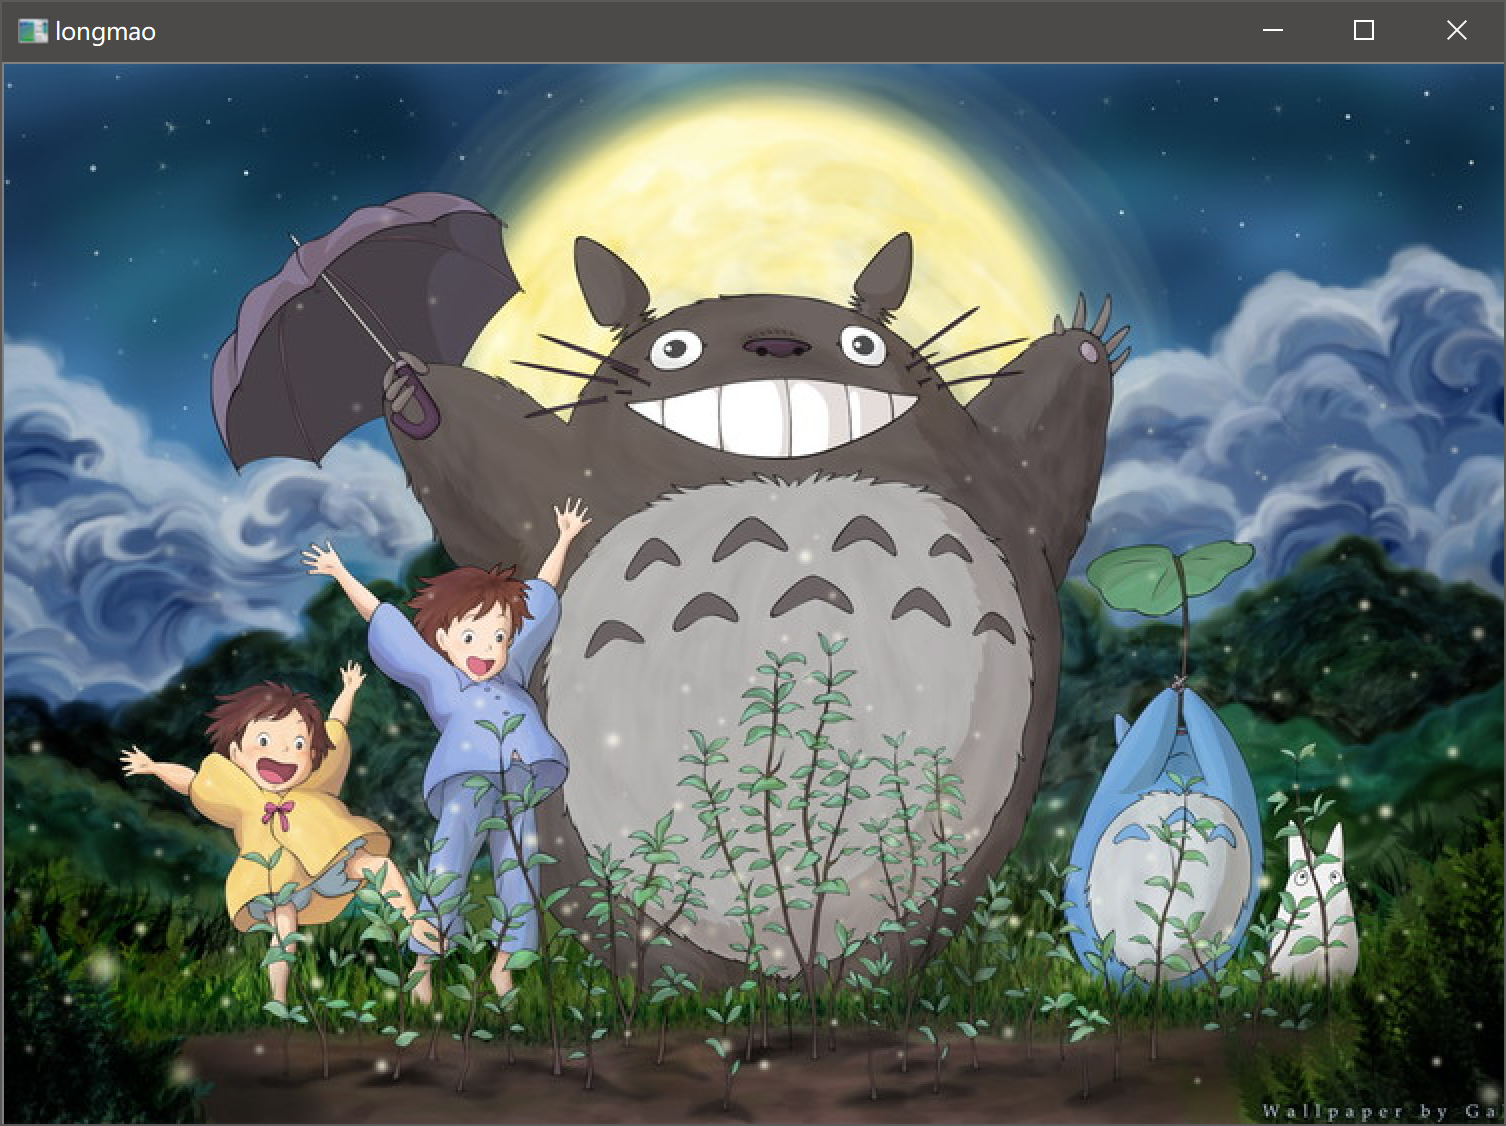
2. RGB通道分離
基於numpy數組的方法
r = img[:, :, 2]
g = img[:, :, 1]
b = img[:, :, 0]註意:OpenCV讀取的順序是BGR。
**基於OpenCV的RGB通道分離
b, g, r = cv2.split(img) #得到三個通道的值
b = cv2.split(img)[0]
3. RGB通道分離
img2 = cv2.merge([b, g, r])4. 單像素處理
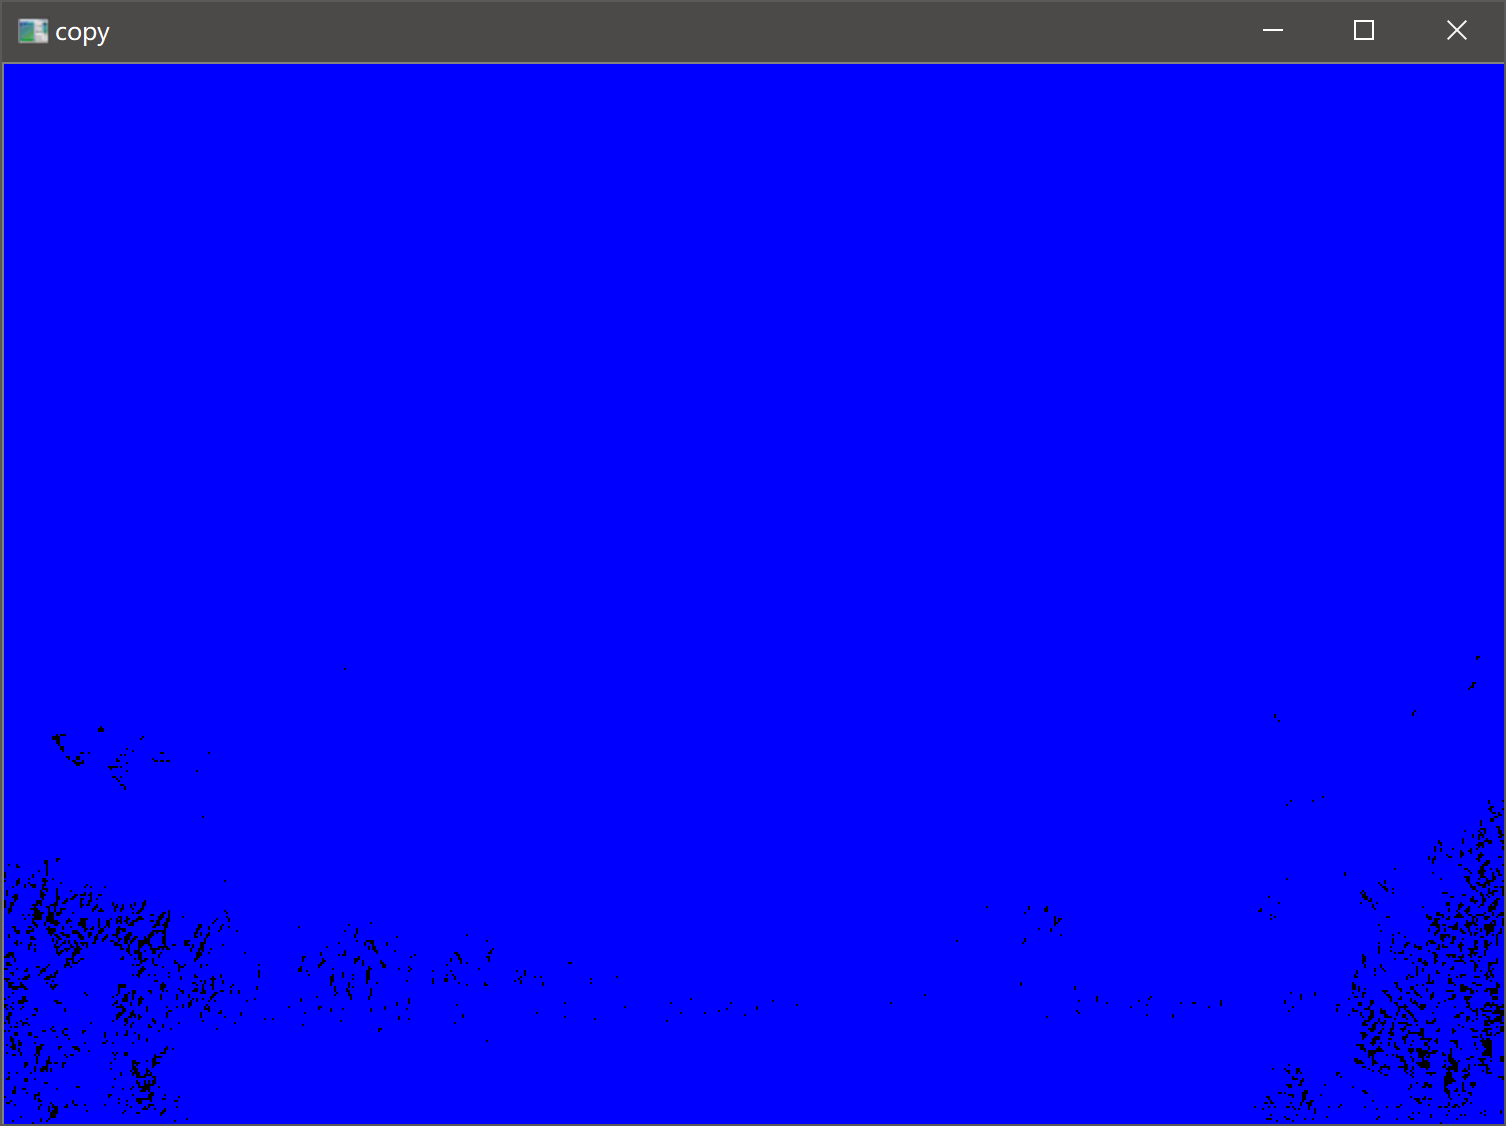
img[9, 9, 2] #通過數組索引的方式獲取某個像素值,
#獲取第10行,第10列(從0開始)的單獨R顏色分量
5. 遍歷圖像
img = cv2.imread("longmao.jpg")
img2 = np.zeros(img.shape)
for i in range(img.shape[0]):
    for j in range(img.shape[1]):
        img2[i, j, 0] = img[i, j, 0] #b分量
        #img2[i, j, 1] = img[i, j, 1] #g分量
        #img2[i, j, 2] = img[i, j, 3] #R分量
        #img2[i, j] = cv2.merge([img2[i, j, 0], img2[i, j, 1], img2[i, j, 2]])
cv2.imshow("copy", img2)
cv2.waitKey(0)
cv2.destroyAllWindows() #完成之後銷毀窗體
圖片的藍色分量顯示
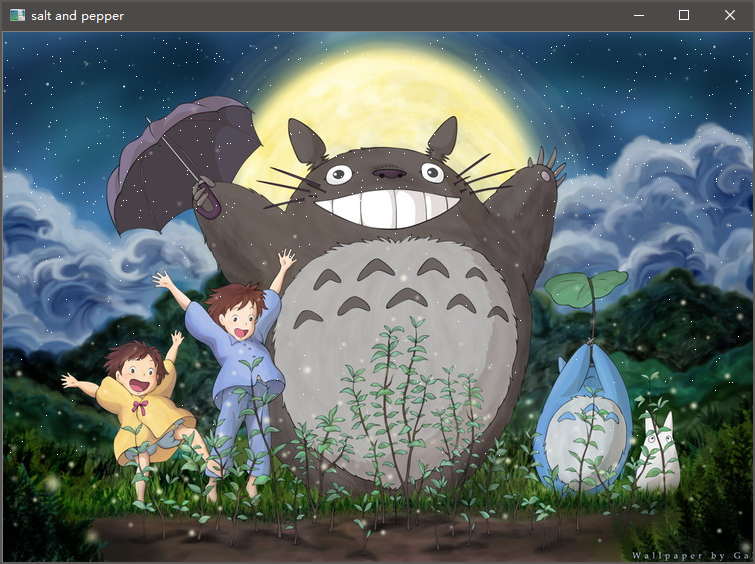
5. 給圖片添加椒鹽噪聲
import numpy as np
import cv2


def addPepperAndSalt(img, n):
    img2 = img
    for i in range(n):
        x = int(np.random.random() * img.shape[0])
        y = int(np.random.random() * img.shape[1])
        img2[x, y, 0] = 255
        img2[x, y, 1] = 255
        img2[x, y, 2] = 255
    return img2


img = cv2.imread("longmao.jpg")
img2 = addPepperAndSalt(img, 5000)
cv2.imshow("salt and pepper", img2)
cv2.waitKey(0)
cv2.destroyAllWindows()
註:np.random.random():返回[0.0, 1)的隨機數,默認是一個,括號裏面可以選返回隨機數的數量

6. 添加椒鹽噪聲進階版
import cv2
import numpy as np

def peppersalt(img, n, m):
    """
    Add peppersalt to image
    :param img: the image you want to add noise
    :param n: the total number of noise (0 <= n <= width*height)
    :param m: different mode
    m=1:add only white noise in whole image
    m=2:add only black noise in whole image
    m=3:add black and white noise in whole image
    m=4:add gray scale noise range from 0 to 255
    m=5:add color noise in whole image,RGB is combined randomly with every channel ranges from 0 to 255
    :return: the processed image
    """
    img2 = img
    if m == 1:
        for i in range(n):
            x = int(np.random.random() * img.shape[0])
            y = int(np.random.random() * img.shape[1])
            img2[x, y, 0] = 255 #添加白色噪聲
            img2[x, y, 1] = 255
            img2[x, y, 2] = 255
    elif m == 2:
        for i in range(n):
            x = int(np.random.random() * img.shape[0])
            y = int(np.random.random() * img.shape[1])
            img2[x, y, 0] = 0 #黑色
            img2[x, y, 1] = 0
            img2[x, y, 2] = 0
    elif m == 3:
        for i in range(n):
            x = int(np.random.random() * img.shape[0])
            y = int(np.random.random() * img.shape[1])
            flag = np.random.random() * 255 #隨機添加白色或黑色
            if flag > 128:
                img2[x, y, 0] = 255
                img2[x, y, 1] = 255
                img2[x, y, 2] = 255
            else:
                img2[x, y, 0] = 0
                img2[x, y, 1] = 0
                img2[x, y, 2] = 0
    elif m == 4:
        for i in range(n):
            x = int(np.random.random() * img.shape[0])
            y = int(np.random.random() * img.shape[1])
            flag = int(np.random.random() * 255) #隨機顏色
            img2[x, y, 0] = flag
            img2[x, y, 1] = flag
            img2[x, y, 2] = flag
    elif m == 5:
        for i in range(n):
            x = int(np.random.random() * img.shape[0])
            y = int(np.random.random() * img.shape[1])
            f1 = int(np.random.random() * 255) #彩色
            f2 = int(np.random.random() * 255)
            f3 = int(np.random.random() * 255)
            img2[x, y, 0] = f1
            img2[x, y, 1] = f2
            img2[x, y, 2] = f3
    return img2

if __name__ == "__main__":
    img = cv2.imread("longmao.jpg")
    img = peppersalt(img, 500, 5)
    cv2.imshow("salt and pepper", img)
    cv2.waitKey(0)
    cv2.destroyAllWindows()
7. 實現下雪demo
def snow2pic(img, n):
    """

    :param img: input a rgb picture
    :param n: density of the snow
    :return: the pic with snow in the top
    """
    #length, width = img.shape
    #top_length = length * 0.35
    for i in range(n):
        x = int(np.random.random() * img.shape[0] * 0.35)
        y = int(np.random.random() * img.shape[1])
        img[x, y, 0] = 255  # 添加白色噪聲
        img[x, y, 1] = 255
        img[x, y, 2] = 255
    for i in range(200):
        x = int(np.random.random() * img.shape[0] * 0.8)
        y = int(np.random.random() * img.shape[1])
        img[x, y, 0] = 255  # 添加白色噪聲
        img[x, y, 1] = 255
        img[x, y, 2] = 255
    return img


if __name__ == "__main__":
    img = cv2.imread("longmao.jpg")
    img = snow2pic(img, 400)
    cv2.imshow("salt and pepper", img)
    cv2.waitKey(0)
    cv2.destroyAllWindows()
基於python的OpenCV圖像1