
Android中實現截圖的幾種方式
一、起始原因
最近專案需求中需要實現螢幕截圖,開啟了新一輪的翻騰,找尋。是的,我就是一個搬運工,簡單的搬運工~~做不完的功能,連線不斷地需求~~
基本需求:實現當前頁面截圖並儲存;
擴充套件需求:截圖去除自己新增的控制元件;
完善需求:截圖響應速度要快;
反饋完善需求:適配所有機型。
二、具體實現方式
1),第一種實現方式
    /**
     * 對View進行量測,佈局後截圖
     *
     * @param view
     * @return
     */
    public Bitmap convertViewToBitmap(View view) {
        view.measure(View.MeasureSpec.makeMeasureSpec(0, View.MeasureSpec.UNSPECIFIED), View.MeasureSpec.makeMeasureSpec(0, View.MeasureSpec.UNSPECIFIED));
        view.layout(0, 0, view.getMeasuredWidth(), view.getMeasuredHeight());
        view.setDrawingCacheEnabled(true);
        view.buildDrawingCache();
        Bitmap bitmap = view.getDrawingCache();
        return bitmap;
    }
此種實現方式,基本可以實現所有View的截圖及全螢幕的截圖。
在實際的需求中,是對WebView進行截圖,且WebView的展示中,是使用繪製程式繪製部分內容。這種方式,繪製的內容截圖展示不出來,只能另尋他法。
2)第二種實現方式3),第三種實現方式【實質是將view作為原圖繪製出來】/** * 獲取整個視窗的截圖 * * @param context * @return */ @SuppressLint("NewApi") private Bitmap captureScreen(Activity context) { View cv = context.getWindow().getDecorView(); cv.setDrawingCacheEnabled(true); cv.buildDrawingCache(); Bitmap bmp = cv.getDrawingCache(); if (bmp == null) { return null; } bmp.setHasAlpha(false); bmp.prepareToDraw(); return bmp; }
4),第四種實現方式【針對WebView的實現方式】/** * 對單獨某個View進行截圖 * * @param v * @return */ private Bitmap loadBitmapFromView(View v) { if (v == null) { return null; } Bitmap screenshot; screenshot = Bitmap.createBitmap(v.getWidth(), v.getHeight(), Bitmap.Config.RGB_565); Canvas c = new Canvas(screenshot); c.translate(-v.getScrollX(), -v.getScrollY()); v.draw(c); return screenshot; }
  /**
     * 對WebView進行截圖
     *
     * @param webView
     * @return
     */
    public static Bitmap captureWebView1(WebView webView) {//可執行
        Picture snapShot = webView.capturePicture();
        Bitmap bmp = Bitmap.createBitmap(snapShot.getWidth(),
                snapShot.getHeight(), Bitmap.Config.ARGB_8888);
        Canvas canvas = new Canvas(bmp);
        snapShot.draw(canvas);
        return bmp;
    }
5),第五種實現方式
此種實現方式相對較複雜,且很多方法不支援版本較低的Android系統版本。但能夠很好地處理WebView繪製內容截圖不成功的問題。
在實際的執行中,通過版本和Android內建系統的判斷,多種截圖方法綜合使用,能夠實現產品的需求。
只是後來,因為產品業務調整,這一塊功能隱藏不使用了~~讓我哭會 ~~~不管怎麼樣,也算是學東西了,只是後面的路,需要走的更穩妥,更踏實一些~~~
//定義使用變數
    /**
     * 截圖相關
     */
    private MediaProjectionManager mediaProjectionManager;
    private MediaProjection mMediaProjection;
    private VirtualDisplay mVirtualDisplay;
    private static Intent mResultData = null;
    private ImageReader mImageReader;
    private WindowManager mWindowManager;
    private WindowManager.LayoutParams mLayoutParams;
    private GestureDetector mGestureDetector;
    private ImageView mFloatView;
    private int mScreenWidth;
    private int mScreenHeight;
    private int mScreenDensity;
    private String mPhoneType;
public static final int REQUEST_MEDIA_PROJECTION = 18; /**
* 初始化變數
*/
mediaProjectionManager = (MediaProjectionManager) getSystemService(Context.MEDIA_PROJECTION_SERVICE);
startActivityForResult(mediaProjectionManager.createScreenCaptureIntent(), REQUEST_MEDIA_PROJECTION);
mWindowManager = (WindowManager) getSystemService(Context.WINDOW_SERVICE);
DisplayMetrics metrics = new DisplayMetrics();
mWindowManager.getDefaultDisplay().getMetrics(metrics);
mScreenDensity = metrics.densityDpi;
mScreenWidth = metrics.widthPixels;
mScreenHeight = metrics.heightPixels;
mImageReader = ImageReader.newInstance(mScreenWidth, mScreenHeight, PixelFormat.RGBA_8888, 1); @Override
protected void onActivityResult(int requestCode, int resultCode, Intent data) {
super.onActivityResult(requestCode, resultCode, data);
switch (requestCode) {
case REQUEST_MEDIA_PROJECTION:
if (resultCode == RESULT_OK && data != null) {
mResultData = data;
//startService(new Intent(getApplicationContext(), FloatWindowsService.class));
}
break;
}
}
@Override
protected void onDestroy() {
super.onDestroy();
try {
stopVirtual();
tearDownMediaProjection();
} catch (Exception e) {
e.printStackTrace();
}
}
private void startScreenShot() {
Handler handler1 = new Handler();
handler1.postDelayed(new Runnable() {
public void run() {
// start virtual
startVirtual();
}
}, 5);
handler1.postDelayed(new Runnable() {
public void run() {
// capture the screen
startCapture();
}
}, 30);
}
public void startVirtual() {
if (mMediaProjection != null) {
virtualDisplay();
} else {
setUpMediaProjection();
virtualDisplay();
}
}
private void stopVirtual() {
if (mVirtualDisplay == null) {
return;
}
mVirtualDisplay.release();
mVirtualDisplay = null;
}
private void startCapture() {
Image image = mImageReader.acquireLatestImage();
if (image == null) {
startScreenShot();
} else {
SaveTask mSaveTask = new SaveTask();
// mSaveTask.execute(image);
if (Build.VERSION.SDK_INT >= 11) {
// From API 11 onwards, we need to manually select the
// THREAD_POOL_EXECUTOR
AsyncTaskCompatHoneycomb.executeParallel(mSaveTask, image);
} else {
// Before API 11, all tasks were run in parallel
mSaveTask.execute(image);
}
// AsyncTaskCompat.executeParallel(mSaveTask, image);
}
}
static class AsyncTaskCompatHoneycomb {
static <Params, Progress, Result> void executeParallel(AsyncTask<Params, Progress, Result> task, Params... params) {
// 這裡顯示呼叫了THREAD_POOL_EXECUTOR,所以就可以使用該執行緒池了
task.executeOnExecutor(AsyncTask.THREAD_POOL_EXECUTOR, params);
}
}
@SuppressLint("NewApi")
private void virtualDisplay() {
Surface sf = mImageReader.getSurface();
mVirtualDisplay = mMediaProjection.createVirtualDisplay(
"screen-mirror", mScreenWidth, mScreenHeight, mScreenDensity,
DisplayManager.VIRTUAL_DISPLAY_FLAG_AUTO_MIRROR,
mImageReader.getSurface(), null, null);
}
public void setUpMediaProjection() {
if (mResultData == null) {
Intent intent = new Intent(Intent.ACTION_MAIN);
intent.addCategory(Intent.CATEGORY_LAUNCHER);
startActivity(intent);
} else {
mMediaProjection = getMediaProjectionManager().getMediaProjection(
Activity.RESULT_OK, mResultData);
}
}
private MediaProjectionManager getMediaProjectionManager() {
return (MediaProjectionManager) getSystemService(Context.MEDIA_PROJECTION_SERVICE);
}
public class SaveTask extends AsyncTask<Image, Void, Bitmap> {
@Override
protected Bitmap doInBackground(Image... params) {
if (params == null || params.length < 1 || params[0] == null) {
return null;
}
Image image = params[0];
int width = image.getWidth();
int height = image.getHeight();
final Image.Plane[] planes = image.getPlanes();
final ByteBuffer buffer = planes[0].getBuffer();
// 每個畫素的間距
int pixelStride = planes[0].getPixelStride();
// 總的間距
int rowStride = planes[0].getRowStride();
int rowPadding = rowStride - pixelStride * width;
Bitmap bitmap = Bitmap.createBitmap(width + rowPadding / pixelStride, height, Bitmap.Config.ARGB_8888);
bitmap.copyPixelsFromBuffer(buffer);
bitmap = Bitmap.createBitmap(bitmap, 0, 0, width, height);
image.close();
// File file = new File(SAVE_REAL_PATH);
// if (bitmap != null) {
// try {
// if (!file.exists()) {
// file.mkdirs();
// }
// SimpleDateFormat sdf = new SimpleDateFormat("yyyy-MM-dd_HH-mm-ss", Locale.US);
// String fileImage = file.getAbsolutePath() + "/" + sdf.format(new Date()) + ".jpg";
// FileOutputStream out = new FileOutputStream(fileImage);
// if (out != null) {
// bitmap.compress(Bitmap.CompressFormat.PNG, 100, out);
// out.flush();
// out.close();
// Intent media = new Intent(
// Intent.ACTION_MEDIA_SCANNER_SCAN_FILE);
// Uri contentUri = Uri.fromFile(file);
// media.setData(contentUri);
// sendBroadcast(media);
// fileDestUri = fileImage;
// }
// } catch (FileNotFoundException e) {
// e.printStackTrace();
// file = null;
// } catch (IOException e) {
// e.printStackTrace();
// file = null;
// }
// }
// if (file != null) {
return bitmap;
// }
// return null;
}
@Override
protected void onPostExecute(Bitmap bitmap) {
super.onPostExecute(bitmap);
// 預覽圖片
if (bitmap != null) {
//也可以處理儲存圖片邏輯
captureIV.setImageBitmap(bitmap);
}
}
}
private void tearDownMediaProjection() {
if (mMediaProjection != null) {
mMediaProjection.stop();
mMediaProjection = null;
}
}
startScreenShot();好吧,展示效果,兄弟們知道大概什麼情形~~
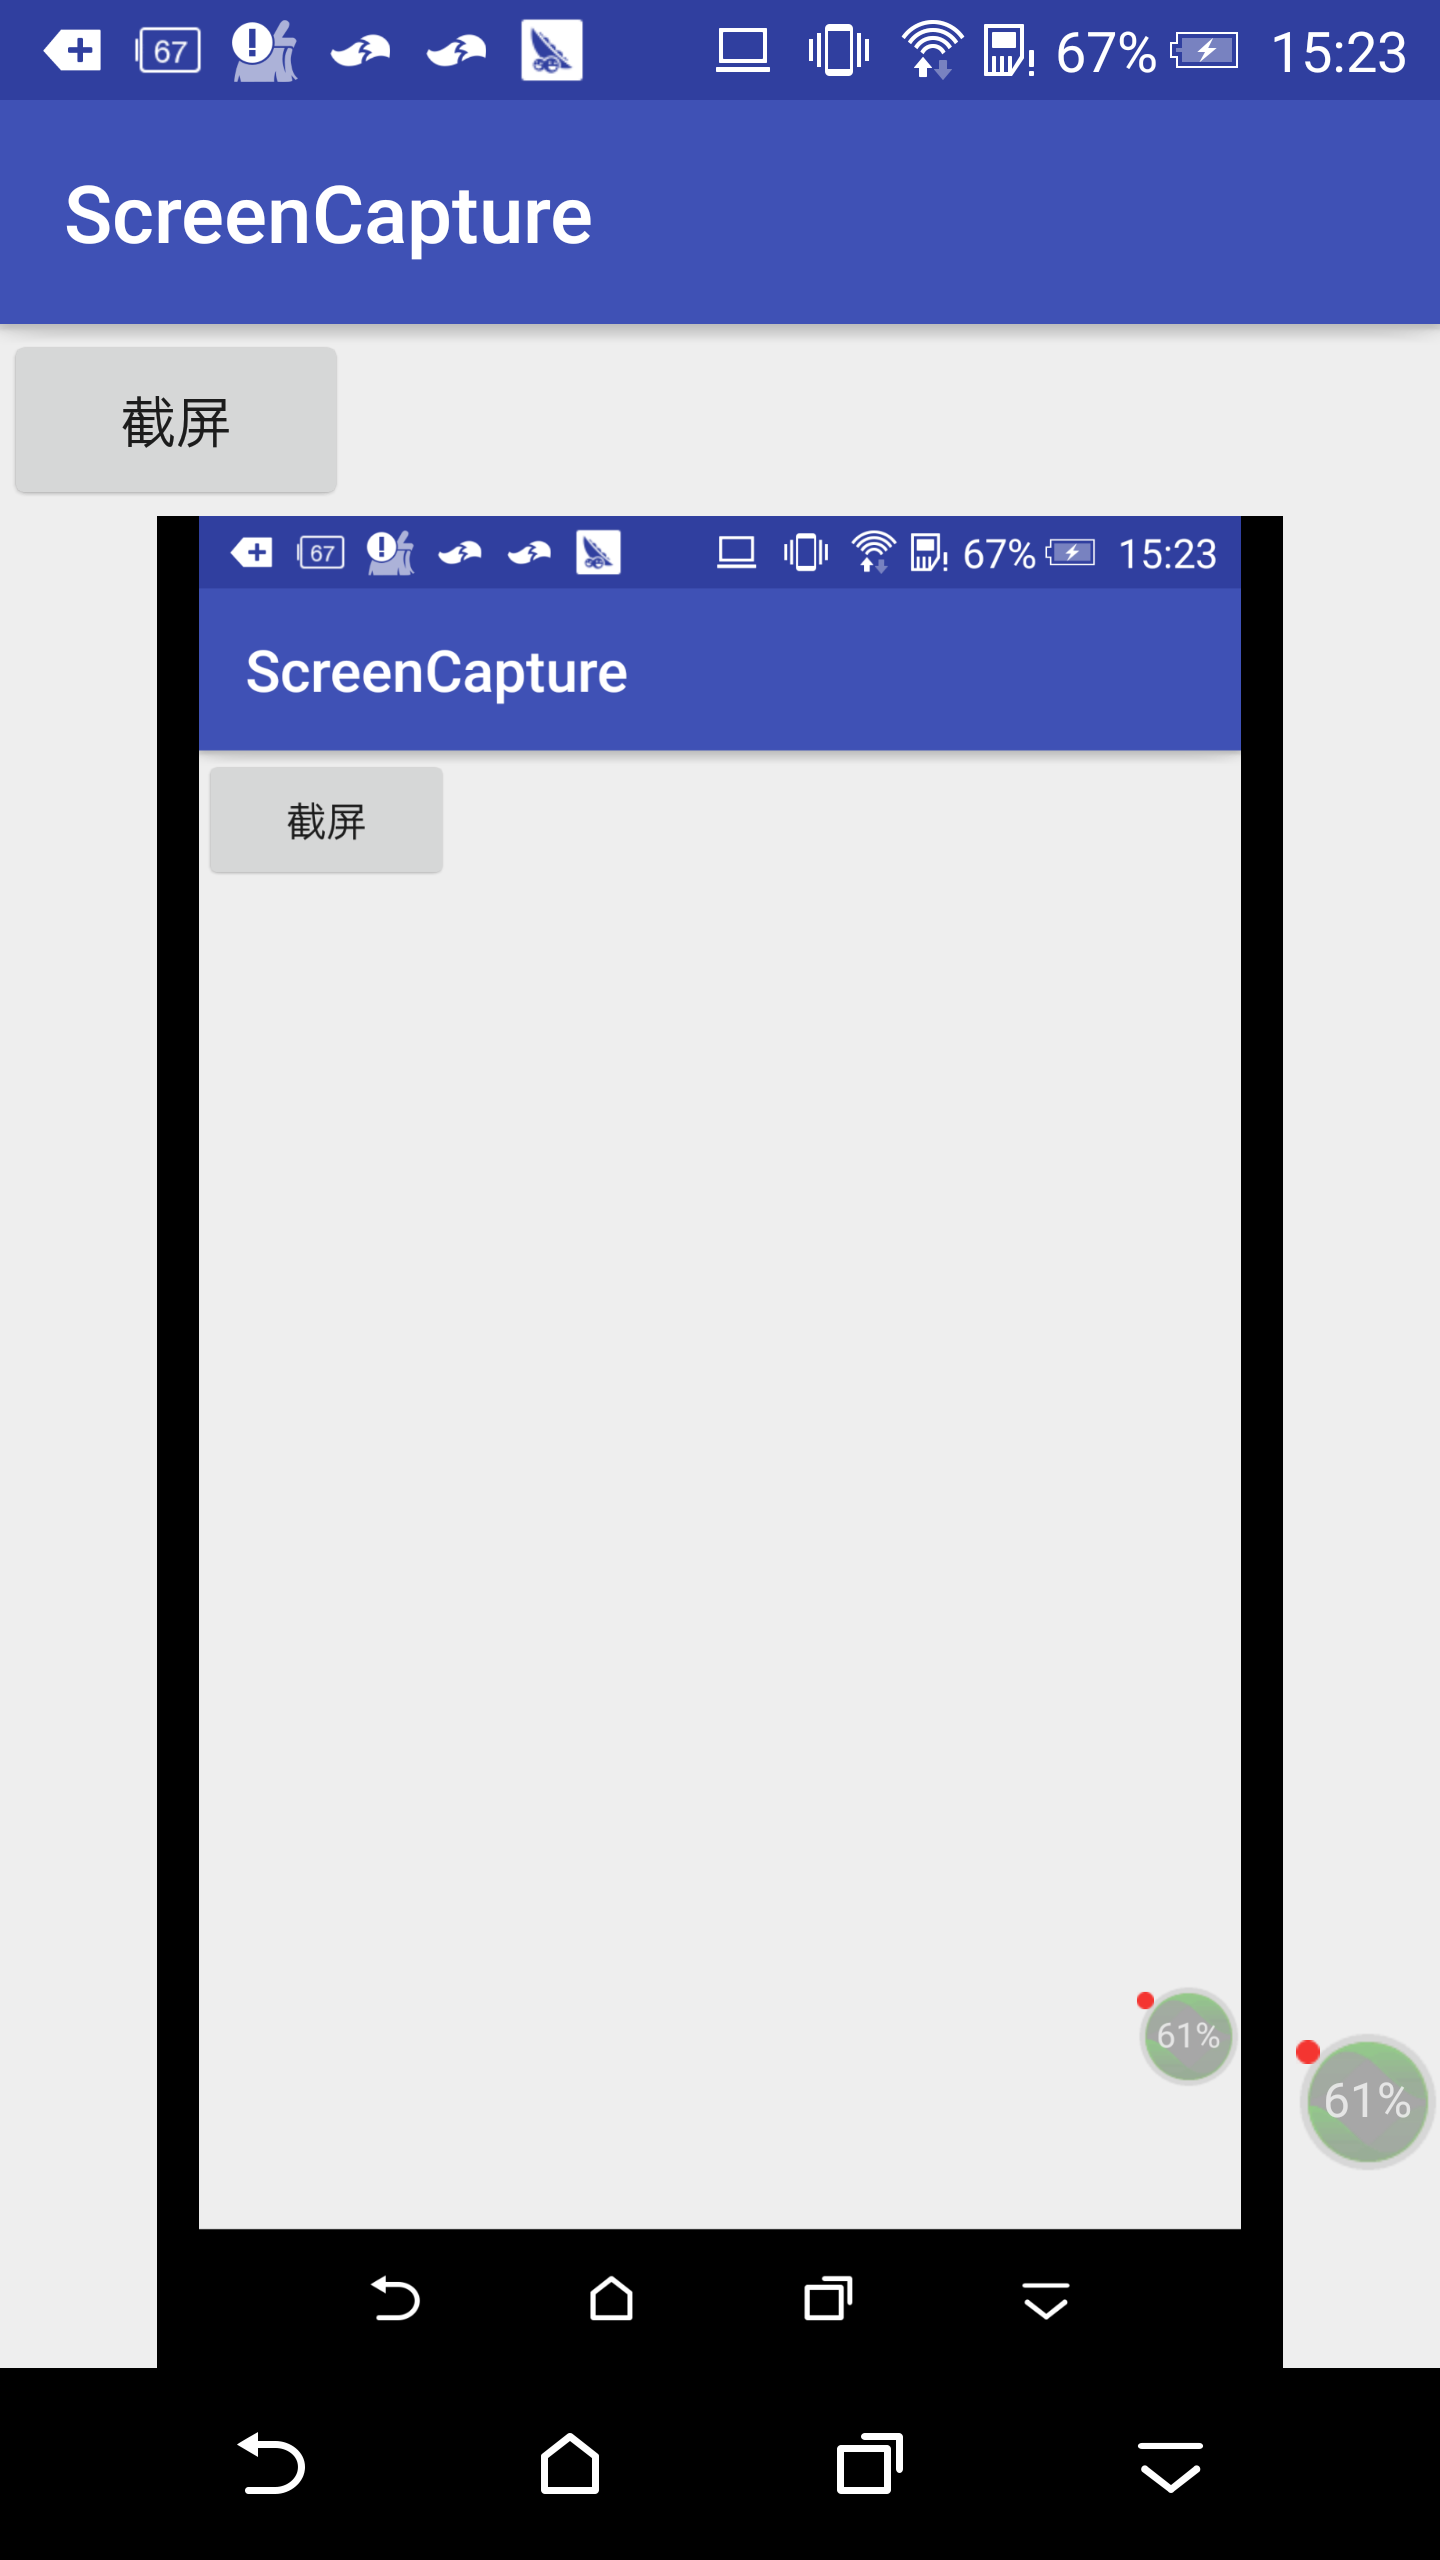
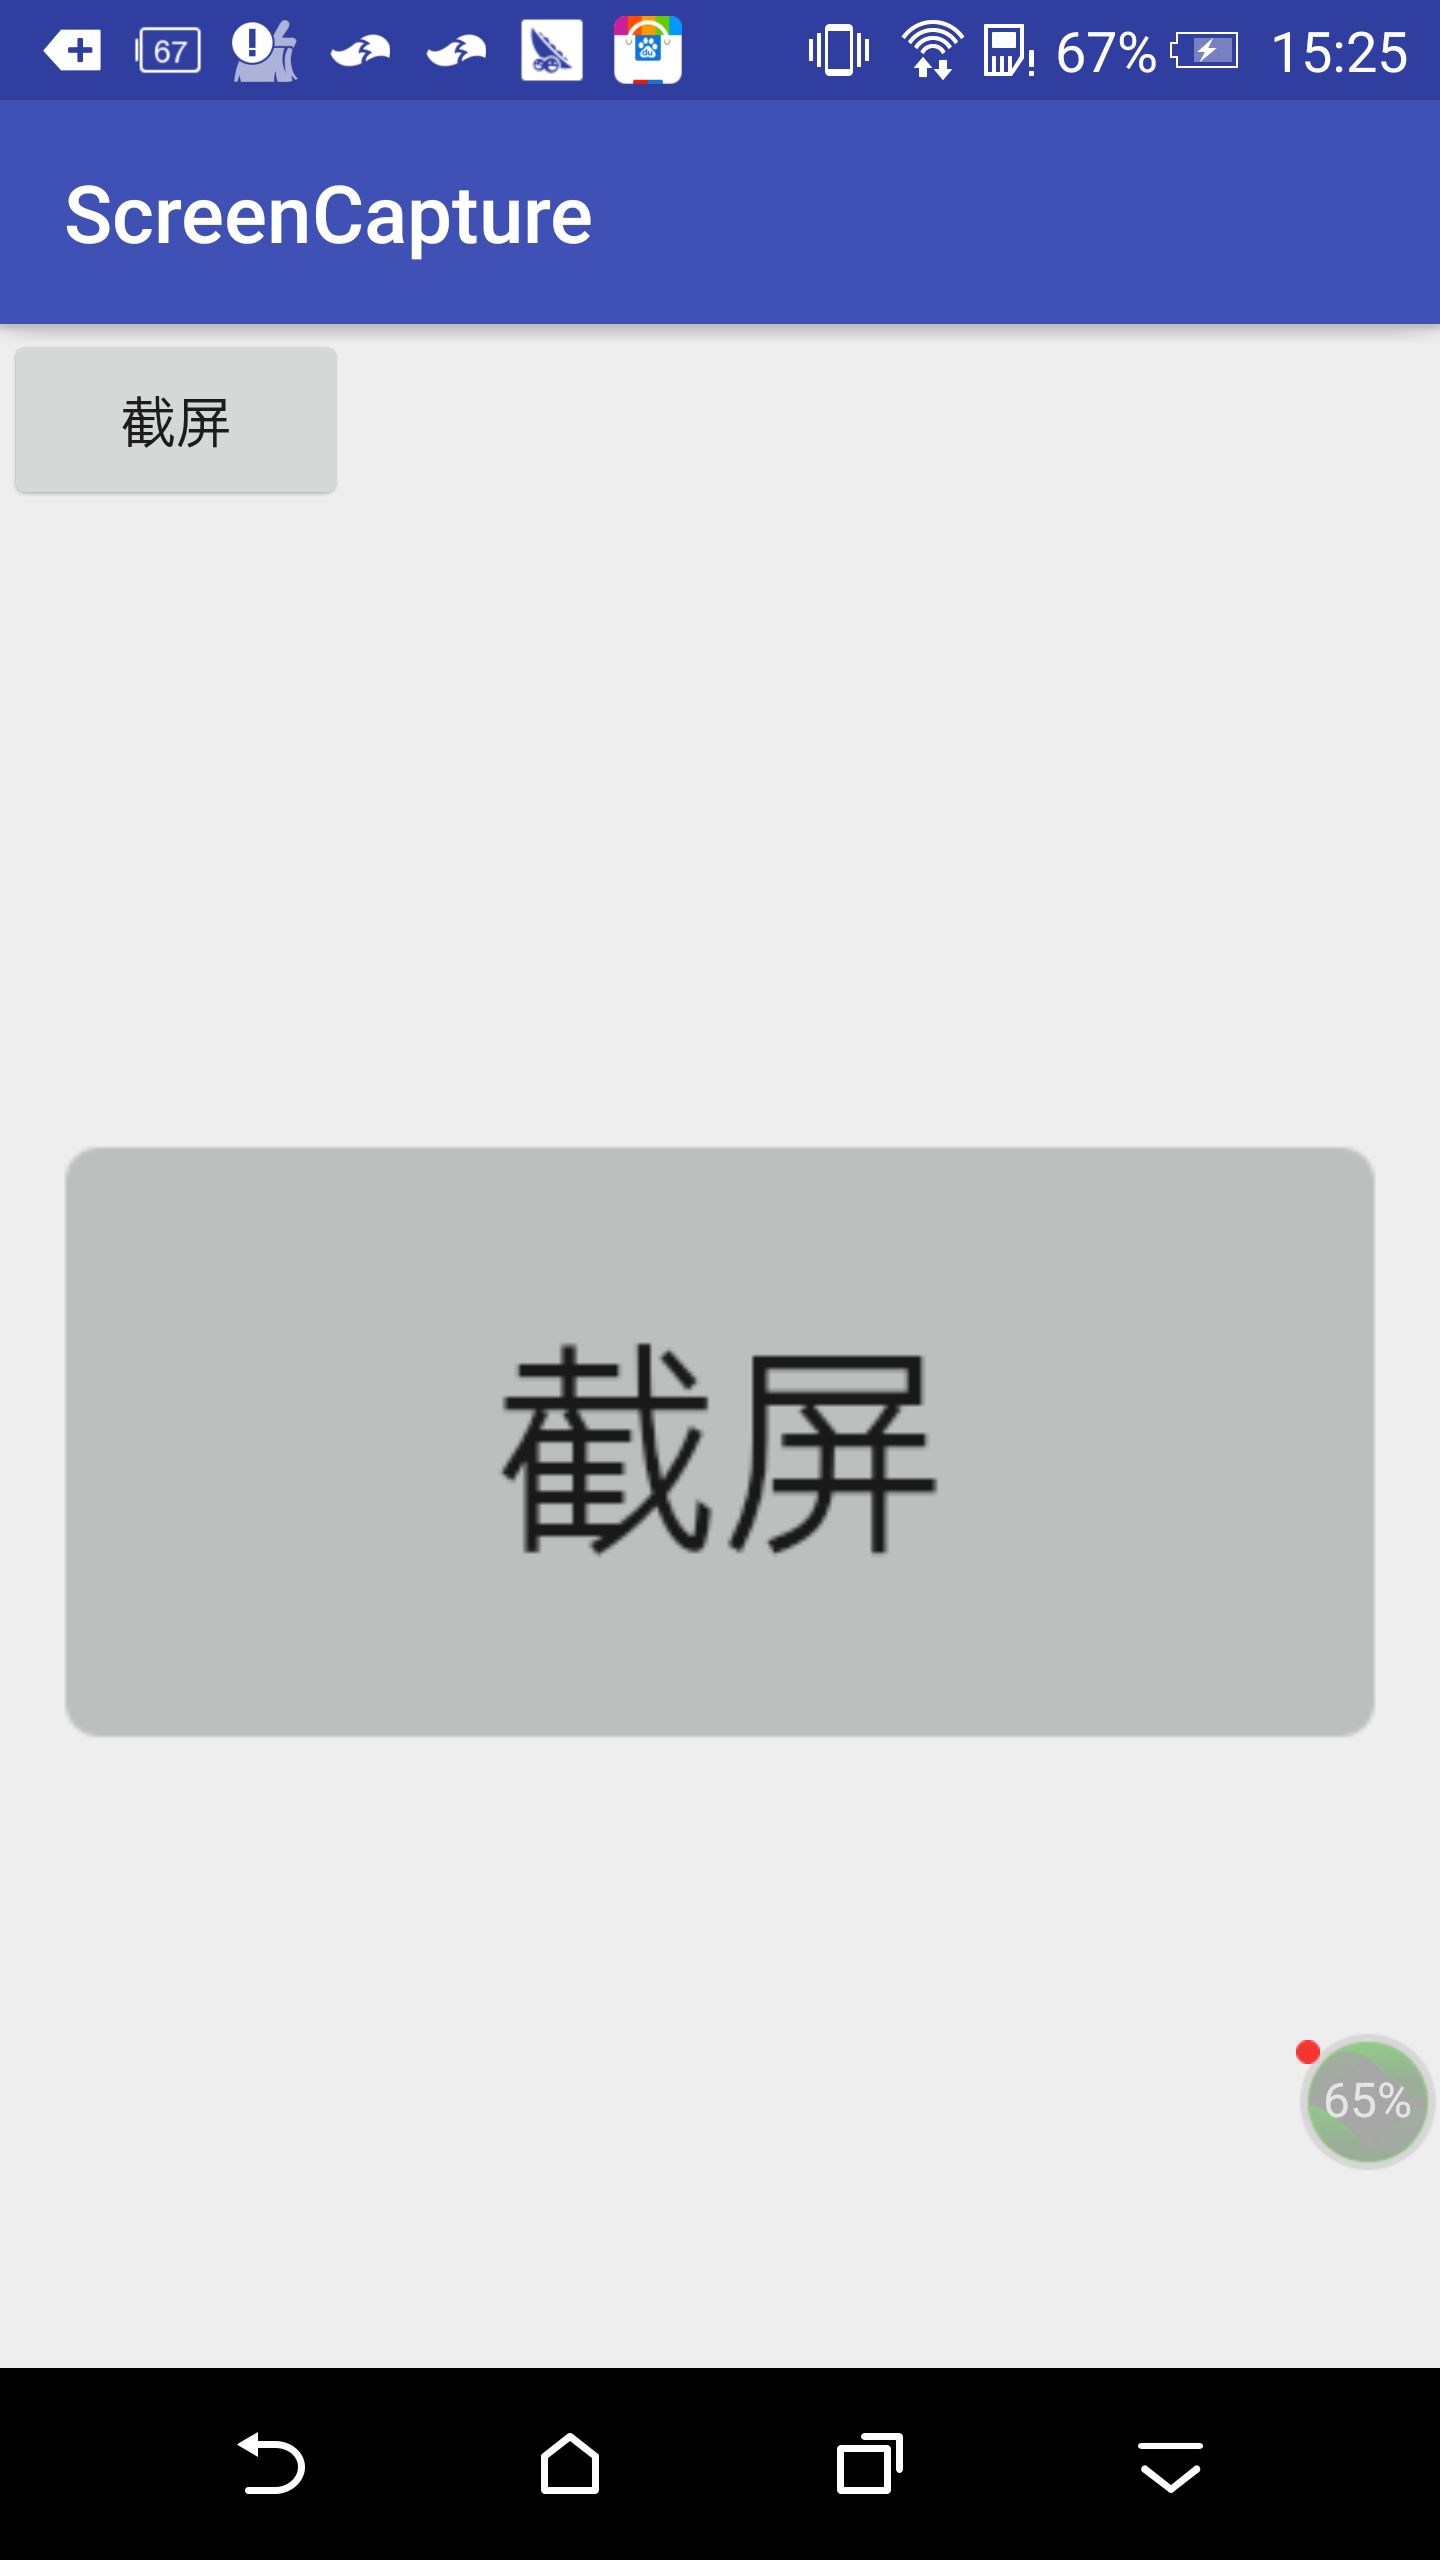
三、事後總結
除去上面展示的形式,還測試了其他幾種方式,並沒有獲取到想要的結果。要是兄弟們知道怎麼解決,可以一起溝通,一起交流哈~~
1),第一種嘗試
    /**
     * 應用反射的方法
     * 【反射不成功】
     *
     * @return
     */
    private Bitmap getBitmapReverse() {
        Bitmap mScreenBitmap = null;
        DisplayMetrics mDisplayMetrics = new DisplayMetrics();
        float[] dims = {mDisplayMetrics.widthPixels,
                mDisplayMetrics.heightPixels};

        Class<?> demo = null;
        try {
            demo = Class.forName("android.view.Surface");
        } catch (Exception e) {
            e.printStackTrace();
        }
        try {
            Method method = demo.getMethod("screenshot", new Class[]{int.class, int.class});
            mScreenBitmap = (Bitmap) method.invoke(demo.newInstance(), (int) dims[0], (int) dims[1]);
            //這裡其實可以直接用null替換demo.newInstance(),因為screenshot是靜態方法,所以第一個invoke的第一個引數會被自動忽略~所以其實你填什麼都沒關係。
            //獲取的返回值是個bitmap,然後我們就可以為所欲為了~
        } catch (Exception e) {
            e.printStackTrace();
        }
        return mScreenBitmap;
}2),第二種嘗試
    /**
     * 需要root許可權
     *
     * @param activity
     * @return
     */
    public Bitmap captureScreenSystem(Activity activity) {
        // 獲取螢幕大小:
        DisplayMetrics metrics = new DisplayMetrics();
        WindowManager WM = (WindowManager) activity
                .getSystemService(Context.WINDOW_SERVICE);
        Display display = WM.getDefaultDisplay();
        display.getMetrics(metrics);
        int height = metrics.heightPixels; // 螢幕高
        int width = metrics.widthPixels; // 螢幕的寬
        // 獲取顯示方式
        int pixelformat = display.getPixelFormat();
        PixelFormat localPixelFormat1 = new PixelFormat();
        PixelFormat.getPixelFormatInfo(pixelformat, localPixelFormat1);
        int deepth = localPixelFormat1.bytesPerPixel;// 位深
        byte[] piex = new byte[height * width * deepth];
        try {
            Runtime.getRuntime().exec(
                    new String[]{"/system/bin/su", "-c",
                            "chmod 777 /dev/graphics/fb0"});
        } catch (IOException e) {
            e.printStackTrace();
        }
        try {
            // 獲取fb0資料輸入流
            InputStream stream = new FileInputStream(new File(
                    "/dev/graphics/fb0"));
            DataInputStream dStream = new DataInputStream(stream);
            dStream.readFully(piex);
        } catch (Exception e) {
            e.printStackTrace();
        }

        // 儲存圖片
        int[] colors = new int[height * width];
        for (int m = 0; m < colors.length; m++) {
            int r = (piex[m * 4] & 0xFF);
            int g = (piex[m * 4 + 1] & 0xFF);
            int b = (piex[m * 4 + 2] & 0xFF);
            int a = (piex[m * 4 + 3] & 0xFF);
            colors[m] = (a << 24) + (r << 16) + (g << 8) + b;

        }
        // piex生成Bitmap
        Bitmap bitmap = Bitmap.createBitmap(colors, width, height,

                Bitmap.Config.ARGB_8888);
        return bitmap;
    }
需要root許可權,客戶當然不給了~~~~
反思一:
在實現圖片的儲存中,儲存時耗時操作,為更好地使用者體驗,最好儲存圖片在子執行緒進行。
以下是壓縮生成圖片的方法:
       FileOutputStream out = null;
                        try {
                            out = new FileOutputStream(fname);
                        } catch (FileNotFoundException e) {
                            e.printStackTrace();
                        }
bitmap1.compress(Bitmap.CompressFormat.JPEG, 20, out);反思二:
產品決定了上層了流程,會影響後續的很多環節。產品一旦修改,研發,測試都得跟著變更~時間延期,工作重複,都是影響團隊決戰勝利的因素。
當然了,作為研發,實現產品的需求是我們的天職。別給產品討論需求哦~~
哈哈哈,若是傾權,立刪~~~
研發也是一個小人物,調侃調侃生活~~~做好自己該做的,把自己能做的做得更好,願天下和平~~~~
歡迎小夥伴共同提高進步~~~~
異次元傳送門 ---- 哈哈,我就是一個Demo而已~_~
分離也許是為了更好的團聚,闖蕩也許是為了更好的生活……又有誰想背井離鄉孤獨一人拼搏了,又有誰不想花前月下團團圓圓啦……生活是現實的,人都活在現實生活之中,每一個人,每一個家庭都有各自的活法及生活方式,誰不希望美好的生活,美好的生活是要努力打拼奮鬥獲得的……
趁還有時間,給自已一點不一樣~~~~