
QT子執行緒與主執行緒的訊號槽通訊
阿新 • • 發佈:2019-02-14
最近用QT做一個伺服器,眾所周知,QT的主執行緒必須保持暢通,才能重新整理UI。所以,網路通訊端採用新開執行緒的方式。在涉及到使用子執行緒更新Ui上的控制元件時遇到了點兒麻煩。網上提供了很多同一執行緒不同類間採用訊號槽通訊的方式,但是並不完全適合執行緒間的訊號槽通訊,這主要體現在自定義訊息的傳遞上。
首先我們看看一般的方式:
testthread.h 檔案
#ifndef TESTTHREAD_H
#define TESTTHREAD_H

#include <QThread>

#include "msg.h"

class TestThread : public QThread
{
    Q_OBJECT
public:
    explicit TestThread(QObject *parent = 0);

protected:
    void run();

signals:
    void TestSignal(int);

private:
    Msg msg;
};

#endif // TESTTHREAD_H
testthread.cpp檔案
#include "testthread.h"

TestThread::TestThread(QObject *parent) :
    QThread(parent)
{
}

void TestThread::run()
{
    //觸發訊號
    emit TestSignal(123);
}
自己定義的類繼承了QThread類,重寫run函式,然後觸發TestSignal訊號。
mainwindow.h
#ifndef MAINWINDOW_H
#define MAINWINDOW_H

#include <QMainWindow>

#include "testthread.h"

namespace Ui {
class MainWindow;
}

class MainWindow : public QMainWindow
{
    Q_OBJECT

public:
    explicit MainWindow(QWidget *parent = 0);
    ~MainWindow();

private slots:
    void DisplayMsg(int);

private:
    Ui::MainWindow *ui;
    TestThread *t;
};

#endif // MAINWINDOW_H
mainwindow.cpp
#include "mainwindow.h"
#include "ui_mainwindow.h"

MainWindow::MainWindow(QWidget *parent) :
    QMainWindow(parent),
    ui(new Ui::MainWindow)
{
    ui->setupUi(this);

    //進行connect前必須例項化
    t = new TestThread();

    connect(t, SIGNAL(TestSignal(int)), this, SLOT(DisplayMsg(int)));

    //執行子執行緒
    t->start();
}

void MainWindow::DisplayMsg(int a)
{
    ui->textBrowser->append(QString::number(a));
}

MainWindow::~MainWindow()
{
    delete ui;
}
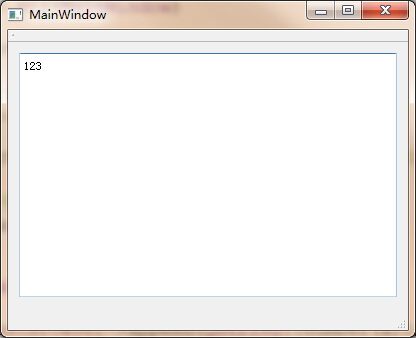
Mainwindow裡面連線訊號槽,並且將收到的int引數顯示在介面上。
執行效果
下面我們對程式進行一些簡單,修改,使得它傳輸我們的自定義訊息。
testthread.h 檔案
#ifndef TESTTHREAD_H
#define TESTTHREAD_H

#include <QThread>

#include "msg.h"

class TestThread : public QThread
{
    Q_OBJECT
public:
    explicit TestThread(QObject *parent = 0);
    Msg msg;

protected:
    void run();

signals:
    void TestSignal(Msg);   //Msg!!!
};

#endif // TESTTHREAD_H
testthread.h 檔案
#include "testthread.h"

TestThread::TestThread(QObject *parent) :
    QThread(parent)
{
}

void TestThread::run()
{
    msg.int_info = 999;
    msg.str_info = "Hello Main Thread!";
    //觸發訊號
    emit TestSignal(msg);
}
mainwindow.h 檔案
#ifndef MAINWINDOW_H
#define MAINWINDOW_H

#include <QMainWindow>

#include "testthread.h"
#include "msg.h"

namespace Ui {
class MainWindow;
}

class MainWindow : public QMainWindow
{
    Q_OBJECT

public:
    explicit MainWindow(QWidget *parent = 0);
    ~MainWindow();

private slots:
    void DisplayMsg(Msg);   //Msg!!!

private:
    Ui::MainWindow *ui;
    TestThread *t;
};

#endif // MAINWINDOW_H
mainwindow.cpp 檔案
#include "mainwindow.h"
#include "ui_mainwindow.h"

MainWindow::MainWindow(QWidget *parent) :
    QMainWindow(parent),
    ui(new Ui::MainWindow)
{
    ui->setupUi(this);

    //進行connect前必須例項化
    t = new TestThread();

    //Msg!!!
    connect(t, SIGNAL(TestSignal(Msg)), this, SLOT(DisplayMsg(Msg)));

    //執行子執行緒
    t->start();
}

void MainWindow::DisplayMsg(Msg msg)
{
    ui->textBrowser->append(QString::number(msg.int_info));
    ui->textBrowser->append(msg.str_info);
}

MainWindow::~MainWindow()
{
    delete ui;
}
此時再進行編譯,能夠通過,但是Qt Creator會有提示
QObject::connect: Cannot queue arguments of type 'Msg'
(Make sure 'Msg' is registered using qRegisterMetaType().)
並且執行程式,不會有任何反應。
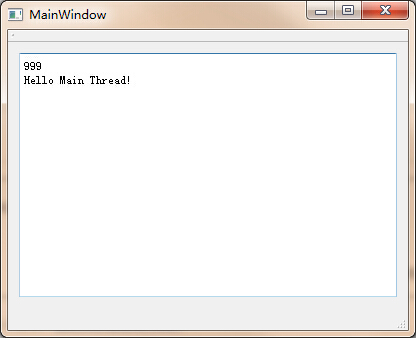
mainwindow.cpp檔案 改動為
ui->setupUi(this);

qRegisterMetaType<Msg>("Msg");
此時能夠正常執行
說明:
線上程間使用訊號槽進行通訊時,需要注意必須使用元資料型別
Qt內生的元資料型別,如int double QString 等
如果要用自己定義的資料型別,需要在connect前將其註冊為元資料型別。形式見程式碼。