
SpringCloud微服務之使用SpringBoot搭建後端微服務&配置MyBatis框架
SpringCloud微服務系列部落格:
本文介紹如何使用spring boot框架搭建一個基本的後端服務,以從前端載入後端圖片這個功能為例。
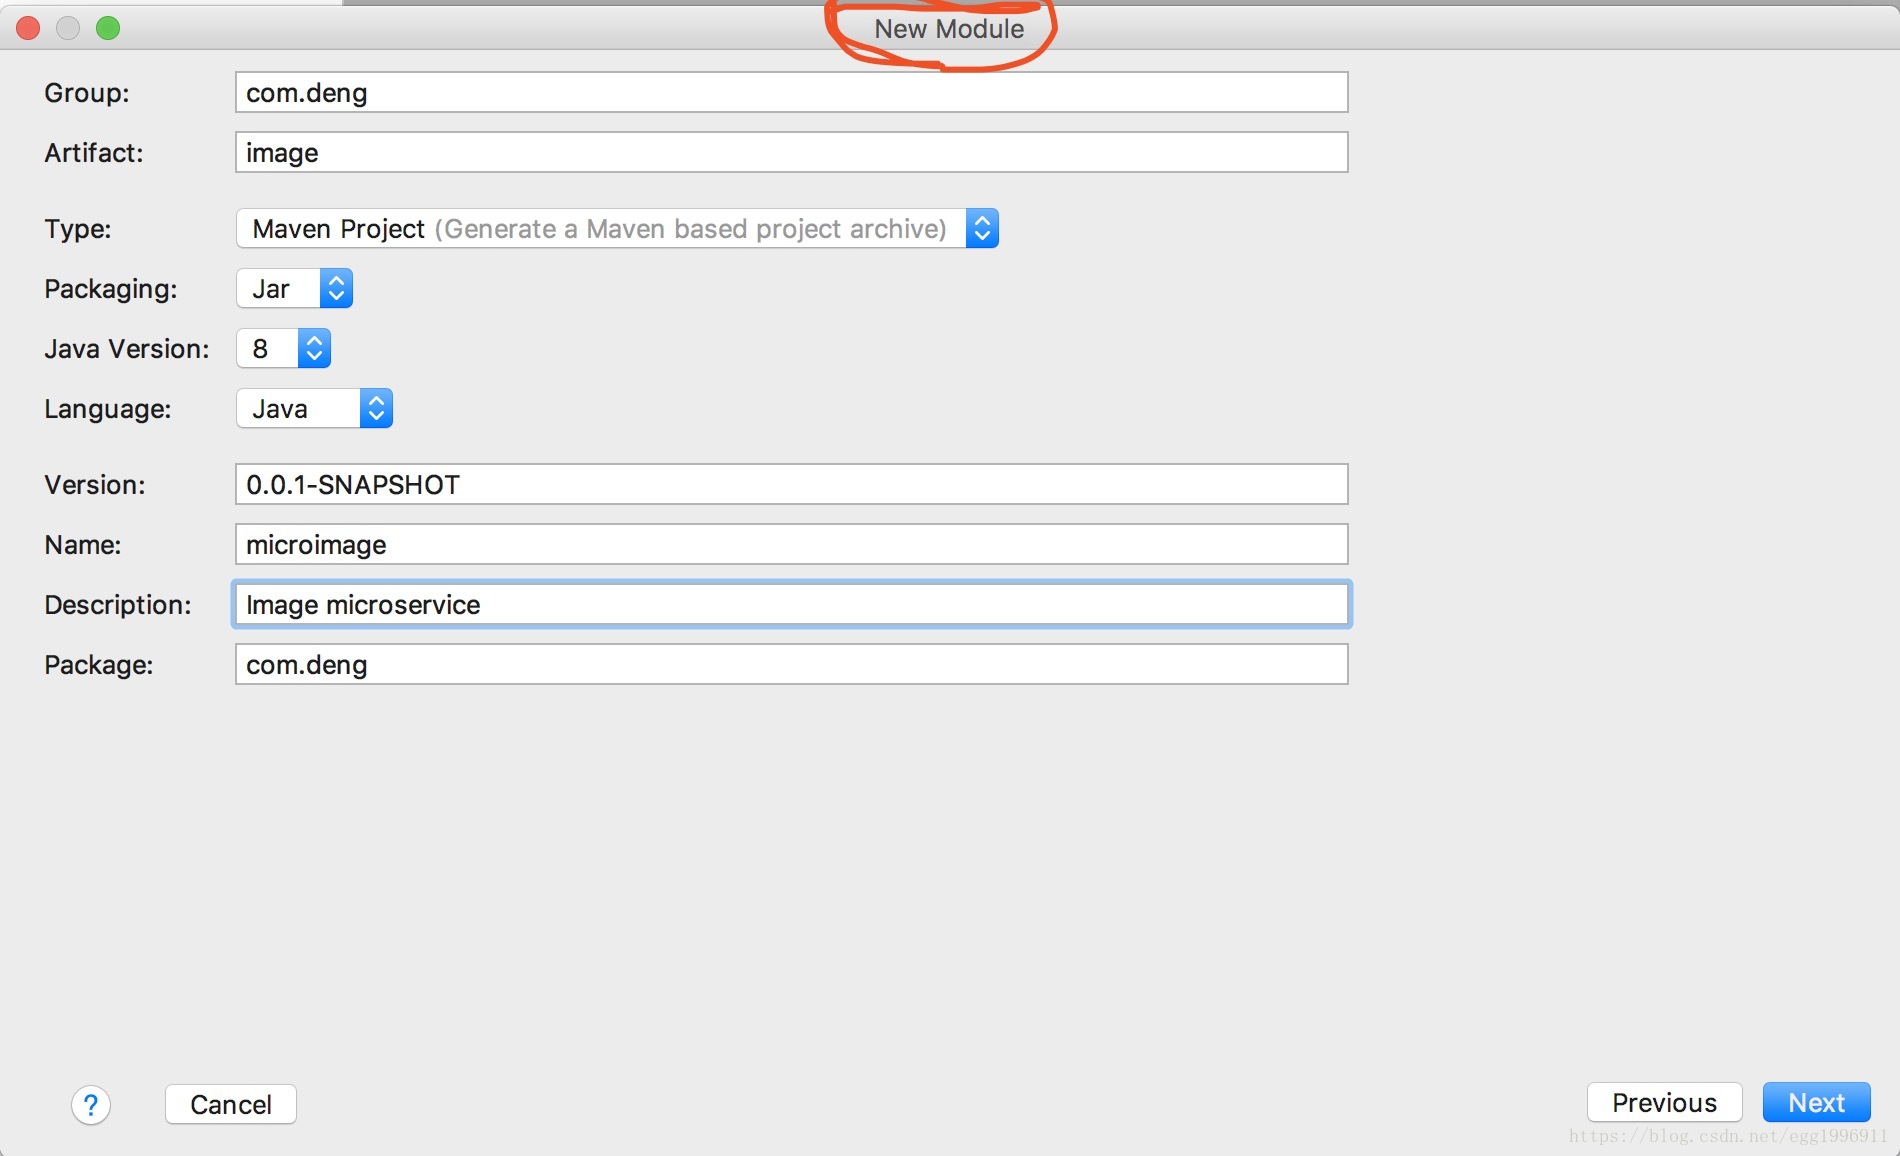
1、使用intellij idea建立一個spring boot專案。(如果有多個微服務專案,同樣推薦使用new module的方式建立專案,這樣可以在一個工程裡同時檢視所有專案)
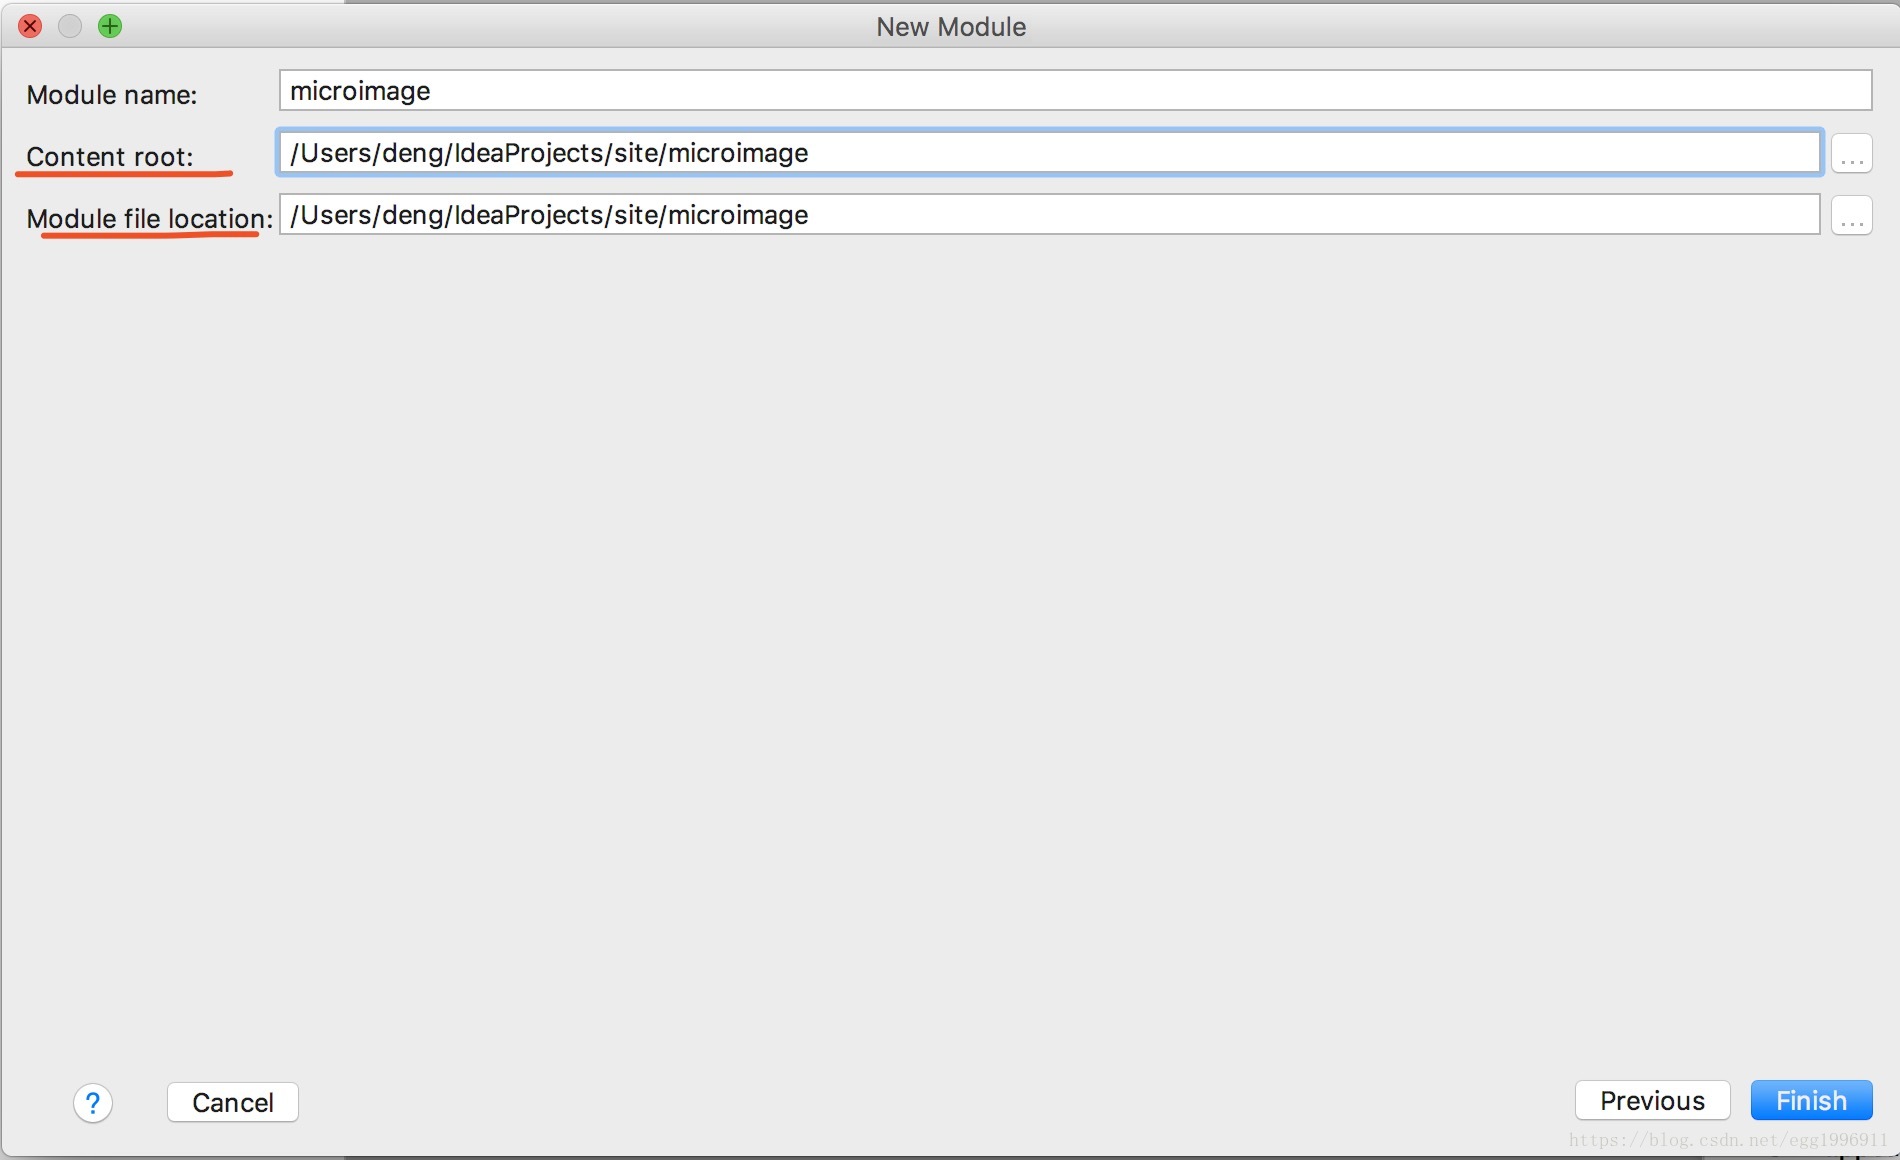
修改基本資訊就好,dependencies的引用可以直接next跳過,在第二步中修改pom.xml就好,記得第三步中要注意專案路徑:
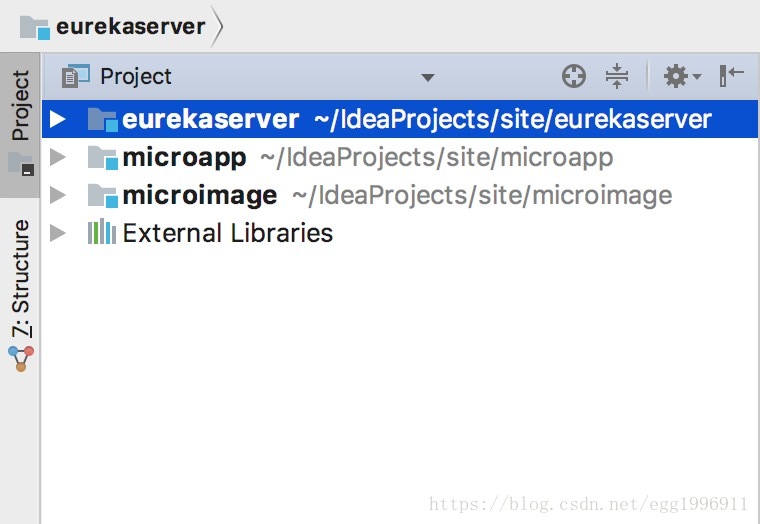
多個Module在一個工程中:
2、修改pom.xml,新增必要dependencies:
- MyBatis:使用mysql資料庫+mybatis框架
- Eureka:用來將微服務註冊到Eureka Server上
<?xml version="1.0" encoding="UTF-8"?>
<project xmlns="http://maven.apache.org/POM/4.0.0" xmlns:xsi="http://www.w3.org/2001/XMLSchema-instance"
xsi:schemaLocation="http://maven.apache.org/POM/4.0.0 http://maven.apache.org/xsd/maven-4.0.0.xsd">
<modelVersion>4.0.0</modelVersion 3、配置資料庫和實現DAO層(資料層):
1) 修改appilcation.properties。如果將所有微服務放在一臺伺服器上部署或者在本地執行時,注意埠號(server.port)不要重複,否則會報埠被佔用的錯誤:
server.port=8089
spring.application.name=microimage
eureka.client.serviceUrl.defaultZone=http://127.0.0.1:8761/eureka/
#database
spring.datasource.url=jdbc:mysql://localhost:3306/site_microimage?useUnicode=true&characterEncoding=utf-8
spring.datasource.username=root
spring.datasource.password=123456
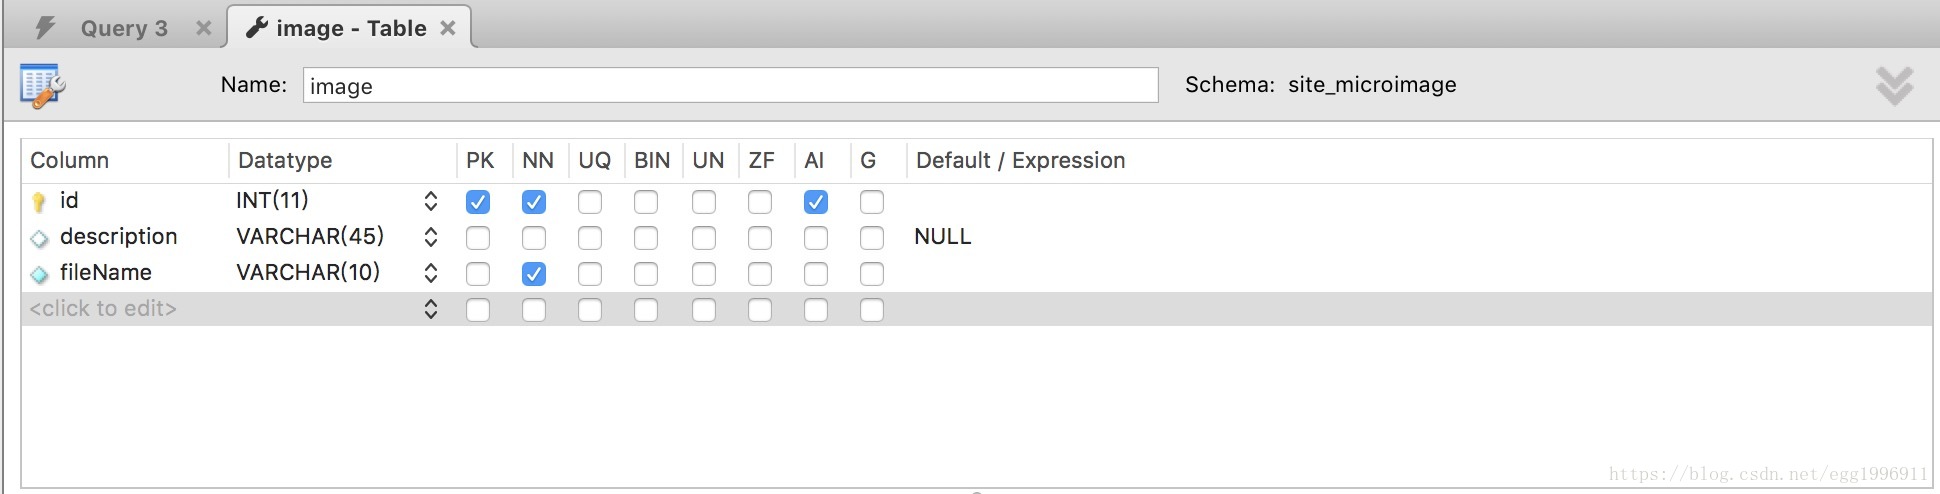
spring.datasource.driver-class-name=com.mysql.jdbc.Driver2) 根據業務需求設計實體bean,並在資料庫中手動建立bean對應的表:
設計Image實體類,用來儲存圖片的描述和圖片檔名,圖片id使用自增方式生成。因此Image的Bean程式碼和資料庫表設計如下所示:
package com.deng.bean;

public class Image {
    private int id;
    private String description;
    private String fileName;

    public int getId() {
        return id;
    }

    public String getDescription() {
        return description;
    }

    public String getFileName() {
        return fileName;
    }

    public void setId(int id) {
        this.id = id;
    }

    public void setDescription(String description) {
        this.description = description;
    }

    public void setFileName(String fileName) {
        this.fileName = fileName;
    }
}
資料庫表中的column名最好與bean中的屬性名一致,這樣在編寫sql語句時會方便一些:
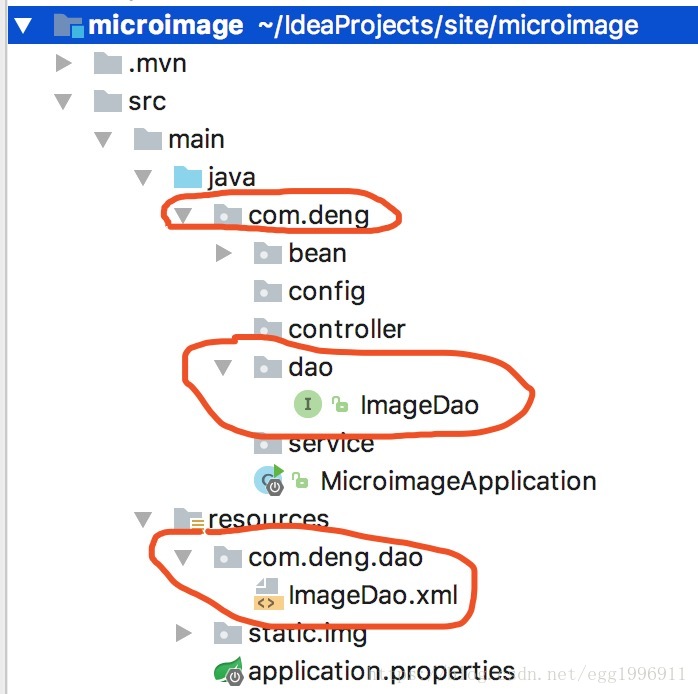
3) 實現dao層,編寫關於Image的新增和刪除方法:
ImageDao的介面類:
package com.deng.dao;

import com.deng.bean.Image;
import org.springframework.stereotype.Repository;

import java.util.List;

@Repository
public interface ImageDao {
    int addImage(Image image);

    List<Image> getAllImages();
}
ImageDao的mapper檔案(自增id的配置為useGeneratedKeys=”true” keyProperty=”id”,keyProperty處填寫自增id的在bean中的屬性名):
<?xml version="1.0" encoding="UTF-8"?>
<!DOCTYPE mapper PUBLIC "-//mybatis.org//DTD Mapper 3.0//EN" "http://mybatis.org/dtd/mybatis-3-mapper.dtd">
<mapper namespace="com.deng.dao.ImageDao">

    <insert id="addImage" parameterType="com.deng.bean.Image" useGeneratedKeys="true" keyProperty="id">
        INSERT INTO `image`(`description`,`fileName`) VALUES(#{description},#{fileName})
    </insert>

    <select id="getAllImages" resultType="com.deng.bean.Image">
        SELECT * FROM `image`
    </select>
</mapper>
注意(很重要!!!),可能引起MyBatis報錯的原因如下:
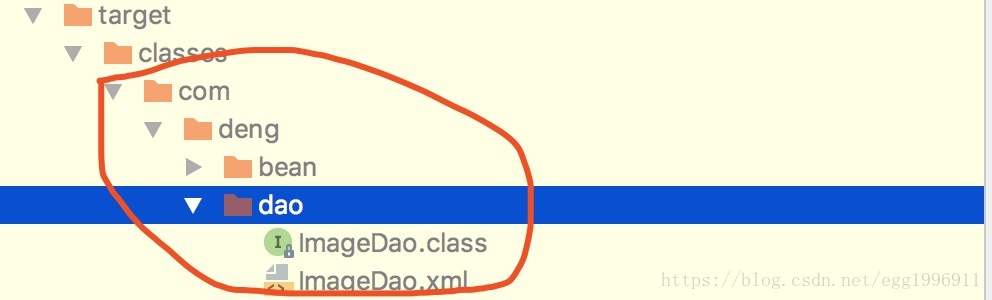
- dao的介面類放在java資料夾下,mapper檔案放在resouces下,不過最終要保證的都是它們編譯後的路徑要一致,否則dao會無法匹配到mapper
- 檢查mapper中的namespace(介面類路徑)、parameterType、resultType是否填寫正確
- 檢查mapper中的方法名是否和介面類中的方法名匹配,引數是否匹配
4) 修改啟動類,增加註冊eureka客戶端功能和掃描mapper(@MapperScan)功能:
package com.deng;

import org.mybatis.spring.annotation.MapperScan;
import org.springframework.boot.SpringApplication;
import org.springframework.boot.autoconfigure.SpringBootApplication;
import org.springframework.cloud.client.discovery.EnableDiscoveryClient;

@EnableDiscoveryClient
@SpringBootApplication
@MapperScan("com.deng.dao")
public class MicroImageApplication {
    public static void main(String[] args) {
        SpringApplication.run(MicroImageApplication.class, args);
    }
}
3、新增測試資料:
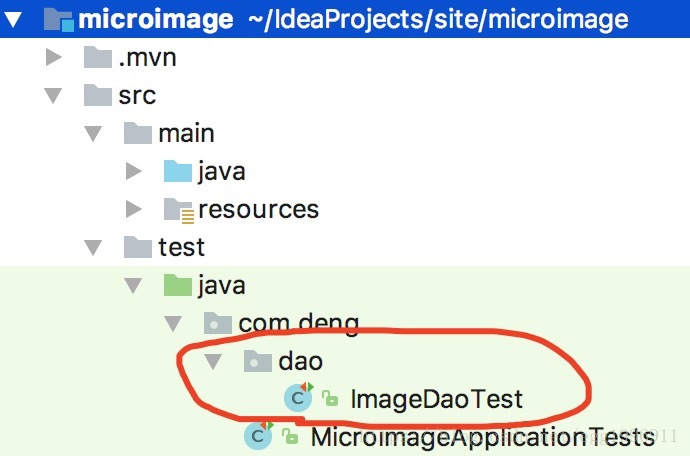
1) 在test包下新增ImageDaoTest測試類:
package com.deng.dao;
import com.deng.bean.Image;
import org.junit.Test;
import org.junit.runner.RunWith;
import org.springframework.beans.factory.annotation.Autowired;
import org.springframework.boot.test.context.SpringBootTest;
import org.springframework.test.context.junit4.SpringRunner;
/**
* Created by deng on 2018/5/18.
*/
@RunWith(SpringRunner.class)
@SpringBootTest
public class ImageDaoTest {
@Autowired
private ImageDao imageDao;
@Test
public void addImage() throws Exception {
for (int i = 1; i <= 9; i++) {
imageDao.addImage(new Image("示例圖片" + i, i + ".jpg"));
}
}
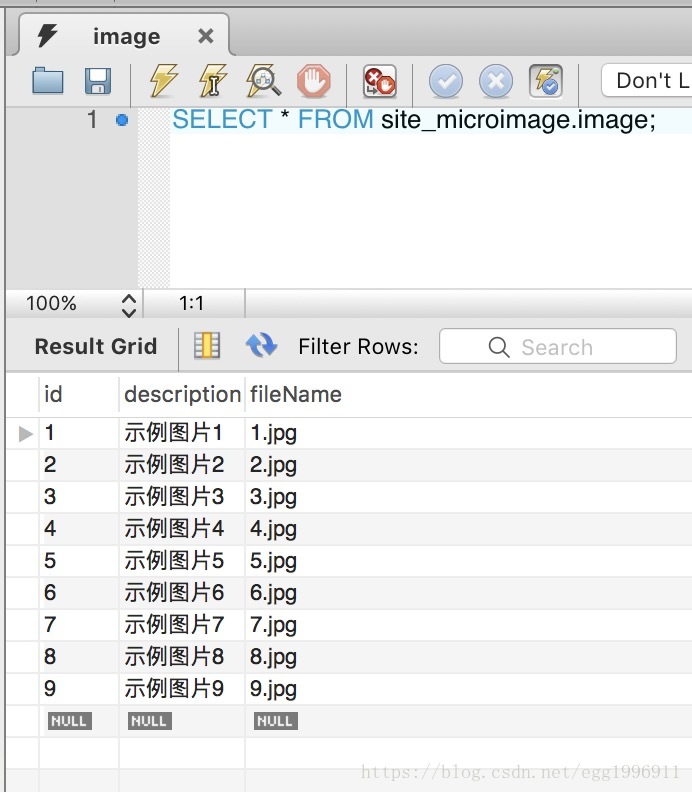
}執行ImageDaoTest成功後,檢視資料庫,可以發現數據已經成功插入,說明MyBatis+MySQL資料庫配置成功:
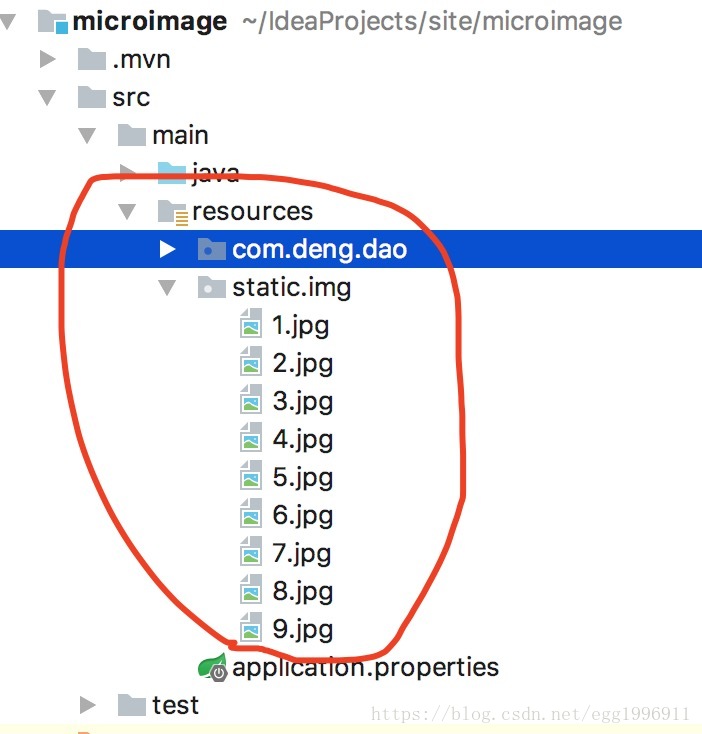
2) 在resources下新建static資料夾,static資料夾下新建img資料夾,將1.jpg-9.jpg放入resources/static/img下:
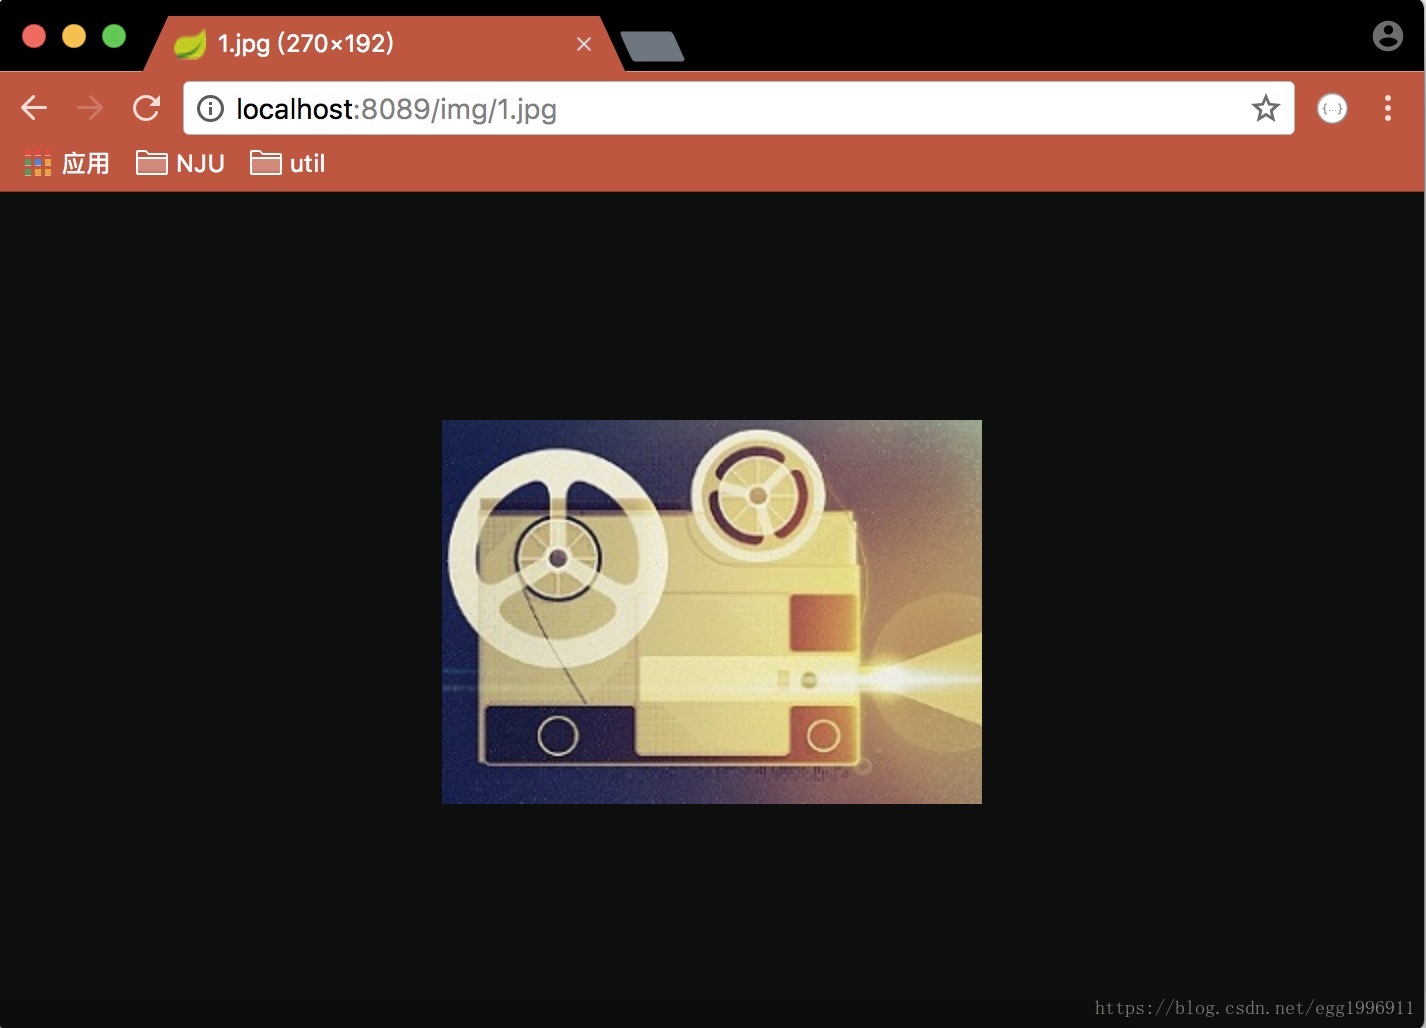
之後檢測圖片是否能夠在網頁中訪問,執行MicroImageAppliction類,在瀏覽器中訪問localhost:8089/img/1.jpg,可以正常顯示:
4、實現Service層和Controller層:
package com.deng.controller;

import com.deng.bean.Image;
import com.deng.service.ImageService;
import org.springframework.beans.factory.annotation.Autowired;
import org.springframework.web.bind.annotation.RequestMapping;
import org.springframework.web.bind.annotation.RequestMethod;
import org.springframework.web.bind.annotation.RestController;

import java.util.List;

@RestController
@RequestMapping(value = "/images")
public class ImageController {
    @Autowired
    private ImageService imageService;

    @RequestMapping(value = "/getAll", method = RequestMethod.GET)
    public List<Image> generate() {
        return imageService.getAllImages();
    }
}
package com.deng.service;

import com.deng.bean.Image;

import java.util.List;

public interface ImageService {
    List<Image> getAllImages();
}
package com.deng.service.impl;

import com.deng.bean.Image;
import com.deng.dao.ImageDao;
import com.deng.service.ImageService;
import org.springframework.beans.factory.annotation.Autowired;
import org.springframework.stereotype.Service;

import java.util.List;

@Service
public class ImageServiceImpl implements ImageService {
    @Autowired
    private ImageDao imageDao;

    @Override
    public List<Image> getAllImages() {
        return imageDao.getAllImages();
    }
}
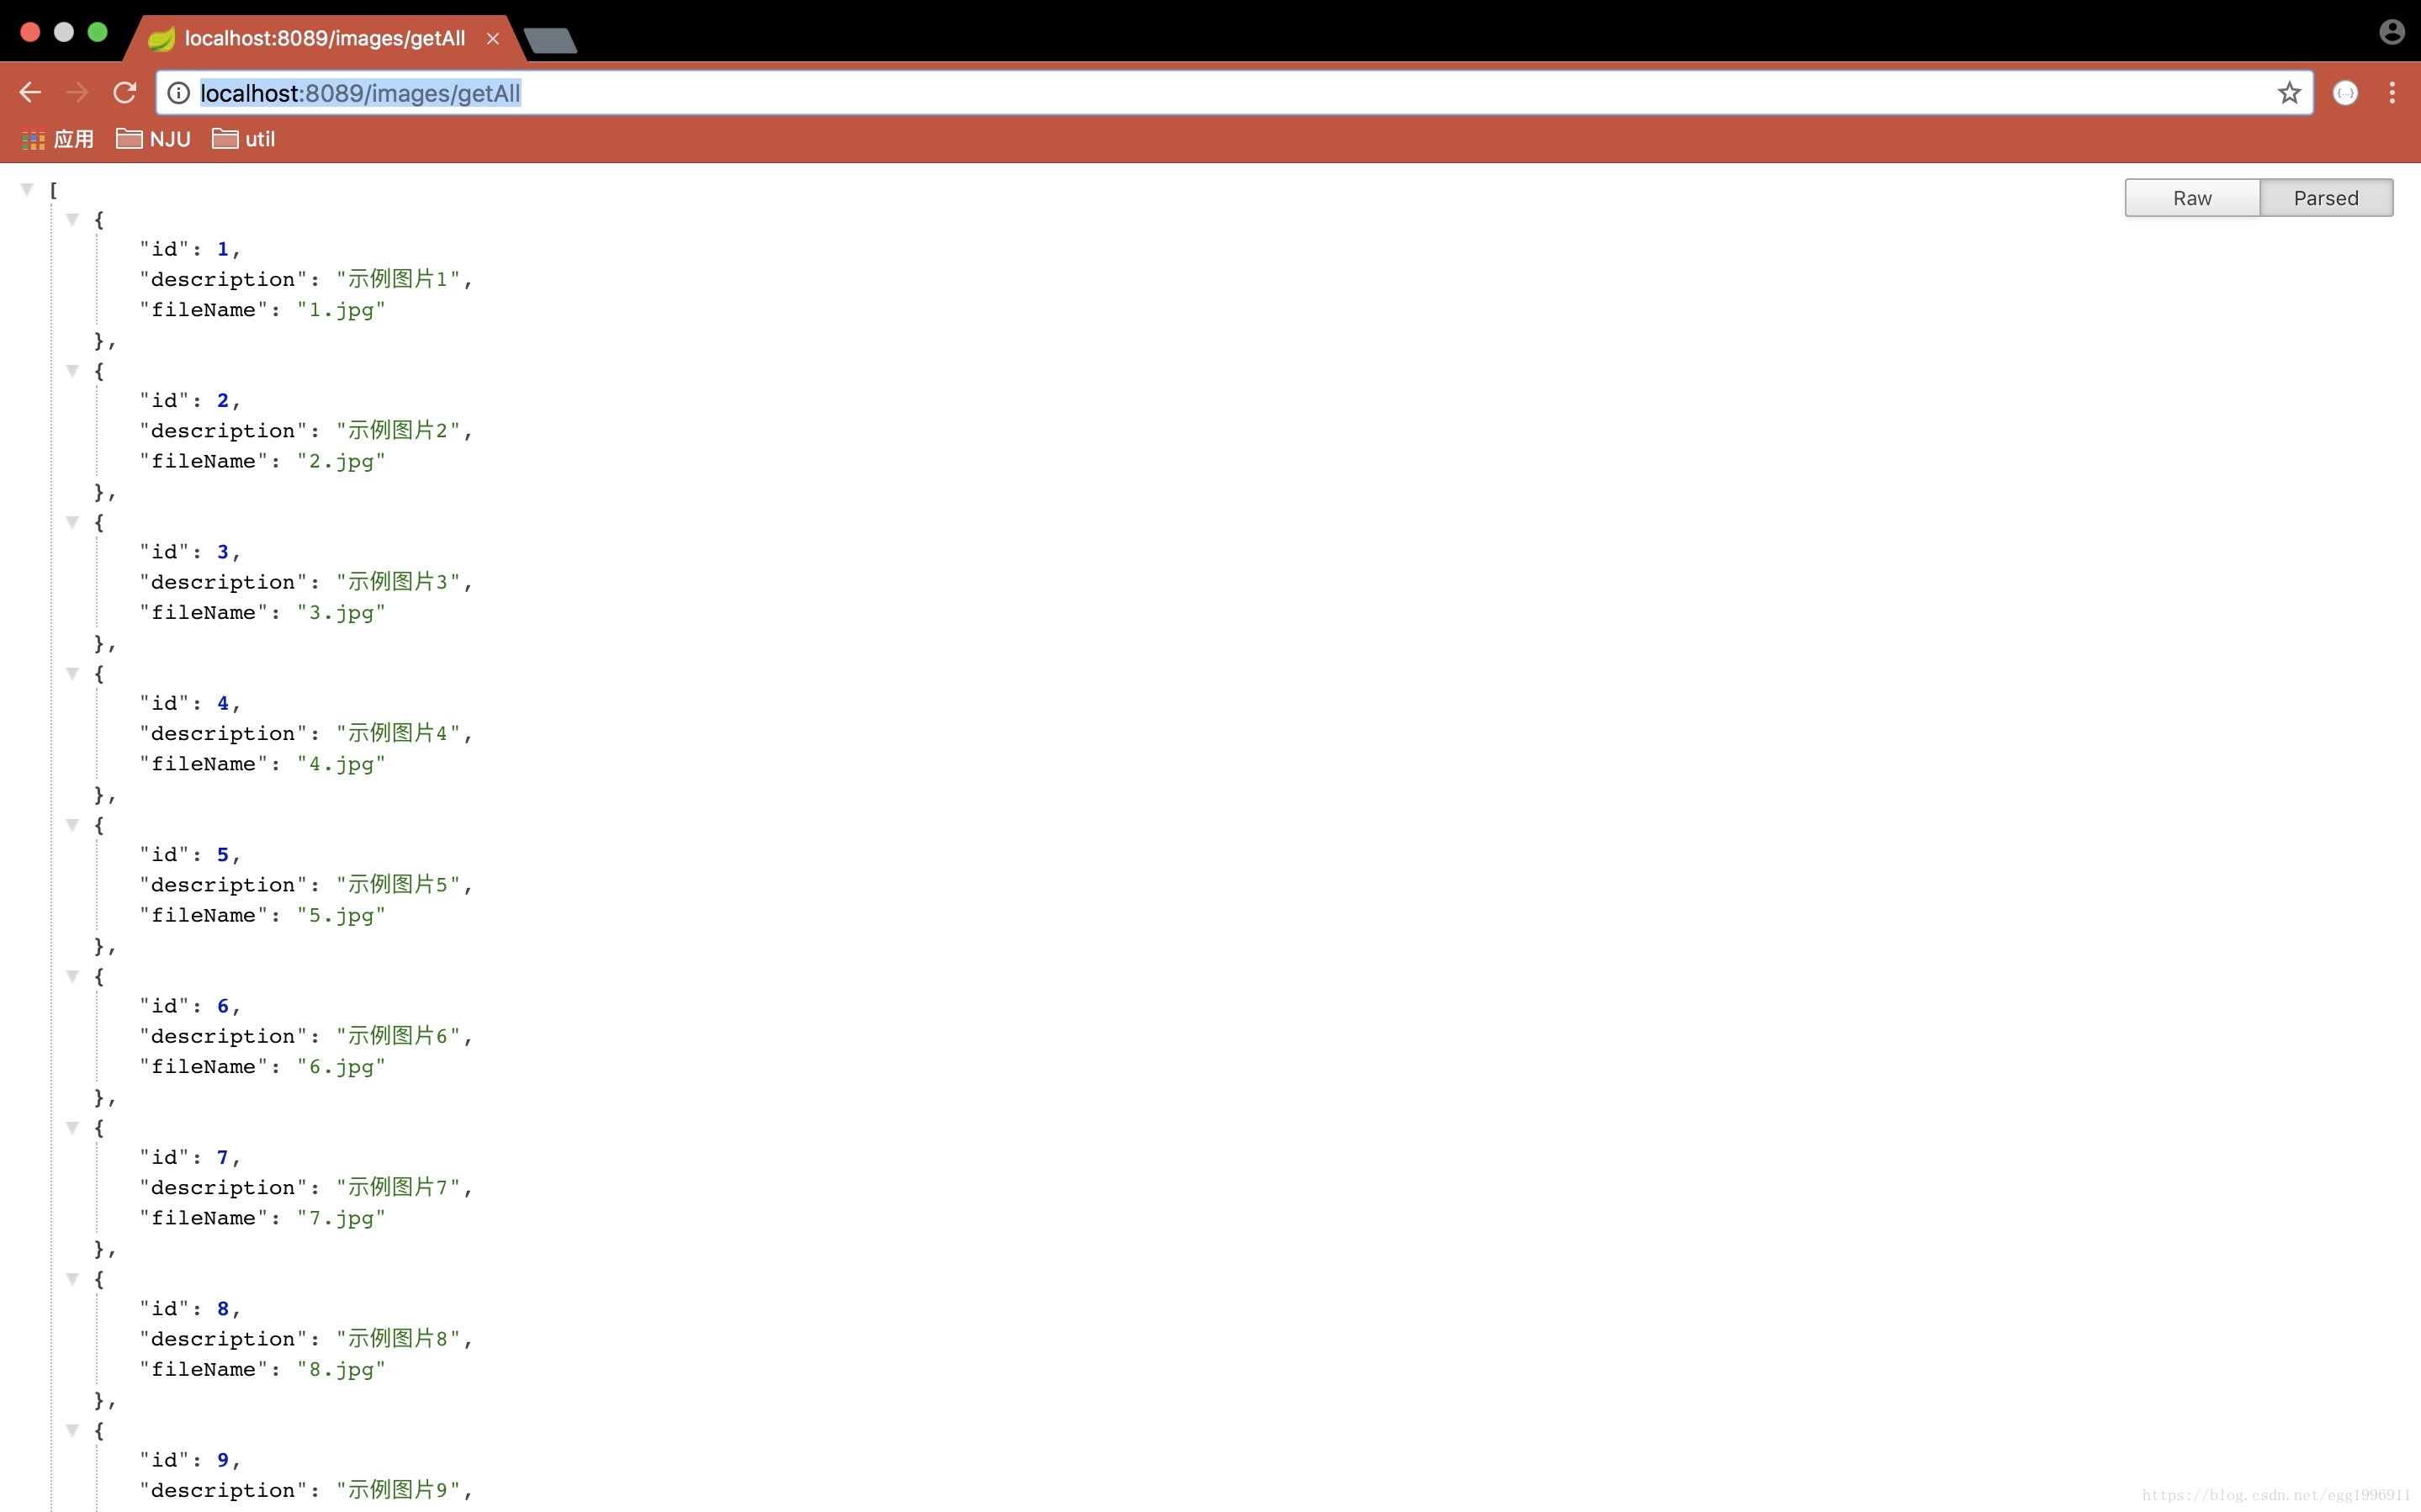
再次執行MicroImageAppliction,輸localhost:8089/images/getAll,可以發現介面能夠成功訪問:
至此,後端服務基本框架的搭建已經完成。可以看到專案使用分層思想,整體分為三層(controller-service-dao)。