
Python利用 Django完整的開發一個部落格系統
今天花了一些時間搭了一個部落格系統,雖然並沒有相關於介面的美化,但是釋出是沒問題的。
開發環境
作業系統:windows 7 64位
Django: 1.96
Python:2.7.11
IDE: PyCharm 2016.1
功能篇
既然是部落格系統,釋出的自然是部落格了。讓我們想想,一篇部落格有什麼屬性。所以我們要有能新增部落格,刪除部落格,修改部落格,以及給部落格發評論,貼標籤,劃分類等功能。
關係分析
-
屬性
部落格:標題,內容。
標籤:標籤名
分類:分類的名稱
評論:評論人,評論人email,評論內容 -
關係
部落格:一篇部落格可以有多個標籤,多個評論,屬於一個分類
標籤:一類標籤可以賦予多篇部落格,一個部落格也可以由多個標籤,所以是多對多的關係
分類:一個分類內部可以有多個部落格,所以和部落格是一對多的關係
評論:很明顯一個評論屬於一個部落格,而一個部落格可以有很多的評論,所以是一對多的關係。
模型層設計
廢話不多說,根據上一步的關係分析,直接設計即可。
# coding:utf8
from __future__ import unicode_literals
from django.db import models
# Create your models here.
class Catagory(models.Model):
"""
部落格分類
"""
name = models.CharField('名稱',max_length=30)
def __unicode__(self):
return self.name
class - 1
- 2
- 3
- 4
- 5
- 6
- 7
- 8
- 9
- 10
- 11
- 12
- 13
- 14
- 15
- 16
- 17
- 18
- 19
- 20
- 21
- 22
- 23
- 24
- 25
- 26
- 27
- 28
- 29
- 30
- 31
- 32
- 33
- 34
- 35
- 36
- 37
- 38
- 39
- 40
- 41
- 42
- 43
- 44
- 45
- 46
- 47
- 48
- 49
- 50
資料庫設定
# Database
# https://docs.djangoproject.com/en/1.9/ref/settings/#databases

DATABASES = {
    'default': {
        'ENGINE': 'django.db.backends.sqlite3',
        'NAME': os.path.join(BASE_DIR, 'db.sqlite3'),
    }
}
- 1
- 2
- 3
- 4
- 5
- 6
- 7
- 8
- 9
- 10
- 11
然後Django就可以根據我們剛才的模型來逆向的生成資料庫底層的業務邏輯。然後就需要呼叫相關的命令即可。
python manage.py makemigrations
python manage.py migrate- 1
- 2
這樣,框架就會幫助我們完成底層的資料庫操作了。而且不用擔心表與表之間的關係。
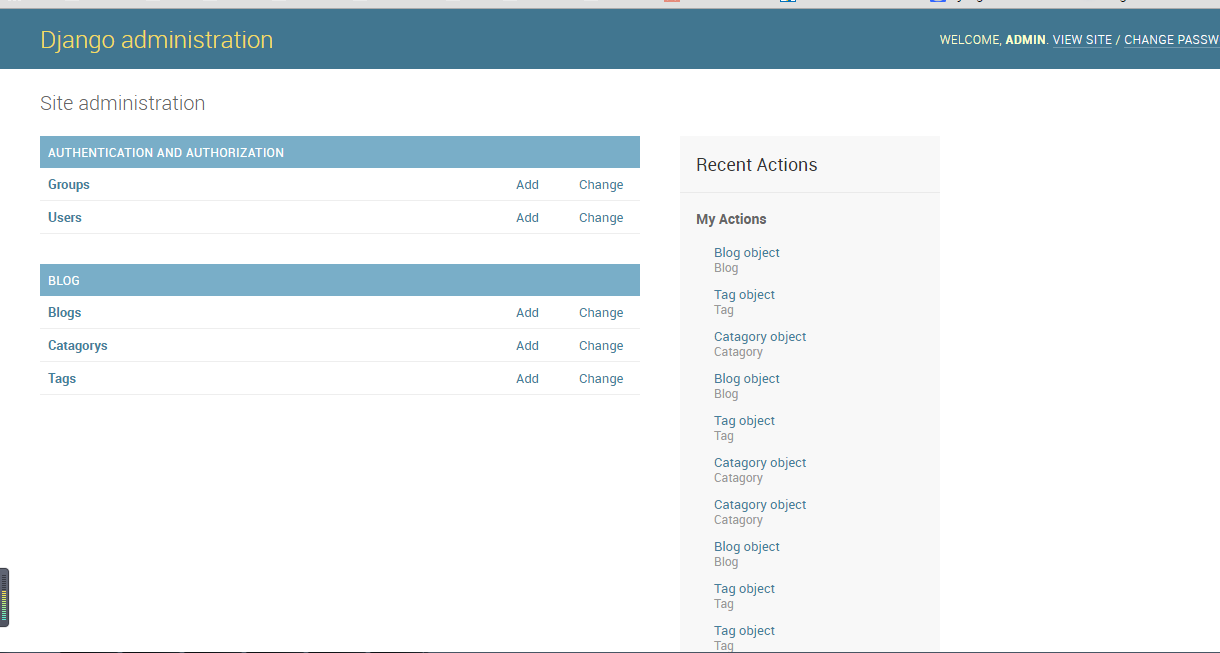
管理層
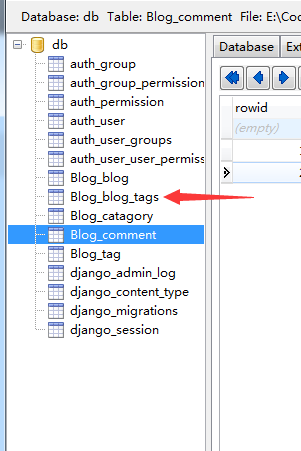
由於我們完成了模型的建立了,所以想當然的需要來個管理的,那麼讓admin登場吧,所以我們需要將模型註冊到admin上面,這樣就會在管理頁面出現這三個選項了。
Controller層設計
其實就是urls.py 的書寫,沒什麼好說的了吧,如下:
# coding:utf8
from django.contrib import admin

# Register your models here.
from Blog.models import *
# 註冊的目的就是為了讓系統管理員能對註冊的這些模型進行管理
admin.site.register([Catagory,Tag,Blog])- 1
- 2
- 3
- 4
- 5
- 6
- 7
接下來就是urls.py 的詳細資訊。
"""MyDjango2 URL Configuration

The `urlpatterns` list routes URLs to views. For more information please see:
    https://docs.djangoproject.com/en/1.9/topics/http/urls/
Examples:
Function views
    1. Add an import:  from my_app import views
    2. Add a URL to urlpatterns:  url(r'^$', views.home, name='home')
Class-based views
    1. Add an import:  from other_app.views import Home
    2. Add a URL to urlpatterns:  url(r'^$', Home.as_view(), name='home')
Including another URLconf
    1. Import the include() function: from django.conf.urls import url, include
    2. Add a URL to urlpatterns:  url(r'^blog/', include('blog.urls'))
"""
from django.conf.urls import url
from django.contrib import admin

from Blog.views import *
urlpatterns = [
    url(r'^admin/', admin.site.urls),
    url(r'^blogs/$',get_blogs),
    url(r'^detail/(\d+)/$',get_details ,name='blog_get_detail'),
]
- 1
- 2
- 3
- 4
- 5
- 6
- 7
- 8
- 9
- 10
- 11
- 12
- 13
- 14
- 15
- 16
- 17
- 18
- 19
- 20
- 21
- 22
- 23
- 24
- 25
View層
檢視層的展示如下:
from django.shortcuts import render,render_to_response

# Create your views here.
from Blog.models import *
from Blog.forms import CommentForm
from django.http import Http404
def get_blogs(request):
    blogs = Blog.objects.all().order_by('-created')
    return render_to_response('blog-list.html',{'blogs':blogs})

def get_details(request,blog_id):
    try:
        blog = Blog.objects.get(id=blog_id)
    except Blog.DoesNotExist:
        raise Http404
    if request.method == 'GET':
        form = CommentForm()
    else:
        form = CommentForm(request.POST)
        if form.is_valid():
            cleaned_data = form.cleaned_data
            cleaned_data['blog'] = blog
            Comment.objects.create(**cleaned_data)
    ctx = {
        'blog':blog,
        'comments':blog.comment_set.all().order_by('-created'),
        'form':form
    }
return render(request,'blog_details.html',ctx)- 1
- 2
- 3
- 4
- 5
- 6
- 7
- 8
- 9
- 10
- 11
- 12
- 13
- 14
- 15
- 16
- 17
- 18
- 19
- 20
- 21
- 22
- 23
- 24
- 25
- 26
- 27
- 28
- 29
想必大家也看到了模板html,所以接下來介紹一下模板的書寫。
模板系統
這裡的模板主要是用到了兩個,一個是部落格列表模板,另一個是部落格詳情介面模板。配合了模板變數以及模板標籤,就是下面這個樣子了。
- 先看blog_list.html
<!DOCTYPE html>
<html lang="zh">
<head>
    <meta charset="UTF-8">
    <title>My Blogs</title>
    <style>
        .blog{
            padding:20px 0px;
        }
        .blog .info span {
            padding-right: 10px;
        }
        .blog .summary {
            padding-top:20px;
        }
    </style>
</head>
<body>
<div class="header">
    <h1 align="center">My Blogs</h1>
</div>

    {% for blog in blogs %}
        <div align="center" class="blog">
            <div class="title">
                <a href="{% url 'blog_get_detail' blog.id %}"><h2>{{ blog.title }}</h2></a>
            </div>
        <div class="info">
            <span class="catagory" style="color: #ff9900;">{{ blog.catagory.name }}</span>
            <span class="author" style="color: #4a86e8;">{{ blog.author }}</span>
            <span class="created" style="color: #6aa84e;">{{ blog.created |date:"Y-m-d H:i" }}</span>
        </div>
        <div class="summary">
            {{ blog.content | truncatechars:100 }}
        </div>
        </div>
    {% endfor %}

</body>
</html>- 1
- 2
- 3
- 4
- 5
- 6
- 7
- 8
- 9
- 10
- 11
- 12
- 13
- 14
- 15
- 16
- 17
- 18
- 19
- 20
- 21
- 22
- 23
- 24
- 25
- 26
- 27
- 28
- 29
- 30
- 31
- 32
- 33
- 34
- 35
- 36
- 37
- 38
- 39
- 40
- 接下來是blog_details.html
<!DOCTYPE html>
<html lang="en">
<head>
    <meta charset="UTF-8">
    <title>{{ blog.title }}</title>
    <style>
        .blog {
            padding: 20px 0px;
        }
        .blog .info span {
            padding-right: 10px;
        }
        .blog .summary {
            padding-top: 20px;
        }
    </style>
</head>
<body>

<div class="header">
    <span><a href="{% url 'blog_get_detail' blog.id %}">{{ blog.title }}</a></span>
</div>

<div class="content">
    <div class="blog">
        <div class="title">
            <a href="#"><h2>{{ blog.title }}</h2></a>
        </div>
        <div class="info">
            <span class="category" style="color: #ff9900;">{{ blog.category.name }}</span>
            <span class="author" style="color: #4a86e8">{{ blog.author }}</span>
            <span class="created" style="color: #6aa84f">{{ blog.created|date:"Y-m-d H:i" }}</span>
        </div>
        <div class="summary">
            {{ blog.content }}
        </div>
    </div>
    <div class="comment">
        <div class="comments-display" style="padding-top: 20px;">
            <h3>評論</h3>
            {% for comment in comments %}
                <div class="comment-field" style="padding-top: 10px;">
                    {{ comment.name }} 說: {{ comment.content }}
                </div>
            {% endfor %}
        </div>
        <div class="comment-post" style="padding-top: 20px;">
            <h3>提交評論</h3>
            <form action="{% url 'blog_get_detail' blog.id %}" method="post">
                {% csrf_token %}{% for field in form %}
                    <div class="input-field" style="padding-top: 10px">
                        {{ field.label }}: {{ field }}
                    </div>
                    <div class="error" style="color: red;">
                        {{ field.errors }}
                    </div>
                {% endfor %}
                <button type="submit" style="margin-top: 10px">提交</button>
            </form>
        </div>
    </div>
</div>

</body>
</html>- 1
- 2
- 3
- 4
- 5
- 6
- 7
- 8
- 9
- 10
- 11
- 12
- 13
- 14
- 15
- 16
- 17
- 18
- 19
- 20
- 21
- 22
- 23
- 24
- 25
- 26
- 27
- 28
- 29
- 30
- 31
- 32
- 33
- 34
- 35
- 36
- 37
- 38
- 39
- 40
- 41
- 42
- 43
- 44
- 45
- 46
- 47
- 48
- 49
- 50
- 51
- 52
- 53
- 54
- 55
- 56
- 57
- 58
- 59
- 60
- 61
- 62
- 63
- 64
- 65
- 66
新增評論
這裡藉助Django的forms模組可以方便的整合評論功能。
我們需要在Blog應用中新建一個forms.py來做處理。
# coding:utf-8
from django import forms

"""
藉此實現部落格的評論功能
"""
class CommentForm(forms.Form):
    """
    評論表單用於發表部落格的評論。評論表單的類並根據需求定義了三個欄位:稱呼、郵箱和評論內容。這樣我們就能利用它來快速生成表單並驗證使用者的輸入。
    """
    name = forms.CharField(label='稱呼',max_length=16,error_messages={
        'required':'請填寫您的稱呼',
        'max_length':'稱呼太長咯'
    })

    email = forms.EmailField(label='郵箱',error_messages={
        'required':'請填寫您的郵箱',
        'invalid':'郵箱格式不正確'
    })

    content = forms.CharField(label='評論內容',error_messages={
        'required':'請填寫您的評論內容!',
        'max_length':'評論內容太長咯'
})- 1
- 2
- 3
- 4
- 5
- 6
- 7
- 8
- 9
- 10
- 11
- 12
- 13
- 14
- 15
- 16
- 17
- 18
- 19
- 20
- 21
- 22
- 23
- 24
這個檔案的使用在views.py中的ctx中,以及blog_details.html模板檔案中可以體現出來。
啟動服務
python manage.py runserver
呼叫這個功能,就可以啟動我們的開發伺服器了,然後在瀏覽器中輸入http://127.0.0.1:8000/blogs 你就會發現下面的這個介面。
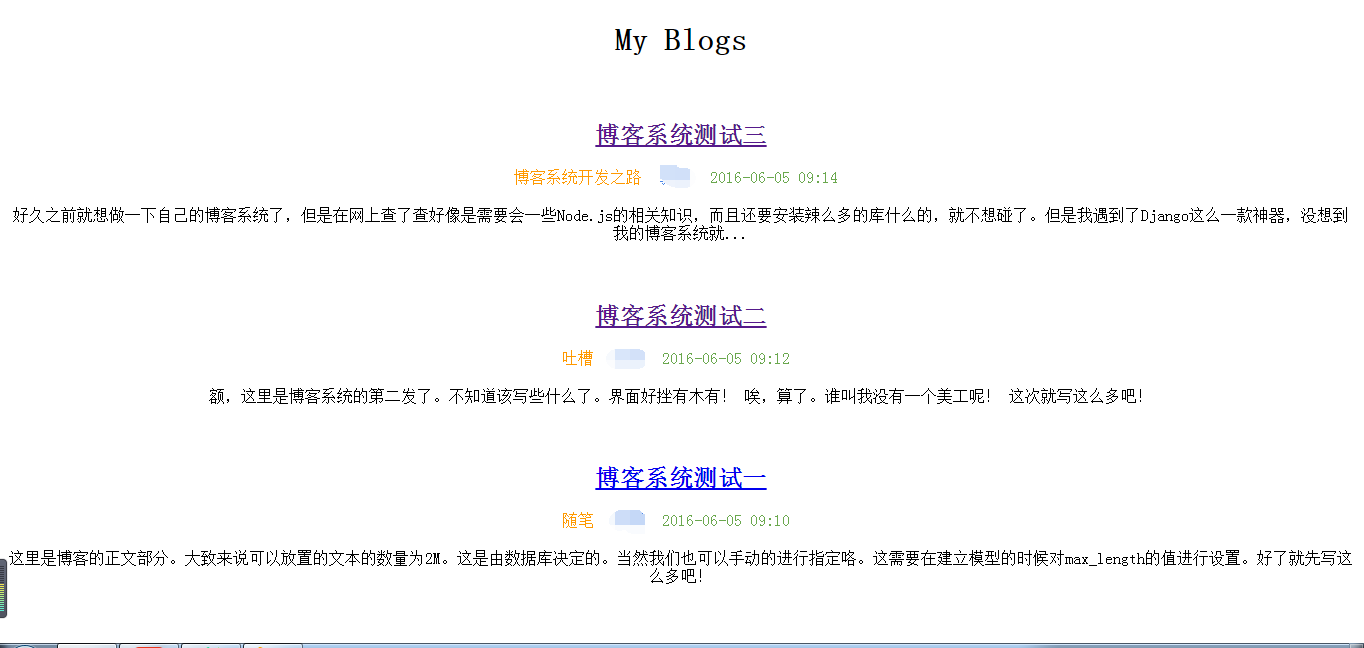
隨便點進去一個,就可以進入部落格的詳情頁面了。
由於介面很難看,這裡就不演示了,但是功能確實是很強大的,特別是對評論的驗證功能。
總結
完成了這個比較“cool”的部落格系統,其實並沒有完成。加上一些CSS特效的話會更好。還有整合一下富媒體編輯器的話效果會更好。