
Linux 下qt 程式打包釋出(使用linuxdelpoyqt ,shell 指令碼)
linux qt 程式打包釋出
1.linuxdeployqt 安裝
最簡單的方法直接下載編譯好的 linuxdeployqt-x86_64.AppImage檔案,將其改名字為linuxdeployqt,並chmod a+x,然後複製到 /usr/local/bin/。然後命令列輸入 linuxdelpoyqt –version,輸出linuxdeployqt 版本就安裝成功。
linuxdeployqt-x86_64.AppImage 下載地址,https://github.com/probonopd/linuxdeployqt/releases
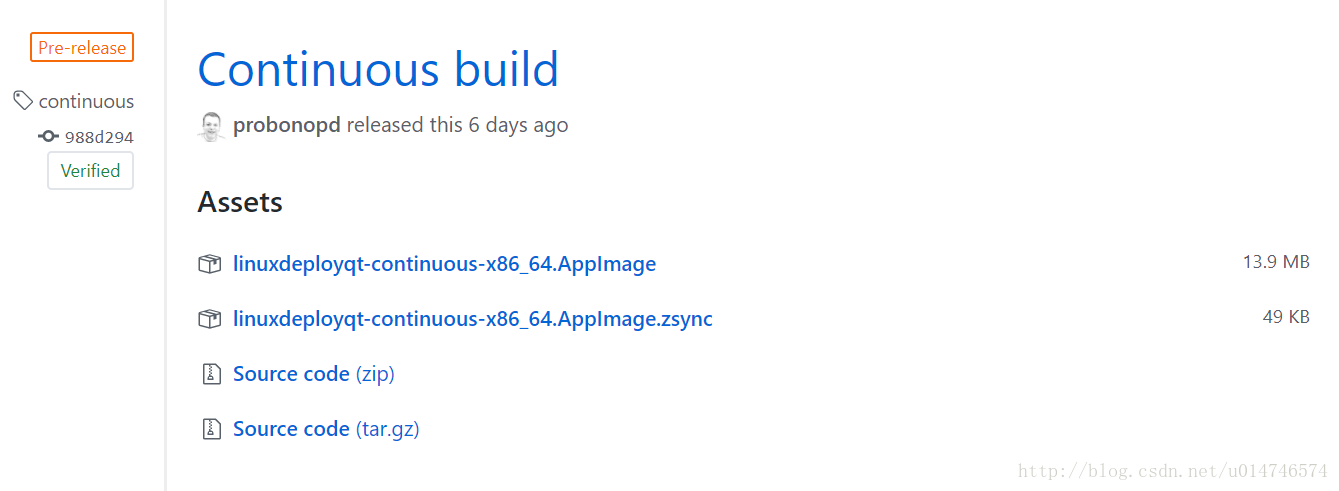
點選linuxdeployqt-x86_64.AppImage右鍵下載即可。
$ mv linuxdeployqt-x86_64.AppImage linuxdeployqt
$ mv ./linuxdeployqt /usr/local/bin
$ linuxdelpoyqt --version
linuxdeployqt 4 (commit 988d294), build 481 built on 2018-02-02 15:05:23 UTC
2.打包自己的程式
將自己的qt程式(如myQtApp)複製到一個目錄(如 qtTest),執行
$ linuxdeployqt ./myQtApp -appimage3.在ubuntu 中新增qt 應用程式圖示
修改qt 目錄下的desktop 檔案。可以按照ubuntu 官方提示修改。
ubuntu desktop檔案使用
#-- 全域性安裝(所有使用者可用),將xxx.desktop 複製到/usr/share/applications
#-- 當前使用者可用, 將xxx.desktop 複製到 ~/.local/share/applications 目錄即可
#--appName.desktop
[Desktop Entry]
Version=1.0 #app的版本
Name=myQtApp #app的名字
Comment= this app use for xxx #說明資訊
Exec=/path/to 4、關於qt.conf
這個檔案指定了qt 程式的執行環境。
引用qt說明的原話:
The qt.conf file can be used to override the hard-coded paths that are compiled into the Qt library. These paths are accessible using the QLibraryInfo class. Without qt.conf, the functions in QLibraryInfo return these hard-coded paths; otherwise they return the paths as specified in qt.conf.
即我們可以使用qt.conf 指定qt程式的執行路徑和庫路徑。
The file should have a Paths group which contains the entries that correspond to each value of the QLibraryInfo::LibraryLocation enum. See the QLibraryInfo documentation for details on the meaning of the various locations.
這個檔案應該要包含QLibraryInfo::LibraryLocation enum,如以下內容
| Entry | Default Value |
|---|---|
| Prefix | 程式執行的路徑,一下所有的路勁都是相對於這個路徑 |
| Libraries | 程式的庫庫路勁,linuxdeployqt會自動再這個目錄生成./lib,並將需要的庫拷貝過來 |
| … | … |
主要有這幾個,多餘的可以上qt幫助文件
# Generated by linuxdeployqt
# https://github.com/probonopd/linuxdeployqt/
[Paths]
Prefix = ./         #程式的執行路勁
Libraries =  ./lib  #程式的庫路徑
Plugins = ./plugins #外掛路徑
5.補充
雖然linuxdepoyqt可以幫我們解決多數情況下庫的依賴問題,但是也有的時候不能完整解決。這個時候就需要我們自己複製所依賴的庫。
提供一個指令碼,複製依賴庫,複製以下程式碼,將其儲存成為 copylib.sh
#!/bin/sh
bin=$1         #釋出的程式名稱

desDir="./lib" #你的路徑

if [ ! -d $desDir ];then
      #echo "makedir $desDir"
      mkdir $desDir
fi
libList=$(ldd $bin | awk  '{if (match($3,"/")){ printf("%s "),$3 } }')
cp $libList $desDir
命令列 執行
chmod a+x ./copylib.sh
./copylib.sh ./myapp
就可以複製所需要的庫到當前目錄下的 ./lib 資料夾中
通常情況下,結合linuxdelpoy 和 copylib.sh 可以解決Linux 下 qt 程式的庫依賴問題