
如何利用caffe訓練自己資料集
這篇博文主要參考了另一位博主https://blog.csdn.net/hellohaibo,在此向他表示感謝
首先,博主今天的caffe崩了,毫無徵兆的崩了,具體表現為博主想做一個更大的資料集,但是在生成lmbd檔案時永遠生成的是一個沒有名字的資料夾,可是博主已經在指定的example目錄裡寫了檔名,百度,沒有答案,初步推測caffe崩了。。。
然後重新安裝,真的坑,以前沒有的報錯都出現了,網上尋求外國友人幫助。。。真的難受這玩意。。。
重新安裝好後,就可以訓練自己的資料集了,前一章講過如何製作自己的資料集,這章就忽略了,我們來講均值檔案的生成,很簡單,去caffe裡尋找一個make_imagenet_mean.sh的指令碼檔案,然後放入自己測試的目錄,博主的目錄如下:
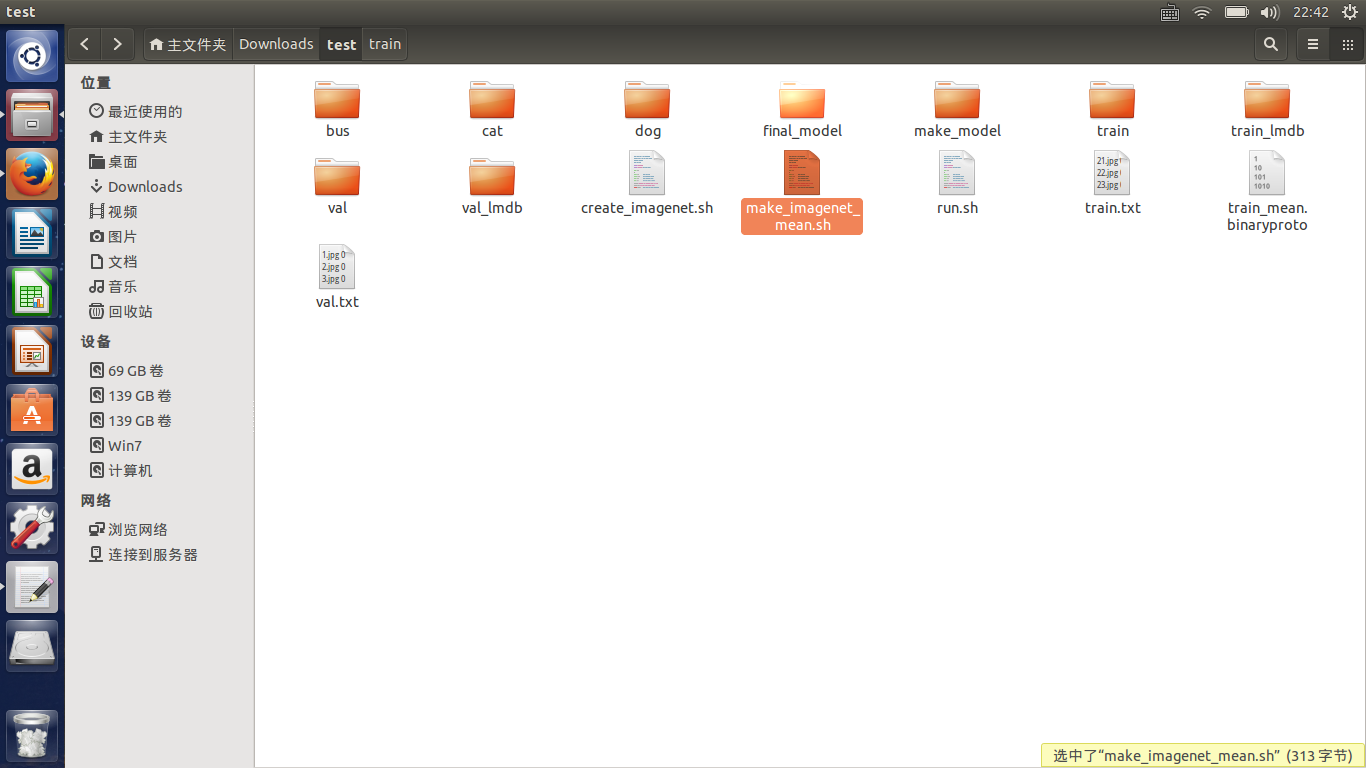
修改指令碼檔案如下
#!/usr/bin/env sh
# Compute the mean image from the imagenet training lmdb
# N.B. this is available in data/ilsvrc12

EXAMPLE=/home/f/Downloads/test
DATA=/home/f/Downloads/test
TOOLS=/home/f/Downloads/caffe/build/tools

$TOOLS/compute_image_mean $EXAMPLE/train_lmdb \
  $DATA/train_mean.binaryproto

echo "Done."
然後終端執行該檔案,這樣就會產生均值檔案了。
將caffe/model下隨便拷貝一個檔案到我們的test目錄,修改以下引數,首先對於train_val的prototxt檔案,將一開始的兩層修改為
name: "CaffeNet"
layer {
  name: "data"
  type: "Data"
  top: "data"
  top: "label"
  include {
    phase: TRAIN
  }
  transform_param {
    mirror: true
    crop_size: 227
    mean_file: "/home/f/Downloads/test/train_mean.binaryproto"
  }
# mean pixel / channel-wise mean instead of mean image
#  transform_param {
#    crop_size: 227
#    mean_value: 104
#    mean_value: 117
#    mean_value: 123
#    mirror: true
#  }
  data_param {
    source: "/home/f/Downloads/test/train_lmdb"
    batch_size: 10
    backend: LMDB
  }
}
layer {
  name: "data"
  type: "Data"
  top: "data"
  top: "label"
  include {
    phase: TEST
  }
  transform_param {
    mirror: false
    crop_size: 227
    mean_file: "/home/f/Downloads/test/train_mean.binaryproto"
  }
# mean pixel / channel-wise mean instead of mean image
#  transform_param {
#    crop_size: 227
#    mean_value: 104
#    mean_value: 117
#    mean_value: 123
#    mirror: false
#  }
  data_param {
    source: "/home/f/Downloads/test/val_lmdb"
    batch_size: 5
    backend: LMDB
  }
}
這裡面是對source的路徑修改,它為lmdb的檔案所在路徑,mean file為均值檔案所在路徑
batchsize根據你的數量集來,博主由於只有幾百張圖片,所以size設定得很小
然後修該該檔案的最後輸出層
inner_product_param {
    num_output: 3
    weight_filler {
      type: "gaussian"
      std: 0.01
    }
    bias_filler {
      type: "constant"
      value: 0
    }
  }
}
layer {
  name: "accuracy"
  type: "Accuracy"
  bottom: "fc8"
  bottom: "label"
  top: "accuracy"
  include {
    phase: TEST
  }
}
layer {
  name: "loss"
  type: "SoftmaxWithLoss"
  bottom: "fc8"
  bottom: "label"
  top: "loss"
}
將max——output改為你的分類數
對於deploy的prototxt檔案,只有修改最後一層的輸出,同上。
layer {
  name: "fc8"
  type: "InnerProduct"
  bottom: "fc7"
  top: "fc8"
  inner_product_param {
    num_output: 3
  }
}
layer {
  name: "prob"
  type: "Softmax"
  bottom: "fc8"
  top: "prob"
}
然後修改solve檔案,我的形式為
net: "/home/f/Downloads/test/make_model/train_val.prototxt"
test_iter: 24
test_interval: 50
base_lr: 0.001
lr_policy: "step"
gamma: 0.1
stepsize: 100
display: 20
max_iter: 500
momentum: 0.9
weight_decay: 0.0005
snapshot: 50
snapshot_prefix: "/home/f/Downloads/test/final_model"
solver_mode: CPU
然後cd出來執行命令
./caffe/build/tools/caffe train --solver=/home/f/Downloads/test/make_model/solver.prototxt 然後就可以愉快地等待了。。。
注意,這裡的目錄最好都是絕對目錄,caffe經常會報目錄的問題,所以一定要細心。。。
注:如果訓練量太大我們想中斷並恢復,可以執行如下的命令,從某一snapshot開始:
    ./caffe/buiid/tools/caffe train
    --solver=test/make_model/solver.prototxt
    --snapshot=test/final_model/cifar10_full_iter_100.solverstate
可以通過caffe的介面進行測試:
./caffe/build/examples/cpp_classification/classification.bin /home/f/Downloads/test/make_model/deploy.prototxt /home/f/Downloads/test/final_model/solver_iter_500.caffemodel /home/f/Downloads/test/train_mean.binaryproto /home/f/Downloads/test/label.txt /home/f/Downloads/test/val/101.jpg輸出結果:

接著我們在opencv上測試
將deploy檔案和caffemodel檔案和我們自己做的標籤檔案放入測試程式目錄中,修改deploy的第一層為
    name: "CaffeNet"
    input: "data"
    input_dim: 10
    input_dim: 3
    input_dim: 227
    input_dim: 227
測試程式為
 #include <opencv2/dnn.hpp>
    #include <opencv2/imgproc.hpp>
    #include <opencv2/highgui.hpp>
    #include <opencv2/core/utils/trace.hpp>
    using namespace cv;
    using namespace cv::dnn;

    #include <fstream>
    #include <iostream>
    #include <cstdlib>
    using namespace std;

    //尋找出概率最高的一類
    static void getMaxClass(const Mat &probBlob, int *classId, double *classProb)
    {
        Mat probMat = probBlob.reshape(1, 1);
        Point classNumber;

        minMaxLoc(probMat, NULL, classProb, NULL, &classNumber);
        *classId = classNumber.x;
    }
    //從標籤檔案讀取分類 空格為標誌
    static std::vector<String> readClassNames(const char *filename = "label.txt")
    {
        std::vector<String> classNames;

        std::ifstream fp(filename);
        if (!fp.is_open())
        {
            std::cerr << "File with classes labels not found: " << filename << std::endl;
            exit(-1);
        }

        std::string name;
        while (!fp.eof())
        {
            std::getline(fp, name);
            if (name.length())
                classNames.push_back(name.substr(name.find(' ') + 1));
        }
        fp.close();
        return classNames;
    }
    //主程式
    int main(int argc, char **argv)
    {
        //初始化
        CV_TRACE_FUNCTION();
        //讀取模型引數和模型結構檔案
        String modelTxt = "deploy.prototxt";
        String modelBin = "caffenet.caffemodel";
        //讀取圖片
        String imageFile = (argc > 1) ? argv[1] : "1.jpg";

        //合成網路
        Net net = dnn::readNetFromCaffe(modelTxt, modelBin);
        //判斷網路是否生成成功
        if (net.empty())
        {
            std::cerr << "Can't load network by using the following files: " << std::endl;
            exit(-1);
        }
        cerr << "net read successfully" << endl;

        //讀取圖片
        Mat img = imread(imageFile);
        imshow("image", img);
        if (img.empty())
        {
            std::cerr << "Can't read image from the file: " << imageFile << std::endl;
            exit(-1);
        }
        cerr << "image read sucessfully" << endl;

    /*  Mat inputBlob = blobFromImage(img, 1, Size(224, 224),
                                        Scalar(104, 117, 123)); */

        //構造blob,為傳入網路做準備,圖片不能直接進入網路
        Mat inputBlob = blobFromImage(img, 1, Size(227, 227));

        Mat prob;
        cv::TickMeter t;
        for (int i = 0; i < 10; i++)
        {
            CV_TRACE_REGION("forward");
            //將構建的blob傳入網路data層
            net.setInput(inputBlob,"data");
            //計時
            t.start();
            //前向預測
            prob = net.forward("prob");
            //停止計時
            t.stop();
        }

        int classId;
        double classProb;
        //找出最高的概率ID儲存在classId,對應的標籤在classProb中
        getMaxClass(prob, &classId, &classProb);

        //打印出結果
        std::vector<String> classNames = readClassNames();
        std::cout << "Best class: #" << classId << " '" << classNames.at(classId) << "'" << std::endl;
        std::cout << "Probability: " << classProb * 100 << "%" << std::endl;
        //打印出花費時間
        std::cout << "Time: " << (double)t.getTimeMilli() / t.getCounter() << " ms (average from " << t.getCounter() << " iterations)" << std::endl;

        //便於觀察結果
        waitKey(0);
        return 0;
    }
然後觀察結果

我由於實驗的資料很不好,導致結果出現了問題,我放了貓,結果是狗。。。。但至少證明了實驗可以成功,也說明了資料集的重要。。。