Android App 版本更新實現
阿新 • • 發佈:2019-01-04
今天終於進行了一次在我來看真正的面試,終於能和工程師進行一次交流了,雖然聊了沒幾分鐘,但讓我足夠讓我知道自己是多無知的了。
嘚嘚嘚說正事吧:這兩天注意到了App更新的步驟,然後就打算做一下。
一般版本更新都是通過一個遠端的通知進行通知使用者進行版本更新,然後就順著這裡開頭進行了開始,因為自己沒有伺服器,也不會本地建立一個服務端進行測試,然後我就查了查推送,本來是想用騰訊的信鴿,當我看見那個網站的主頁做的亂死了,果斷退了,看來看去極光推送還是比較主流的。
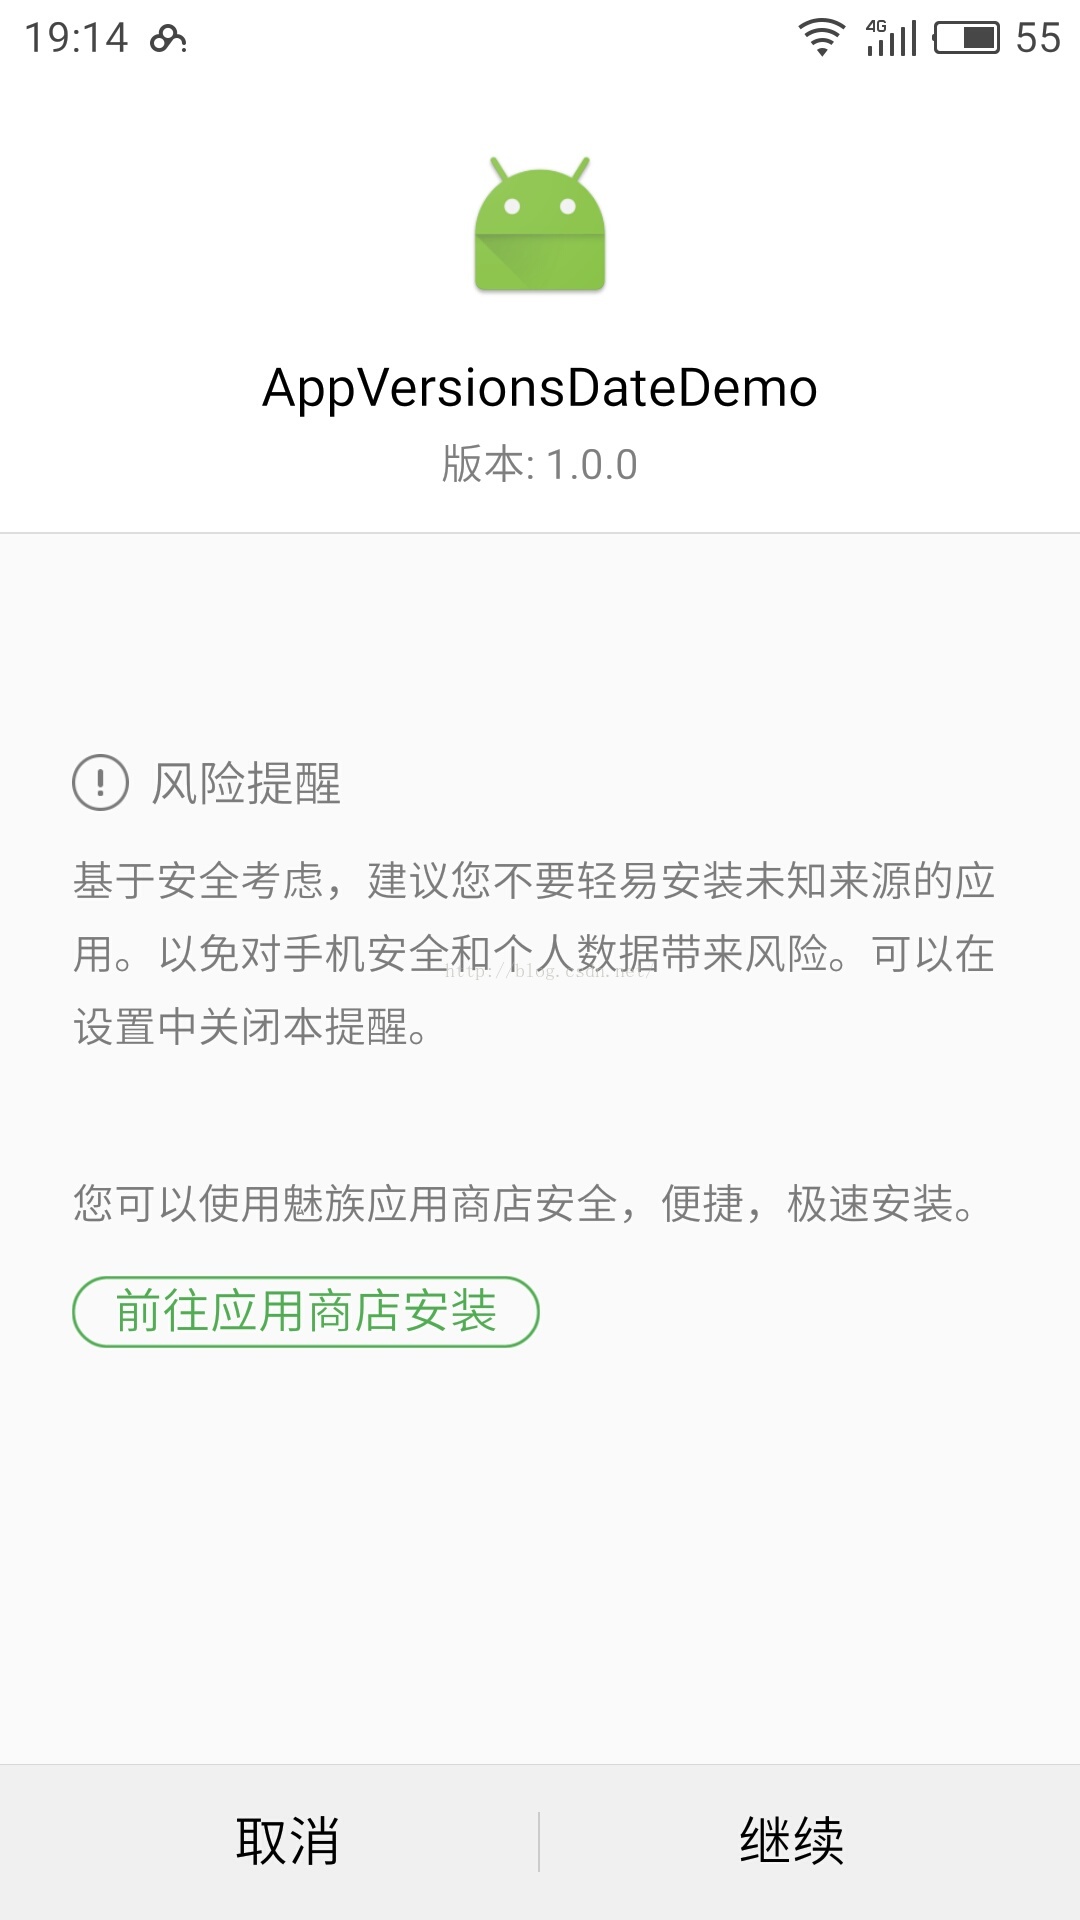
一、關於App版本設定的問題
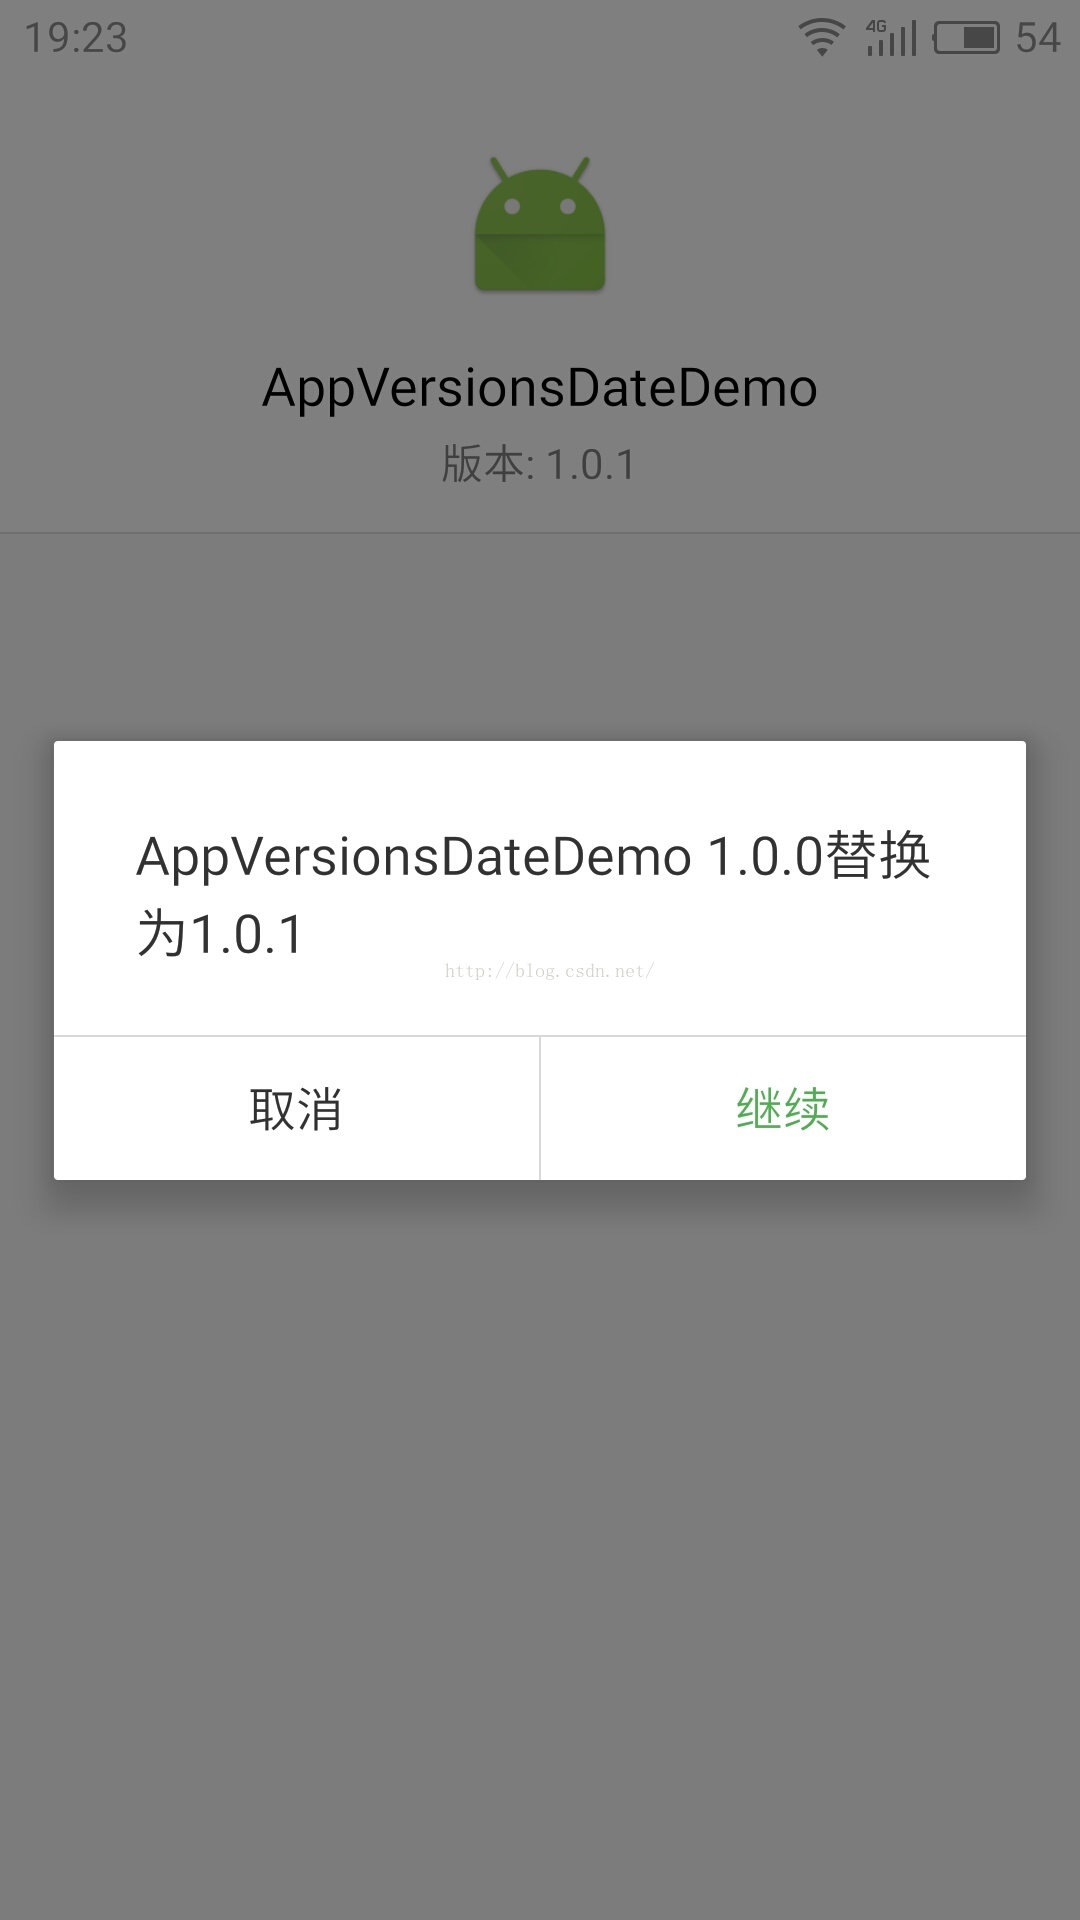
新版本可以替換老版本的條件還是非常苛刻的,包名一致,生成時簽名一樣,sha1應該也是必須一致的。 如果你使用的Eclipce 那麼版本的配置是放在AndroidManifest.xml中的。<?xml version="1.0" encoding="utf-8"?>
<manifest xmlns:android="http://schemas.android.com/apk/res/android"
package="com.hejingzhou.appversionsdatedemo"
android:versionCode="1"
android:versionName="1.1.1">當你每次升級的時候versionCode (整形的) 新版本必須比老版本的值大,否則會替換失敗的。 這個versionName這個值只是讓使用者看到的,每家公司都有自己的命名的方式,隨便寫了,不會影響升級的。defaultConfig { applicationId "com.hejingzhou.appversionsdatedemo" minSdkVersion 15 targetSdkVersion 23 versionCode 2 versionName "1.0.1" }
二、關於這個極光推送介面就不大說了根據官方的文件來就行,需要做的也就是建立一個廣播接收類。
然後再補全AndroidManifest.xml的服務名稱就行。package com.hejingzhou.appversionsdatedemo; import android.app.NotificationManager; import android.content.Context; import android.content.Intent; import android.os.Bundle; import android.util.Log; import org.json.JSONObject; import cn.jpush.android.api.JPushInterface; /** * Created by Hejingzhou on 2016/6/15. */ public class BroadcastReceiver extends android.content.BroadcastReceiver{ private String TAG = "Debug"; private NotificationManager manager; @Override public void onReceive(Context context, Intent intent) { if(manager == null){ manager = (NotificationManager) context.getSystemService(Context.NOTIFICATION_SERVICE); } Bundle bundle = intent.getExtras(); if(intent.getAction().equals(JPushInterface.ACTION_REGISTRATION_ID)){ Log.d(TAG,"使用者註冊成功"); }else if(intent.getAction().equals(JPushInterface.ACTION_MESSAGE_RECEIVED)){ Log.d(TAG,"接收到自定義的訊息"); }else if(intent.getAction().equals(JPushInterface.ACTION_MESSAGE_RECEIVED)){ Log.d(TAG,"接受到推送下來的訊息"); //receivingNotification(context,bundle); }else if(intent.getAction().equals(JPushInterface.ACTION_NOTIFICATION_OPENED)){ Log.i(TAG,"使用者打開了通知"); openNotification(context,bundle); } } /*** * 開啟通知要處理的方法 * @param context * @param bundle */ private void openNotification(Context context, Bundle bundle){ String extras = bundle.getString(JPushInterface.EXTRA_EXTRA); String versionsUrl = ""; try { JSONObject extrasJson = new JSONObject(extras); versionsUrl = extrasJson.optString("DownloadDate"); Log.i(TAG,"收到key為 one的資料 "+versionsUrl); if(!versionsUrl.equals("")){ MainActivity.IS = true; Log.i(TAG,"有更新資料"); Intent intent = new Intent(context,DownService.class); intent.putExtra("DateUrl",versionsUrl); context.startService(intent); } } catch (Exception e) { Log.i(TAG, "Unexpected: extras is not a valid json", e); return; } } }
三、建立一個Service進行後臺下載的過程,使用者沒必要看到的。
package com.hejingzhou.appversionsdatedemo;

import android.app.Service;
import android.content.Intent;
import android.os.IBinder;
import android.util.Log;
import java.io.IOException;

/**
 * Created by Hejingzhou on 2016/6/15.
 */
public class DownService extends Service {
    private String TAG = "Debug";
    private ServiceAndroidContact serviceAndroidContact = new ServiceAndroidContact();
    @Override
    public int onStartCommand(Intent intent, int flags, int startId) {
        Log.i(TAG,"執行到了服務階段");
        final String downUrl = intent.getExtras().getString("DateUrl");
        Log.i(TAG,downUrl);
        new Thread(new Runnable() {
            @Override
            public void run() {
                DownloadFile downloadFile = new DownloadFile();
                try {
                    downloadFile.downloadFile(downUrl,"","DateApp.apk");
                } catch (IOException e) {
                    e.printStackTrace();
                }
                if(!Thread.currentThread().isAlive()){
                    Log.i(TAG,"Thread Over");
                }
            }
        }).start();
        return super.onStartCommand(intent, flags, startId);
    }

    @Override
    public IBinder onBind(Intent intent) {
        return serviceAndroidContact;
    }
}
<service android:name=".DownService"/> <receiver android:name=".ReceiverBroadCast">
<intent-filter>
<action android:name="com.hejingzhou.broadcast"/>
</intent-filter>
</receiver>四、FileUtil 下載輔助(檔案操作)
package com.hejingzhou.appversionsdatedemo;

import android.os.Environment;
import android.util.Log;
import java.io.File;
import java.io.FileOutputStream;
import java.io.IOException;
import java.io.InputStream;
import java.io.OutputStream;

/**
 * Created by Hejingzhou on 2016/6/16.
 * 建立檔案  寫流操作  判斷檔案是否存在
 */
public class FileUtils {
    private String SDPATH;

    public FileUtils() {
        SDPATH = Environment.getExternalStorageDirectory() + "/";
    }

    public File createSdFile(String fileName) throws IOException {
        File file = new File(SDPATH + fileName);
        file.createNewFile();
        Log.i("Debug", file.getAbsolutePath());
        return file;
    }

    public File createSdDir(String dirName) {
        File dir = new File(SDPATH + dirName);
        dir.mkdir();
        return dir;
    }

    public boolean isFileExist(String fileName) {
        File file = new File(SDPATH + fileName);
        file.delete();
        return file.exists();
    }

    public File writeToSdFromInput(String path, String fileName, InputStream inputStream) throws IOException {
        MainActivity.IS = true;
        File file;
        OutputStream outputStream;
        createSdDir(path);
        file = createSdFile(path + fileName);
        outputStream = new FileOutputStream(file);
        byte[] buffer = new byte[1024];
        int len;
        while ((len = inputStream.read(buffer)) != -1) {
            outputStream.write(buffer, 0, len);
        }
        Log.d("@@","@@");
        outputStream.flush();
        inputStream.close();
        outputStream.close();
        return file;
    }

}<span style="color:#ff0000;">
</span>
五、檔案下載
package com.hejingzhou.appversionsdatedemo;

import android.util.Log;
import java.io.File;
import java.io.IOException;
import java.io.InputStream;
import java.net.HttpURLConnection;
import java.net.URL;

/**
 * Created by Hejingzhou on 2016/6/16.
 */
public class DownloadFile {
    private URL url = null;
     public int downloadFile(String url,String path,String fileName) throws IOException {
         InputStream inputStream ;
         FileUtils fileUtils = new FileUtils();
         if(fileUtils.isFileExist(path+fileName)){//如果存在
             Log.i("Debug","  "+"1");
            return 1;
         }else{
             inputStream = getInputStreamFromUrl(url);
             File requltFile = fileUtils.writeToSdFromInput(path,fileName,inputStream);
             if(requltFile == null){ //下載失敗
                 Log.i("Debug","  "+"-1");
                 return  -1;
             }
         }
         if(inputStream!=null) inputStream.close();
         Log.i("Debug","  "+"0");
         return 0;//成功
     }

    private InputStream getInputStreamFromUrl(String urlPath) throws IOException {
        url = new URL(urlPath);
        HttpURLConnection urlConnection = (HttpURLConnection)url.openConnection();
        return urlConnection.getInputStream();
    }

}
六、MianActivity沒什麼用主要是安裝指定路徑的軟體。
package com.hejingzhou.appversionsdatedemo;

import android.content.ComponentName;
import android.content.Intent;
import android.content.ServiceConnection;
import android.content.pm.PackageInfo;
import android.content.pm.PackageManager;
import android.net.Uri;
import android.os.Environment;
import android.os.IBinder;
import android.support.v7.app.AppCompatActivity;
import android.os.Bundle;
import android.util.Log;
import android.view.View;
import android.widget.Button;
import android.widget.Toast;
import java.io.File;
import cn.jpush.android.api.JPushInterface;

public class MainActivity extends AppCompatActivity {
    private Button btnIntallAp,btnServiceActivity;
    static Boolean IS = false;
    private ServiceAndroidContact serviceAndroidContact = new ServiceAndroidContact();

    ServiceConnection coon = new ServiceConnection() {
        @Override
        public void onServiceConnected(ComponentName name, IBinder service) {
            serviceAndroidContact.Log();
        }

        @Override
        public void onServiceDisconnected(ComponentName name) {
        }
    };
    @Override
    protected void onCreate(Bundle savedInstanceState) {
        super.onCreate(savedInstanceState);
        setContentView(R.layout.activity_main);
        btnIntallAp = (Button) findViewById(R.id.buttonIntall);
        btnServiceActivity = (Button)findViewById(R.id.buttonServiceActivity);
        //Service與Activity互動
        btnServiceActivity.setOnClickListener(new View.OnClickListener() {//這個Button並沒有什麼用只是自己測試Service與Activity互動。
            @Override
            public void onClick(View v) {
                Intent intent = new Intent();
                //intent.setAction("com.hejingzhou.startService");
                intent.setPackage(getPackageName());
                bindService(intent,coon,BIND_AUTO_CREATE);
            }
        });
        if (IS == true) {
            /*String path = Environment.getExternalStorageDirectory() + "/DateApp.apk";
            Intent intent = new Intent(Intent.ACTION_VIEW);
            intent.setDataAndType(Uri.fromFile(new File(path)), "application/vnd.android.package-archive");
            startActivity(intent);*/
            IS = false;
        }

        btnIntallAp.setOnClickListener(new View.OnClickListener() {
            @Override
            public void onClick(View v) {

                //測試是否安裝安裝了某個軟體  通過包名
                Boolean IIII = isPkgInstalled("com.hejingzhou.appversionsdatedemo");
                Log.i("@@@@@",IIII+"");
                Toast.makeText(getApplicationContext(),IIII+"",Toast.LENGTH_SHORT).show();

                //安裝指定的軟體
                String path = Environment.getExternalStorageDirectory() + "/DateApp.apk";
                Intent intent = new Intent(Intent.ACTION_VIEW);
                intent.setDataAndType(Uri.fromFile(new File(path)), "application/vnd.android.package-archive");
                startActivity(intent);
            }
        });
        initJPush();
    }

    /***
     * 檢查是否存在某個App存在
     * @param pkgName
     * @return
     */
    private boolean isPkgInstalled(String pkgName) {
        PackageInfo packageInfo = null;
        try {
            packageInfo = this.getPackageManager().getPackageInfo(pkgName, 0);
        } catch (PackageManager.NameNotFoundException e) {
            packageInfo = null;
            e.printStackTrace();
        }
        if (packageInfo == null) {
            return false;
        } else {
            return true;
        }
    }
    private void initJPush() {
        JPushInterface.init(getApplicationContext());
        JPushInterface.setDebugMode(true);
    }
}<span style="color:#ff0000;">
</span>
七、如果讀這個程式碼的時候,你會發現少一個類,這個類並沒有什麼用,我只是測試Service與Activity互動的類。
package com.hejingzhou.appversionsdatedemo;

import android.os.Binder;
import android.util.Log;

/**
 * Created by Hejingzhou on 2016/6/17.
 */
public class ServiceAndroidContact extends Binder {
    public void Log(){
        Log.i("Debug","我是Activity和Service互動相應結果");
    }
}