微信小程式實戰(一)---實現登入介面
阿新 • • 發佈:2019-01-01
昨天小程式第一天公測,就下載個小程式自帶IDE玩了玩,看了看API,擼出了個登入介面給大家分享下。
下面是主介面和程式碼。
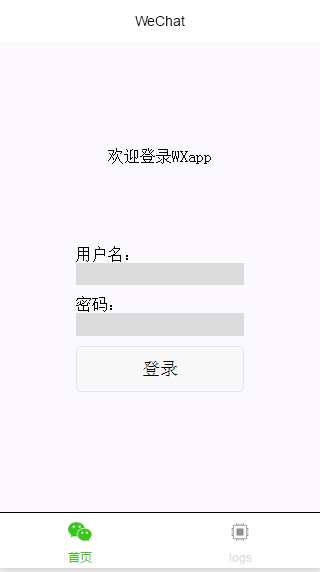
index.wxml
index.js<view class="container"> <view class="usermotto"> <text class="user-motto">{{motto}}</text> 使用者名稱: <input type="text" bindinput="userNameInput"/> 密碼: <input type="text" bindinput="userPasswordInput" password="true"/> <button bindtap="logIn">登入</button> </view> </view>
程式碼就是以上那些,個人感覺小程式和react真的很像,不虧於小程式原始碼中imoort react的這一句。所以有react基礎的會更好上手小程式的吧~var app = getApp() Page({ data: { motto: '歡迎登入WXapp', userName:'', userPassword:'', id_token:'',//方便存在本地的locakStorage response:'' //存取返回資料 }, userNameInput:function(e){ this.setData({ userName: e.detail.value }) }, userPasswordInput:function(e){ this.setData({ userPassword: e.detail.value }) console.log(e.detail.value) }, logIn:function(){ var that = this wx.request({ url: 'http://localhost:8000/admin', data: { username: this.data.userName, password: this.data.userPassword, }, method: 'GET', success: function (res) { that.setData({ id_token: res.data.id_token, response:res }) try { wx.setStorageSync('id_token', res.data.id_token) } catch (e) { } wx.navigateTo({ url: '../components/welcome/welcome' }) console.log(res.data); }, fail: function (res) { console.log(res.data); console.log('is failed') } }) } })
js檔案裡Page裡的data就類似與react中的state的機制,
之後在js檔案中想要呼叫data裡的資料就必須才才用this.data.XXX;
但是在wxml中想要繫結data裡的資料,就才用雙括號的方法,而且!不需要!this.data。直接就是{{XXX}}。
在回到程式碼裡看,wxml中主要就是兩個input框和一個button。通過小程式input的原生API - bindInput (文件:小程式input),就可以獲取input的值,
然後在data裡定義兩個(userName和userPassword)來存取這兩個input的輸入值。
再通過button的 bindTap繫結js檔案中的logIn函式。(文件:小程式button)
在logIn函式中,就通過this.data.userName和this.data.userPassword來獲取曾經輸入的兩個值。
在通過呼叫微信的傳送請求API,把兩個值放在請求中,這就有點像ajax傳送請求了。
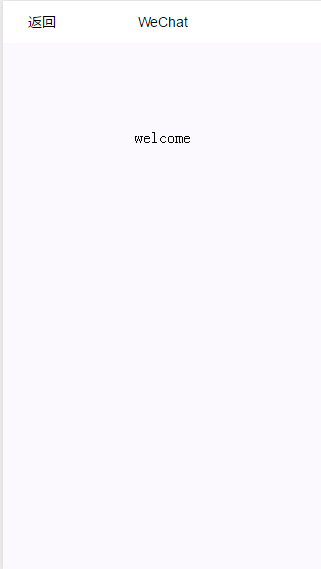
再在success中寫下成功之後想要做的事情,比如這個例子裡,就跳轉到welcom頁面。