
淺談SpringCloud (二) Eureka服務發現元件
上面學習到了如何由一個程式訪問另一個程式,那麼如果使用SpringCloud來進行訪問,該如何訪問吶?
可以藉助Eureka服務發現元件進行訪問。
可以藉助官方文件:https://spring.io/projects/spring-cloud 。 中文文件:https://springcloud.cc/
1.服務發現
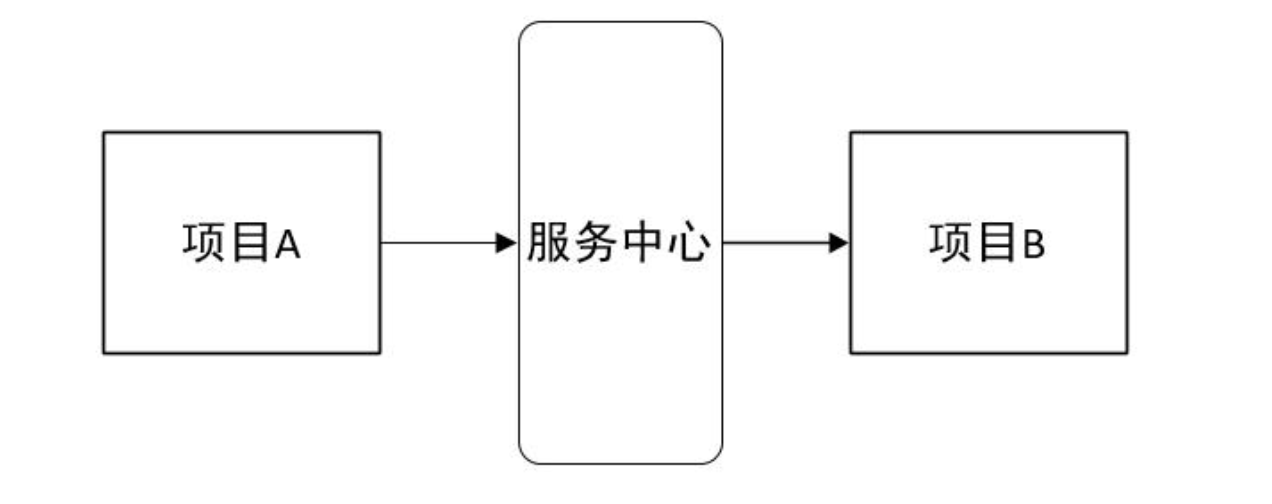
服務中心
服務中心又稱註冊中心,管理各種服務功能包括服務的註冊、發現、熔斷、負載、降級等,比如dubbo admin後臺的各種功能。
就第一個例子來說,專案A呼叫專案B
正常呼叫:
有了服務中心之後,任何一個服務都不能直接去掉用,都需要通過服務中心來呼叫:
Eureka
Spring Cloud 封裝了 Netflix 公司開發的 Eureka 模組來實現服務註冊和發現。Eureka 採用了 C-S 的設計架構。Eureka Server 作為服務註冊功能的伺服器,它是服務註冊中心。而系統中的其他微服務,使用 Eureka 的客戶端連線到 Eureka Server,並維持心跳連線。這樣系統的維護人員就可以通過 Eureka Server 來監控系統中各個微服務是否正常執行。Spring Cloud 的一些其他模組(比如Zuul)就可以通過 Eureka Server 來發現系統中的其他微服務,並執行相關的邏輯。
Eureka由兩個元件組成:Eureka伺服器和Eureka客戶端。Eureka伺服器用作服務註冊伺服器。Eureka客戶端是一個java客戶端,用來簡化與伺服器的互動、作為輪詢負載均衡器,並提供服務的故障切換支援。Netflix在其生產環境中使用的是另外的客戶端,它提供基於流量、資源利用率以及出錯狀態的加權負載均衡。

上圖是github了Eureka的基本架構:Eureka Server提供服務註冊和發現。其他的應用客戶端。
SpringCloud的Eureka服務
1.將專案變成 SpringCloud專案,父容器新增依賴。
<dependencyManagement> <dependencies> <dependency> <groupId>org.springframework.cloud</groupId> <artifactId>spring-cloud-dependencies</artifactId> <version>Brixton.RELEASE</version> <type>pom</type> <scope>import</scope> </dependency> </dependencies> </dependencyManagement> <dependencies> <dependency> <groupId>org.springframework.cloud</groupId> <artifactId>spring-cloud-starter-config</artifactId> </dependency> <dependency> <groupId>org.springframework.boot</groupId> <artifactId>spring-boot-starter-test</artifactId> <scope>test</scope> </dependency> </dependencies>
2.新建一個eureke的maven工程eureka-server專案。
<?xml version="1.0" encoding="UTF-8"?>

<project xmlns="http://maven.apache.org/POM/4.0.0" xmlns:xsi="http://www.w3.org/2001/XMLSchema-instance"
         xsi:schemaLocation="http://maven.apache.org/POM/4.0.0 http://maven.apache.org/xsd/maven-4.0.0.xsd">
    <parent>
        <artifactId>springclouddemo</artifactId>
        <groupId>com.aomeibox</groupId>
        <version>1.0-SNAPSHOT</version>
    </parent>
    <modelVersion>4.0.0</modelVersion>

    <artifactId>eureka</artifactId>

    <name>eureka</name>
    <!-- FIXME change it to the project's website -->
    <url>http://www.example.com</url>

    <properties>
        <project.build.sourceEncoding>UTF-8</project.build.sourceEncoding>
        <maven.compiler.source>1.7</maven.compiler.source>
        <maven.compiler.target>1.7</maven.compiler.target>
    </properties>


    <dependencies>
        <dependency>
            <groupId>junit</groupId>
            <artifactId>junit</artifactId>
            <version>4.11</version>
            <scope>test</scope>
        </dependency>

        <!-- eureka-server 依賴 -->
        <dependency>
            <groupId>org.springframework.cloud</groupId>
            <artifactId>spring-cloud-starter-netflix-eureka-server</artifactId>
            <version>1.4.4.RELEASE</version>
        </dependency>
        <!-- 安全依賴 -->
        <dependency>
            <groupId>org.springframework.boot</groupId>
            <artifactId>spring-boot-starter-security</artifactId>
        </dependency>
    </dependencies>

</project>
配置主函式,設定成Eureka Server,並啟動專案並執行。
@SpringBootApplication
@EnableEurekaServer
public class EurekaApp
{
    public static void main( String[] args )
    {
        SpringApplication.run(EurekaApp.class);
    }
}
訪問eureka的時候需要輸入使用者名稱和密碼,預設使用者名稱是user,密碼則需要從控制檯查詢,SpringCloud生成了一個隨機預設的。

如果需要修改使用者名稱和密碼,則需要重新配置application.yml檔案中的資訊。
server:
  port: 10000

#以為當前的eureka是單機的,所以需要設定一些配置
eureka:
  client:
    register-with-eureka: false
    fetch-registry: false
    service-url:
      defaultZone: http://root:[email protected]:10000/eureka
#    defaultZone: http://192.168.1.125:10000/eureka/

security:
  basic:
    enabled: true #開啟安全配置,也就是需要安全密碼,如果不需要,設定為false即可,注意,這個引數必須放在application.yml中,不允許放在bootstrap.yml中
  user:
    name: root
    password: 123 #在配置了使用者的使用者名稱和密碼後,可以修改訪問地址為curl風格
消費者和服務提供者註冊到Eureka中
1.修改provider專案的pom.xml檔案。
    <dependencies>
        <dependency>
            <groupId>junit</groupId>
            <artifactId>junit</artifactId>
            <version>4.11</version>
            <scope>test</scope>
        </dependency>

        <dependency>
            <groupId>org.springframework.cloud</groupId>
            <artifactId>spring-cloud-starter-netflix-eureka-client</artifactId>
            <version>1.4.0.RELEASE</version>
        </dependency>

        <dependency>
            <groupId>org.springframework.boot</groupId>
            <artifactId>spring-boot-starter-web</artifactId>
        </dependency>

        <dependency>
            <groupId>org.springframework.boot</groupId>
            <artifactId>spring-boot-starter-actuator</artifactId>
        </dependency>

    </dependencies>
2.修改主函式。
@SpringBootApplication
@EnableEurekaClient //啟用 eureka 客戶端
public class ProviderUser
{
    public static void main( String[] args ) {
        SpringApplication.run(ProviderUser.class);
    }
}
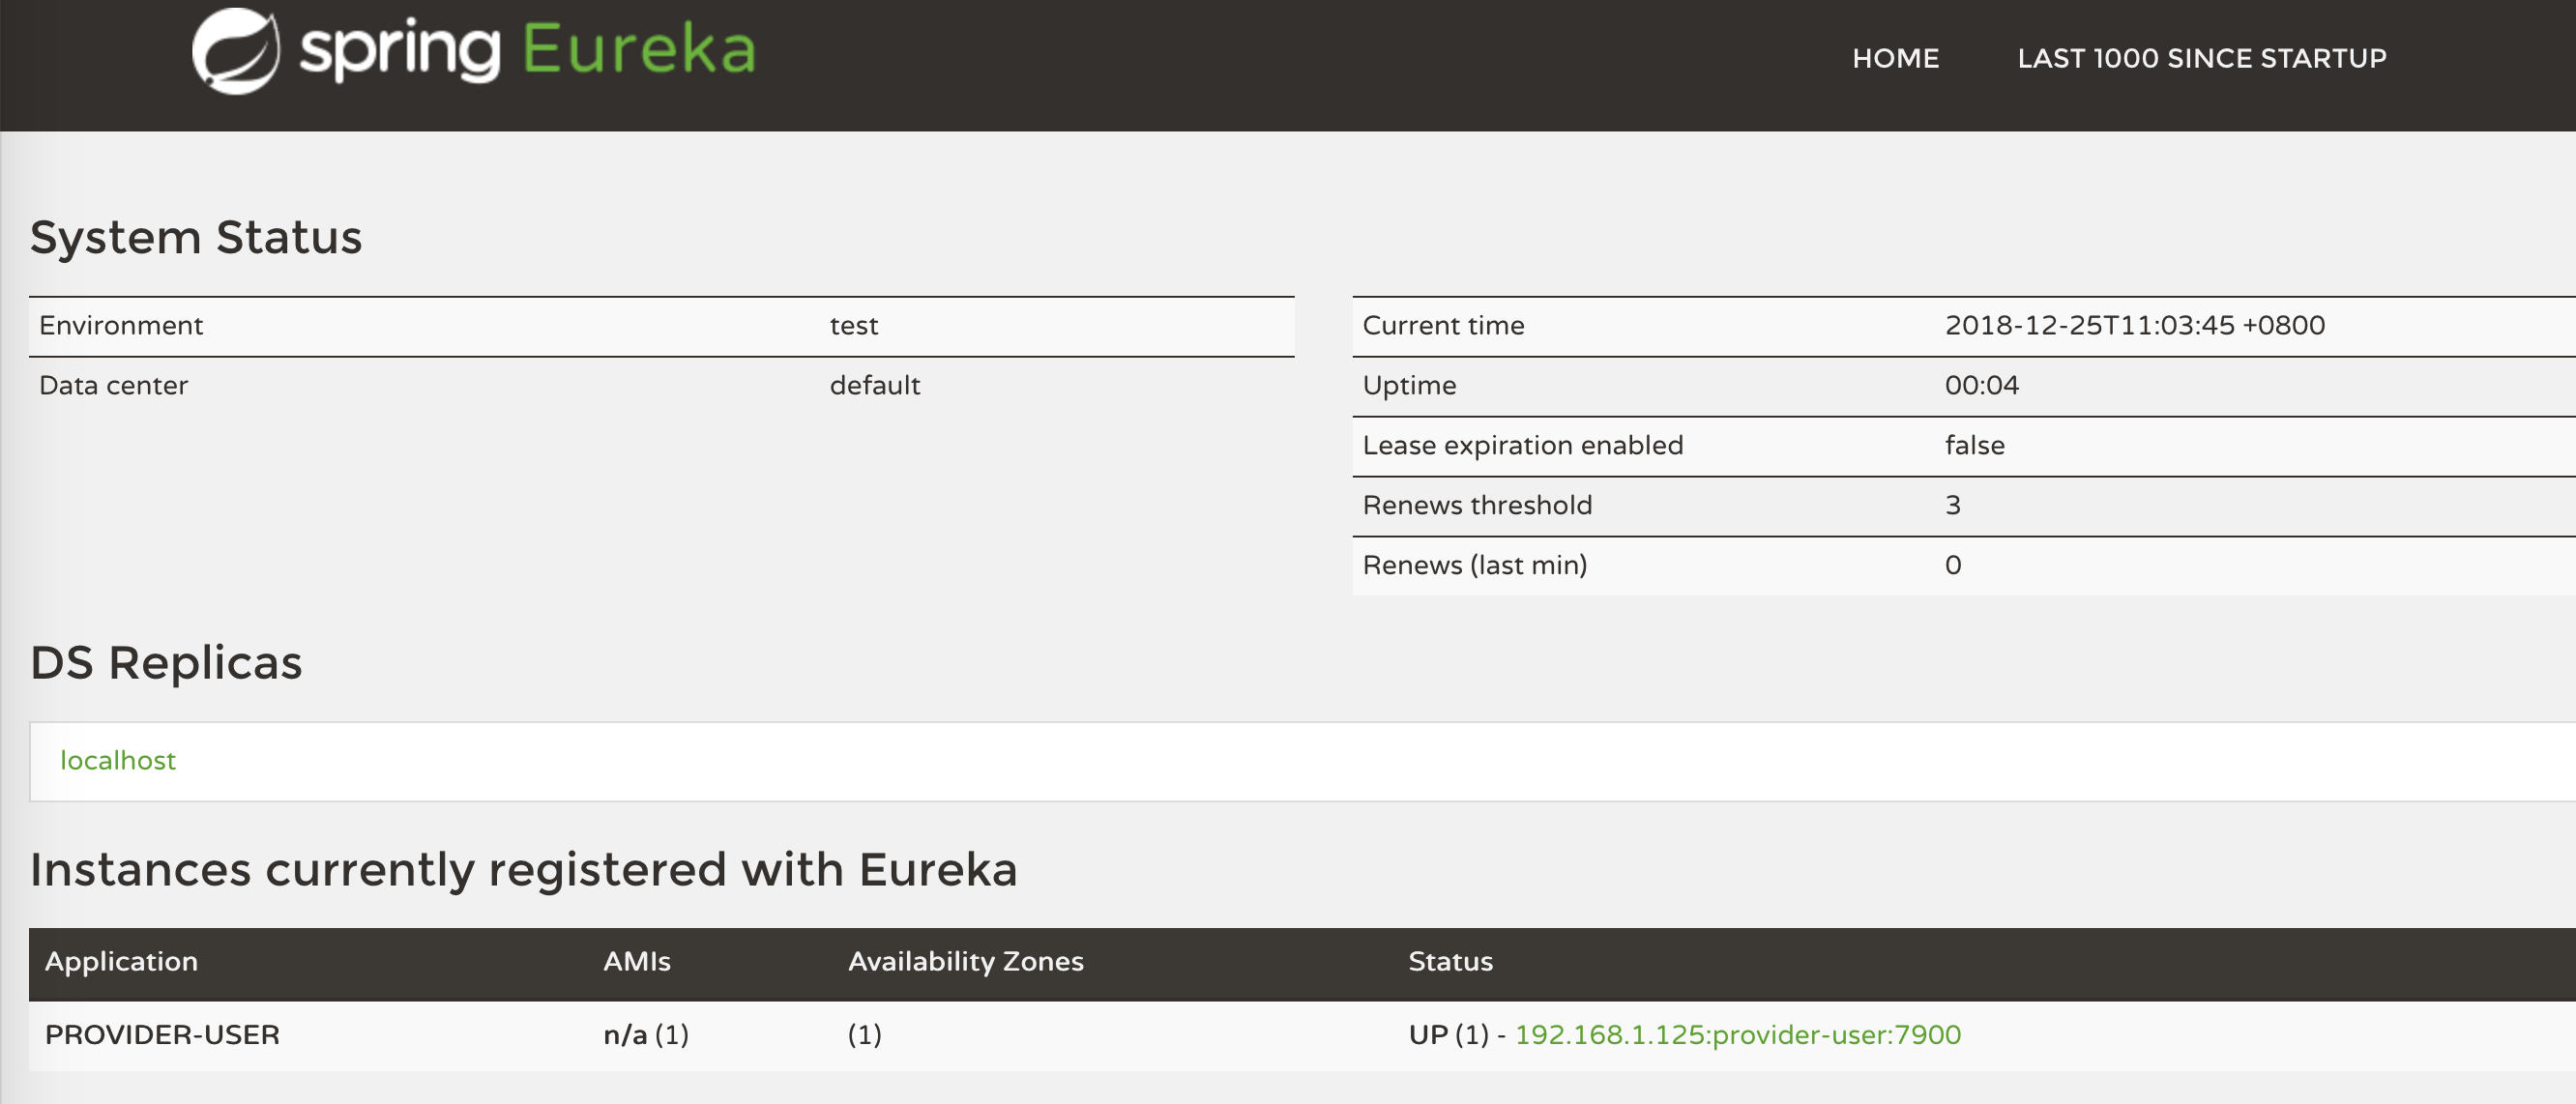
3.啟動eureka服務和provider,可以看到已經註冊到Eureka中了。
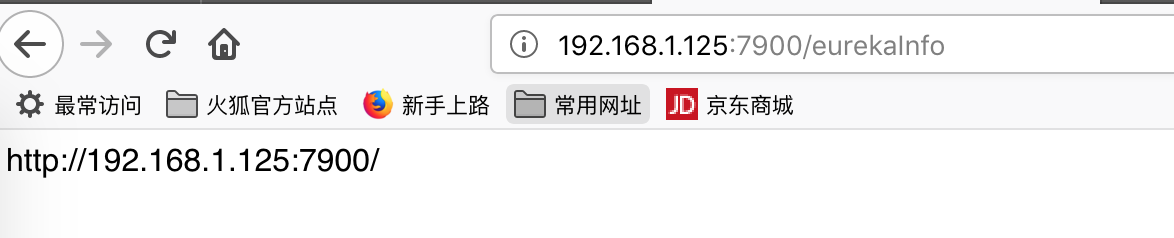
4.編寫conroller類,進行測試
@RestController
public class UserController {


    @Autowired
    private EurekaClient eurekaClient;
    @GetMapping("/user/{id}")
    public User getUser(@PathVariable Integer id){
        return new User(id);
    }

    @GetMapping("/eurekaInfo")
    public String info(){
        InstanceInfo eureka = eurekaClient.getNextServerFromEureka("provider-user", false);
        return eureka.getHomePageUrl();
    }

}
5.customr如上修改。就會有兩個專案註冊到Eureka中了。

6.修改customer中的controller程式碼。再次訪問,還是能拿到provider專案提供的資料的。
@RestController
public class OrderController {

    @Autowired
    private RestTemplate template;//spring提供的一個用於訪問rest介面的模板物件
    private String url = "http://192.168.1.125:7900/user/";

    @Autowired
    private EurekaClient eurekaClient;

    @GetMapping("/order/{id}")
    public User getUser(@PathVariable Integer id){

        InstanceInfo eureka = eurekaClient.getNextServerFromEureka("PROVIDER-USER", false);

        //訪問提供者獲取資料
        User user = template.getForObject(eureka.getHomePageUrl()+"/user/"+ id, User.class);//通過訪問rest 獲取到json資料,然後轉換成User物件

        return user;
    }
}