
(九)C 之WinForm程式設計-升級版文字編輯器
C#WinForm程式設計之升級版文字編輯器
前面的那篇博文講解了一個簡單版本的文字編輯器,實現了一些最簡單的功能。那麼這裡我們對那個文字編輯器做一個升級吧!既然是升級版,那麼就要做的像Word一點咯!首先我們來看一下我設計的介面吧!

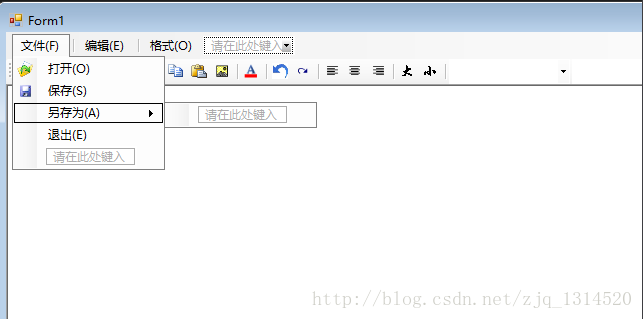
怎麼樣,這個介面是不是有點像Word了?圖中的小圖示下載地址為【小圖示】。如果你有興趣跟我一起做下去,那也把這個介面設計出來吧(頂部的有下拉功能的選單我們先不管,功能跟中間部分的ToolStrip功能基本是一樣的),然後繼續看部落格吧!
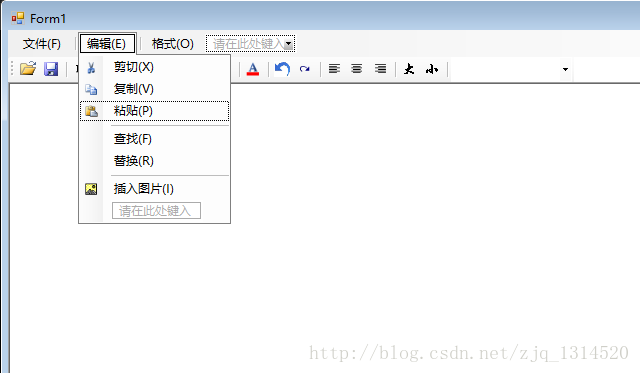
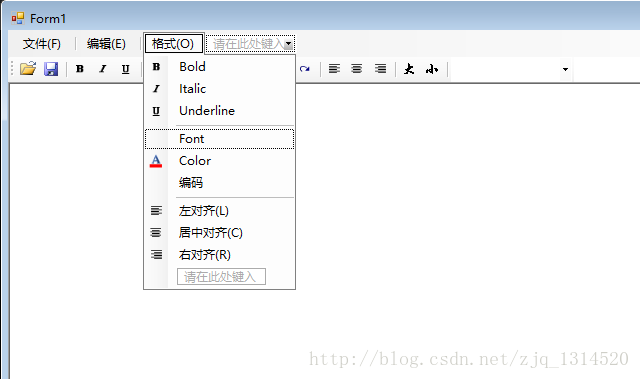
我們從左到右實現中間的ToolStrip欄的功能!
首先我們實現中間ToolStrip欄的第一個按鈕(Name為openFileToolStripButton
private String title = "Untitled"; //儲存開啟的檔案的標題 Encoding ec=Encoding.UTF8; //設定文字的格式為 UTF-8- 1
- 2
監聽點選事件:
private void openFileToolStripButton_Click(object sender, EventArgs e) { /** * openFileDialog1 是在設計介面拖出來的控制元件 OpenFileDialog * * 主要是開啟 rtf 格式的檔案 */ - 1
- 2
- 3
- 4
- 5
- 6
- 7
- 8
- 9
- 10
- 11
- 12
- 13
- 14
- 15
- 16
- 17
- 18
- 19
- 20
- 21
- 22
- 23
- 24
- 25
- 26
- 27
- 28
- 29
點選開啟檔案然後讀取檔案成功後的截圖為:
開啟讀取檔案測試成功了,接下來看一看修改檔案然後實現儲存功能:
private void toolStripButton3_Click(object sender, EventArgs e) { if (title == "Untitled")//如果是不是開啟檔案然後編輯的話 點選儲存就相當於另存為咯 另存為AToolStripMenuItem_Click(sender, e);//這個另存為的按鈕是在頂部的選單欄 else { string ext = title.Substring(title.LastIndexOf(".") + 1); ext = ext.ToLower(); if (ext == "rtf")//按照不同的格式儲存檔案 richTextBox1.SaveFile(title, RichTextBoxStreamType.RichText); else if (ext == "doc" || ext == "txt") richTextBox1.SaveFile(title, RichTextBoxStreamType.PlainText); else if (ext == "uni") richTextBox1.SaveFile(title, RichTextBoxStreamType.UnicodePlainText); else richTextBox1.SaveFile(title, RichTextBoxStreamType.PlainText); richTextBox1.Modified = false; } } private void 另存為AToolStripMenuItem_Click(object sender, EventArgs e) { /** * saveFileDialog1 同樣也是設計窗體介面拖出來的控制元件 */ if (saveFileDialog1.ShowDialog() == DialogResult.OK) { title = saveFileDialog1.FileName; this.Text = title; switch (saveFileDialog1.FilterIndex) { case 1: richTextBox1.SaveFile(title, RichTextBoxStreamType.RichText); break; case 2: richTextBox1.SaveFile(title, RichTextBoxStreamType.PlainText); break; case 3: richTextBox1.SaveFile(title, RichTextBoxStreamType.UnicodePlainText); break; default: richTextBox1.SaveFile(title, RichTextBoxStreamType.PlainText); break; } richTextBox1.Modified = false; } }- 1
- 2
- 3
- 4
- 5
- 6
- 7
- 8
- 9
- 10
- 11
- 12
- 13
- 14
- 15
- 16
- 17
- 18
- 19
- 20
- 21
- 22
- 23
- 24
- 25
- 26
- 27
- 28
- 29
- 30
- 31
- 32
- 33
- 34
- 35
- 36
- 37
- 38
- 39
- 40
- 41
- 42
- 43
- 44
- 45
- 46
- 47
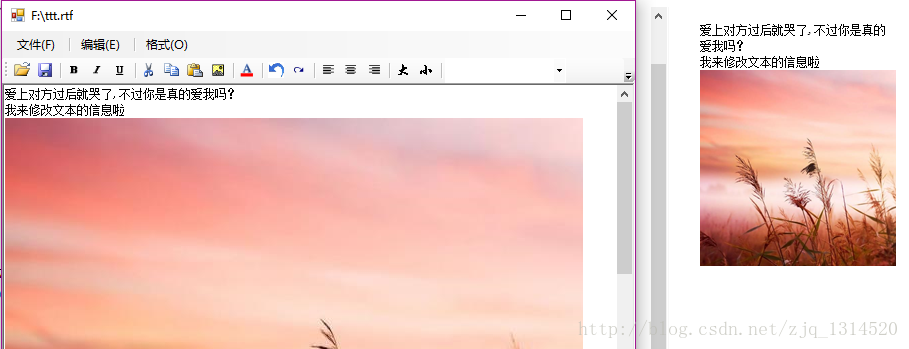
這樣就可以修改文字內容啦,做一下簡單的測試: 開啟檔案並輸入修改的內容: 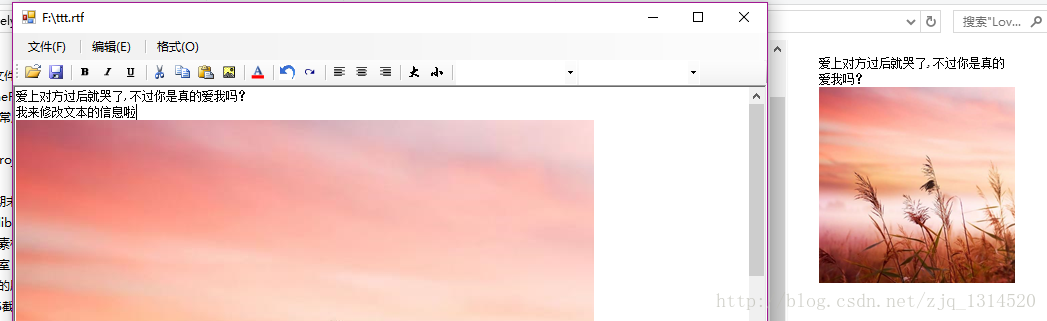
接下來就是對字型的加粗,斜體以及下劃線了,(七)C#之WinForm程式設計-簡單版文字編輯器 這篇博文有詳細的過程啦,這裡我們就給出程式碼吧:
private void boldToolStripButton_Click(object sender, EventArgs e) {//加粗 richTextBox1.SelectionFont = new Font(richTextBox1.SelectionFont, richTextBox1.SelectionFont.Style ^ FontStyle.Bold); } private void toolStripButton7_Click(object sender, EventArgs e) {//傾斜 richTextBox1.SelectionFont = new Font(richTextBox1.SelectionFont, richTextBox1.SelectionFont.Style ^ FontStyle.Italic); } private void toolStripButton8_Click(object sender, EventArgs e) {//加下劃線 richTextBox1.SelectionFont = new Font(richTextBox1.SelectionFont, richTextBox1.SelectionFont.Style ^ FontStyle.Underline); }- 1
- 2
- 3
- 4
- 5
- 6
- 7
- 8
- 9
- 10
- 11
- 12
- 13
- 14
在加下劃線之後就是剪下,賦值和貼上了。這三個功能也是很簡單的,只要呼叫RichTextBox的Cut(), Copy()和Paste()方法即可,程式碼如下:
private void cutToolStripButton_Click(object sender, EventArgs e) { richTextBox1.Cut();//剪下 } private void toolStripButton10_Click(object sender, EventArgs e) { richTextBox1.Copy();//複製 } private void toolStripButton11_Click(object sender, EventArgs e) { richTextBox1.Paste();//貼上 }- 1
- 2
- 3
- 4
- 5
- 6
- 7
- 8
- 9
- 10
- 11
- 12
- 13
- 14
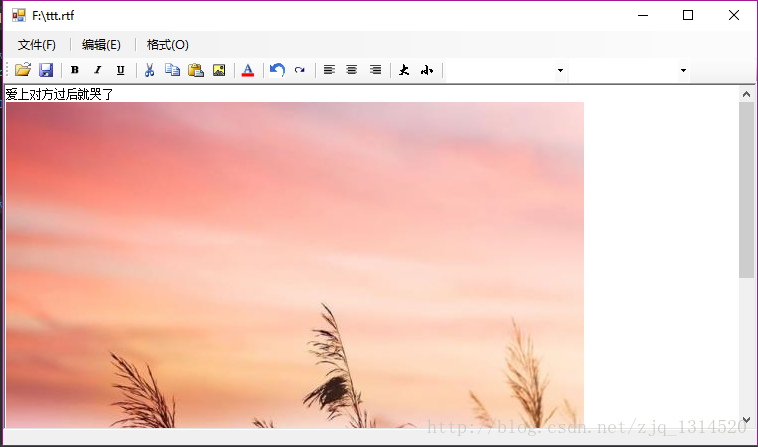
然後就是插入圖片,監聽其點選事件,程式碼如下:
private void toolStripButton12_Click(object sender, EventArgs e) { Bitmap bmp; if (openImageDialog.ShowDialog() == DialogResult.OK) { string filename = openImageDialog.FileName; try { bmp = new Bitmap(filename);//檔案轉化為 Bitmap Clipboard.SetDataObject(bmp); DataFormats.Format dft = DataFormats.GetFormat(DataFormats.Bitmap); if (this.richTextBox1.CanPaste(dft)) richTextBox1.Paste(dft); //圖片加入到富文字中去 } catch (Exception ex) { MessageBox.Show("圖片插入失敗" + ex.Message, "提示資訊", MessageBoxButtons.OK, MessageBoxIcon.Information); } } }- 1
- 2
- 3
- 4
- 5
- 6
- 7
- 8
- 9
- 10
- 11
- 12
- 13
- 14
- 15
- 16
- 17
- 18
- 19
- 20
測試結果如下:
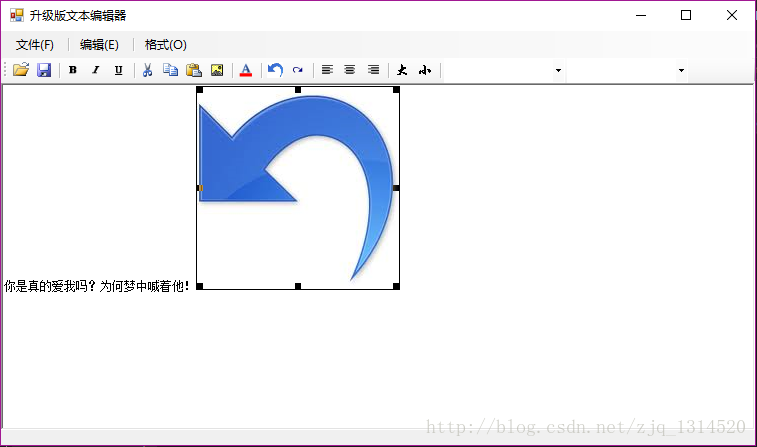
插入圖片成功,接下來就是改變字型顏色了,只要拖一個ColorDialog基本就OK了,程式碼如下:
private void toolStripButton15_Click(object sender, EventArgs e) { /** * colorDialog1 是設計介面拖出來的控制元件 */ if (colorDialog1.ShowDialog() == DialogResult.OK) richTextBox1.SelectionColor = colorDialog1.Color;//直接設定選中的欄位的顏色 }- 1
- 2
- 3
- 4
- 5
- 6
- 7
- 8
接下來的撤銷與重做功能也是很簡單的實現,RichTextBox控制元件都有封裝方法:
private void toolStripButton19_Click(object sender, EventArgs e) { richTextBox1.Undo();//撤銷 } private void toolStripButton20_Click(object sender, EventArgs e) { richTextBox1.Redo();//重做 }- 1
- 2
- 3
- 4
- 5
- 6
- 7
- 8
- 9
接著就是左對齊,居中對齊,右對齊,在上一個簡單版本的文字編輯器都有講過((七)C#之WinForm程式設計-簡單版文字編輯器)。直接給出程式碼:
private void toolStripButton21_Click(object sender, EventArgs e) { this.richTextBox1.SelectionAlignment = HorizontalAlignment.Left; } private void toolStripButton22_Click(object sender, EventArgs e) { this.richTextBox1.SelectionAlignment = HorizontalAlignment.Center; } private void toolStripButton23_Click(object sender, EventArgs e) { this.richTextBox1.SelectionAlignment = HorizontalAlignment.Right; }- 1
- 2
- 3
- 4
- 5
- 6
- 7
- 8
- 9
- 10
- 11
- 12
- 13
- 14
然後的 大 小 按鈕就是用來調整字型大小的,方法也很簡單,程式碼如下:
private void toolStripButton25_Click(object sender, EventArgs e) { ZoomInOut(false);//增加 } private void toolStripButton26_Click(object sender, EventArgs e) { ZoomInOut(true);//減小 } private void ZoomInOut(bool IsZoomOut) { float zoom = 0; zoom = this.richTextBox1.ZoomFactor; if (IsZoomOut) zoom -= (float)0.1; else zoom += (float)0.1; if (zoom < 0.64 || zoom > 64) return; this.richTextBox1.ZoomFactor = zoom; }- 1
- 2
- 3
- 4
- 5
- 6
- 7
- 8
- 9
- 10
- 11
- 12
- 13
- 14
- 15
- 16
- 17
- 18
- 19
- 20
- 21
看一下效果圖:
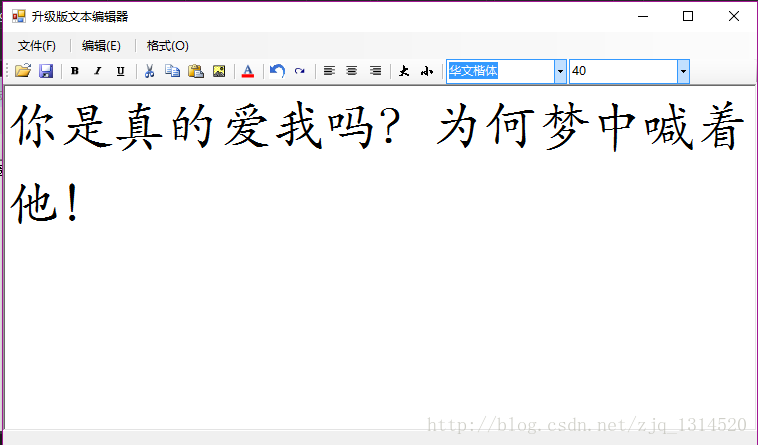
最後兩個就是設定 FontFamily 和 FontSize了,程式碼如下:
private void cbFamily_SelectedIndexChanged(object sender, EventArgs e) {//Font Family if (this.cbFamily.SelectedItem == null) return; string ss = this.cbFamily.SelectedItem.ToString().Trim(); richTextBox1.SelectionFont = new Font(ss, richTextBox1.SelectionFont.Size, richTextBox1.SelectionFont.Style); } private void cbSize_SelectedIndexChanged(object sender, EventArgs e) {//設定字型大小 if (cbSize.SelectedItem == null) return; int size = Convert.ToInt32(this.cbSize.SelectedItem.ToString().Trim()); richTextBox1.SelectionFont = new Font(richTextBox1.SelectionFont.FontFamily, size, richTextBox1.SelectionFont.Style); }- 1
- 2
- 3
- 4
- 5
- 6
- 7
- 8
- 9
- 10
- 11
- 12
- 13
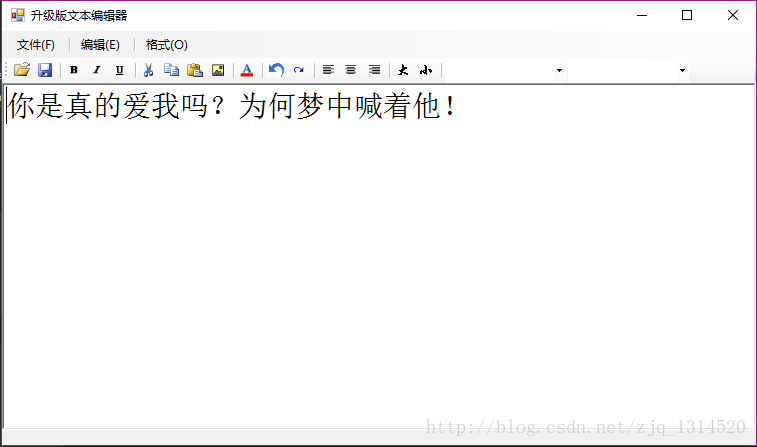
測試效果如下:
以上就是這個升級版本的文字編輯器的全部內容了 原始碼地址【升級版文字編輯器