maven-assembly-plugin外掛打包 jar、tar.gz
使用 maven-assembly-plugin 外掛可以將我們的java application(java應用程式)打成可執行jar,下面簡要介紹一下使用maven-assembly-plugin打包可執行jar和tar.gz。
前面我們已經介紹過maven 多環境打包配置;此處不再介紹
可執行jar包配置
開啟pom.xml,在bulid->plugins中加入外掛配置:
<plugin>
                <artifactId>maven-assembly-plugin</artifactId>
                <version>2.6</version>
                <configuration>
                    <archive>
                        <manifest>
                            <mainClass>com.test.example</mainClass>
                        </manifest>
                    </archive>
                    <descriptorRefs>
                        <descriptorRef>jar-with-dependencies</descriptorRef>
                    </descriptorRefs>
                </configuration>
                <executions>
                    <execution>
                        <id>make-assembly</id> <!-- this is used for inheritance merges -->
                        <phase>package</phase> <!-- bind to the packaging phase -->
                        <goals>
                            <goal>single</goal>
                        </goals>
                    </execution>
                </executions>
            </plugin>
注意mainClass為主函式main所在的入口類
執行配置如下
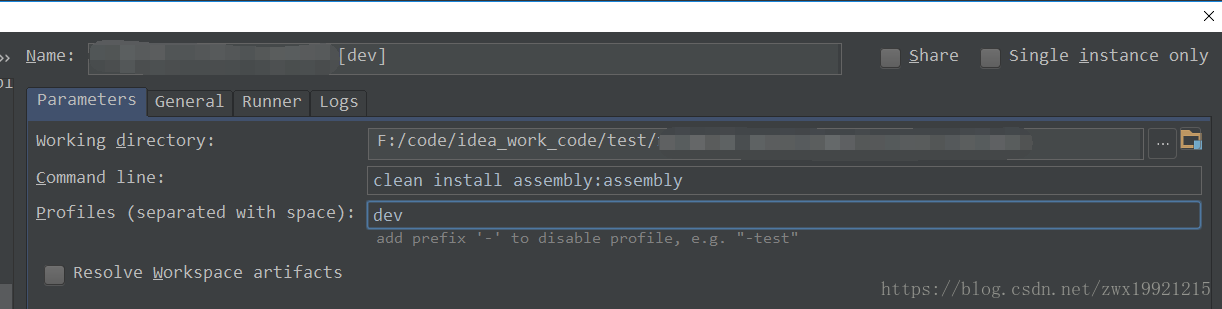
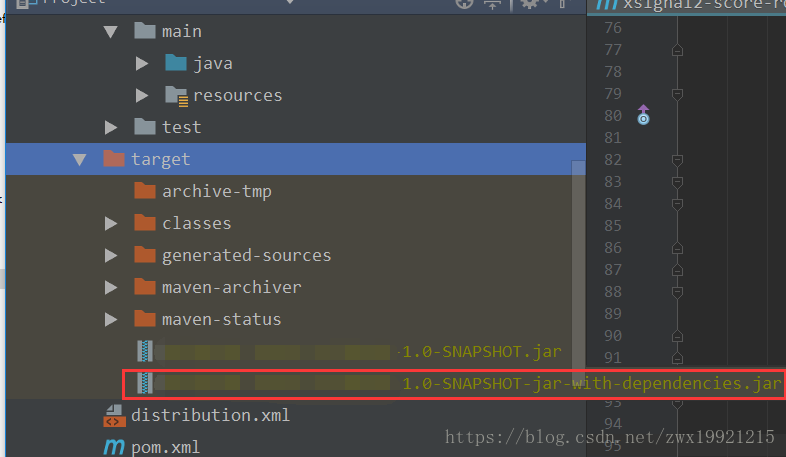
執行後會在target目錄下生成對應的jar,預設名稱為xxx-1.0-SNAPSHOT-jar-with-dependencies.jar,直接java -jar 即可執行
tar.gz打包配置
以上我們成功了打包了一個可執行jar,它的關鍵就在於指定主函式的入口類即可;弊端就是對於一個應用我們只能指定一個主函式入口類,所以如果我們要啟動多個程序就只能建立多個application了,這對於我來說是一件非常痛苦的事,所以為了解決一個專案中可以啟動多個程序,我們可以將該型別應用打包成tar.gz(主要是為了在linux機器上執行),然後為每個入口類建立一個啟動指令碼,最後需要啟動哪個應用就直接執行對應的指令碼即可;
開啟pom.xml配置更改為如下:
 <!--linux 下執行 打包方式為 tar.gz-->
            <plugin>
                <artifactId>maven-assembly-plugin</artifactId>
                <version>2.2</version>
                <configuration>
                    <descriptors>
                        <descriptor>
                            distribution.xml
                        </descriptor>
                    </descriptors>
                </configuration>
                <executions>
                    <execution>
                        <id>make-assembly</id>
                        <phase>package</phase>
                    </execution>
                </executions>
            </plugin>
distribution.xml內容如下:
<assembly>
    <id>dist</id>
    <formats>
        <format>tar.gz</format>
    </formats>
    <includeBaseDirectory>false</includeBaseDirectory>
    <fileSets>
        <fileSet>
            <includes>
                <include>README*</include>
                <include>LICENSE*</include>
                <include>NOTICE*</include>
            </includes>
        </fileSet>
        <fileSet>
            <directory>target/classes</directory>
            <outputDirectory>classes</outputDirectory>
        </fileSet>
        <fileSet>
            <directory>bin</directory>
            <outputDirectory>bin</outputDirectory>
        </fileSet>
    </fileSets>
    <dependencySets>
        <dependencySet>
            <outputDirectory>lib</outputDirectory>
            <scope>runtime</scope>
        </dependencySet>
    </dependencySets>
</assembly>
shell指令碼示例如下:
#!/bin/bash

java_bin=$JAVA_HOME/bin/java
server_home=`dirname $0`/..
class_lib=$server_home/lib
log_home=$server_home/logs/example/
log_out=$log_home/stdout.log
log_err=$log_home/stderr.log

if [ ! -d $log_home ]; then
  mkdir -p $log_home
fi

#if [[ -e $server_home/example.pid ]]; then
#    kill `cat $server_home/example.pid`
#fi

java_opts="-Xmx512m -Dfile.encoding=utf8 -cp :${class_lib}/*"
$java_bin $java_opts com.test.example 1>>$log_out 2>>$log_err &
echo $! > $server_home/example.pid
注:log_home 為日誌目錄,example.pid為程序id,com.test.example為主函式入口類
打包後的jar包如下:
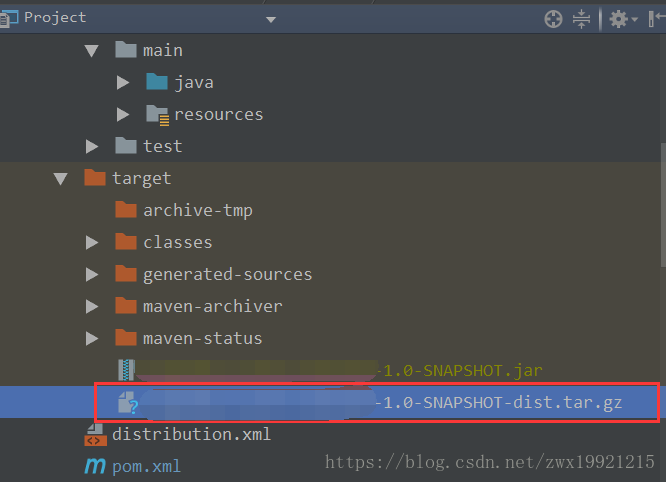
最後將該檔案發到linux下解壓進入bin目錄,執行相應指令碼即可執行(sh example.sh),然後可以到logs下檢視對應的日誌資訊
另外,你可以在同一個專案中編寫另外N個程式,只需要建立多個shell啟動指令碼,每個指令碼中指定對應的函式入口類以及對應的程序id和日誌目錄即可
至此maven-assembly-plugin簡單的打包方式介紹完畢!
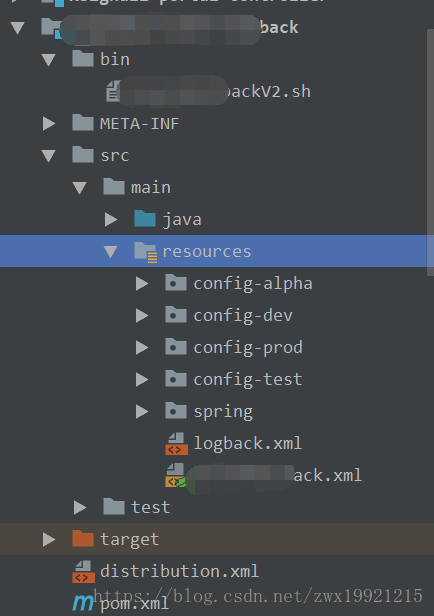
整個專案結構如下: