
ASP.NET Core 入門教程 2、使用ASP.NET Core MVC框架構建Web應用
一、前言
1、本文主要內容
- 使用dotnet cli建立基於解決方案(sln+csproj)的專案
- 使用Visual Studio Code開發基於解決方案(sln+csproj)的專案
- Visual Studio Code Solution外掛( vscode-solution-explorer)基礎使用介紹
- 基於 .NET Core web專案模板構建 ASP.NET Core MVC Web應用
- ASP.NET Core MVC框架上手
2、本教程環境資訊
| 軟體/環境 | 說明 |
|---|---|
| 作業系統 | Windows 10 |
| SDK | 2.1.401 |
| ASP.NET Core | 2.1.3 |
| IDE | Visual Studio Code 1.27 |
| 瀏覽器 | Chrome 69 |
3、前置知識
你可能需要的前置知識
- MVC框架/模式介紹
- 控制反轉(IOC)原則與依賴注入(DI)
ASP.NET Core 預設集成了DI。所有官方模組的引入都要使用DI的方式引入。
二、專案準備
1、專案建立
.NET平臺的專案構建有兩個概念:解決方案(Solution)、專案(Project)。所有的專案開發,不論是Web專案,還是控制檯應用程式,都必須基於Project來構建。而Solution的作用就是把Project組織起來
如果專案簡單,我們只需要基於Project來構建專案即可,但是當專案需要分層解耦時,我們如果在Project建立目錄來隔離並不能起到硬性隔離的作用,畢竟只要在一個Project中就可以引用。而通過Project來分層就可以做到硬性隔離的效果。而且基於Project的程式碼複用更簡潔合理(編譯產出.dll可以在其他專案中引用等)
解決方案(Solution)+ 專案(Project)就相當於用Maven構建的Java專案中,頂層Project和Project的關係。
- 建立專案目錄
#建立專案目錄
mkdir Ken.Tutorial

#進入專案目錄
cd Ken.Tutorial
- 建立解決方案檔案
dotnet new sln -n Ken.Tutorial
- 建立Web專案
dotnet new web -n Ken.Tutorial.Web
- 將專案新增到解決方案中
dotnet sln add Ken.Tutorial.Web
2、VS Code 配置
- 安裝基於Solution開發 .NET Core 專案的擴充套件
| 副檔名 | 說明 |
|---|
VS Code 擴充套件管理頁直接搜尋副檔名安裝即可,本次安裝的版本是:0.2.33
三、VS Code開發基於解決方案的專案說明
1、VS Code專案配置
選單:檔案->開啟資料夾,選擇專案目錄開啟專案
因為已經安裝了VS Code的C#擴充套件和Solution擴充套件,所以也會提示缺失相關配置
C#擴充套件提示:
Required assets to build and debug are missing from ‘helloweb’. Add them?
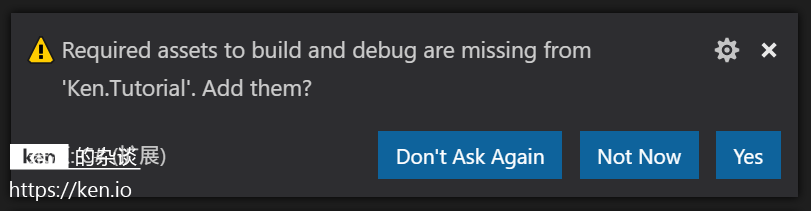
這是因為專案缺少編譯、除錯配置,選擇Yes即可
vscode-solution-explorer擴充套件提示:
Would you like to create the vscode-solution-explorer templates folder?
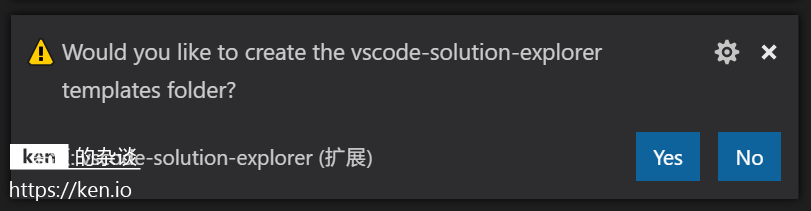
這是因為vscode-solution-explorer外掛需要專案中的解決方案提供相應的模板。
所有外掛預設的配置檔案,都會放在.vscode資料夾中
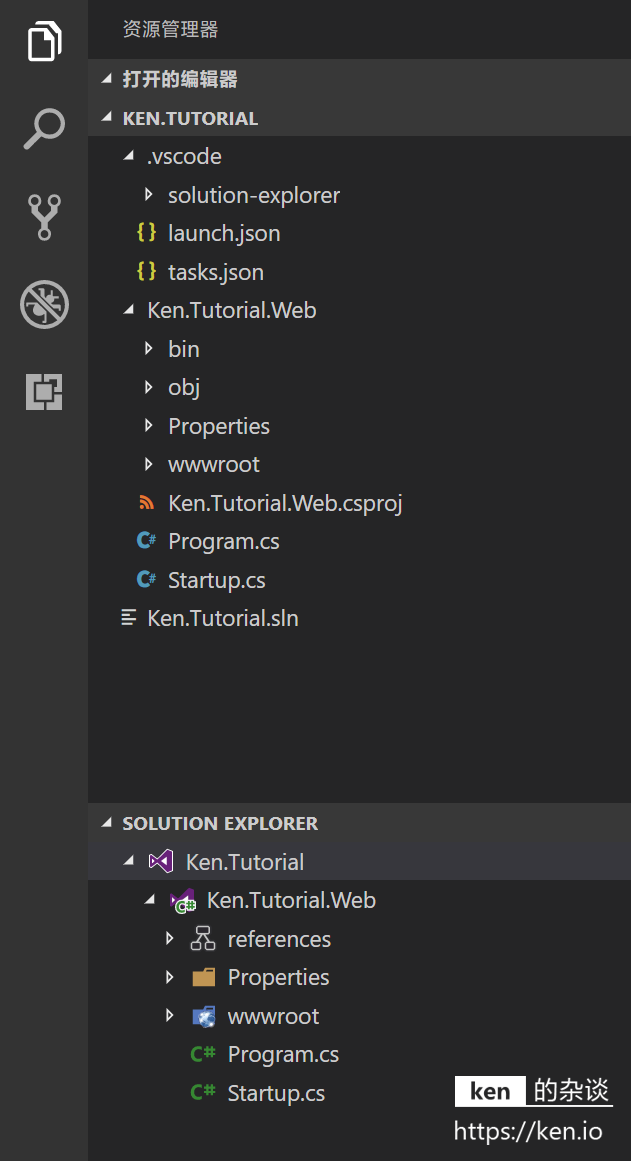
資源管理器中除了預設的面板,我們安裝的Solution外掛還會提供友好的Solution Explorer。這個檢視的風格,有VS(Visual Studio)的既視感。後續專案開發完全可以隱藏預設資源管理器,使用Solution Explorer就好。
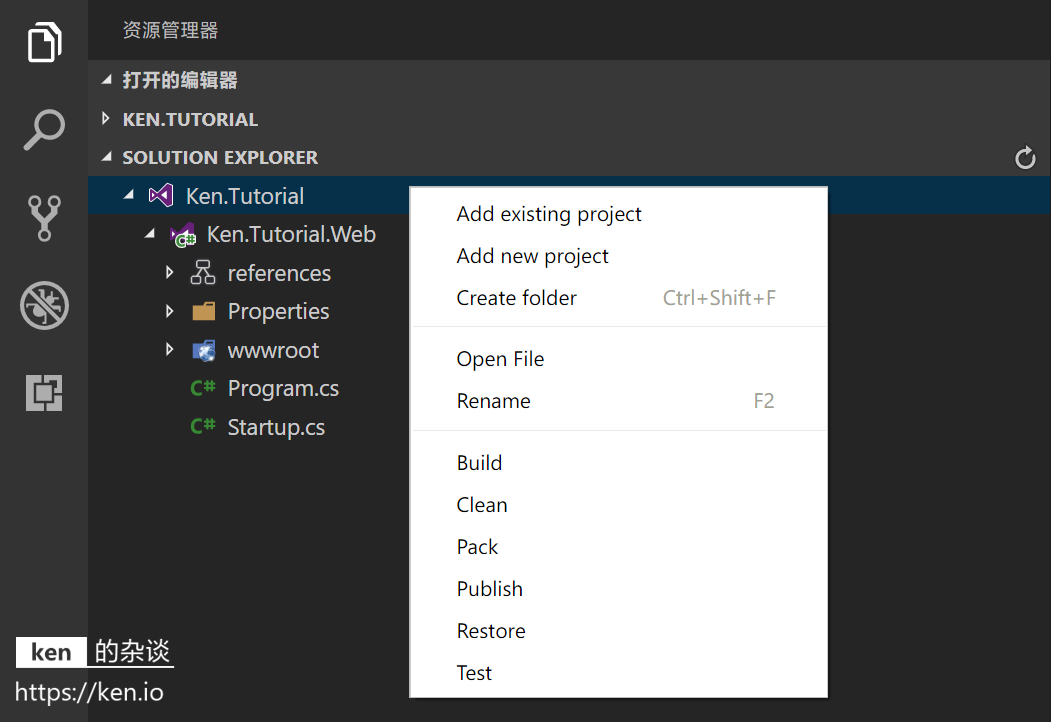
2、Solution Explorer選單介紹
- Solution滑鼠右鍵選單介紹
| 選單 | 快捷鍵 | 說明 |
|---|---|---|
| Add existing project | / | 新增已存在的專案(Project) |
| Add new project | / | 新建專案(Project) |
| Create folder | Ctrl+Shift+F | 建立資料夾 |
| Open File | / | 開啟解決方案檔案(.sln) |
| Rename | F2 | 修改解決方案名稱 |
| Build | / | 編譯解決方案(Solution) |
| Clean | / | 清理解決方案(Solution)的編譯輸出 |
| Pack | / | 解決方案(Solution)打包 |
| Publish | / | 釋出解決方案(Solution) |
| Restore | / | 恢復解決方案(Solution) |
| Test | / | 執行解決方案(Solution)中的單元測試 |
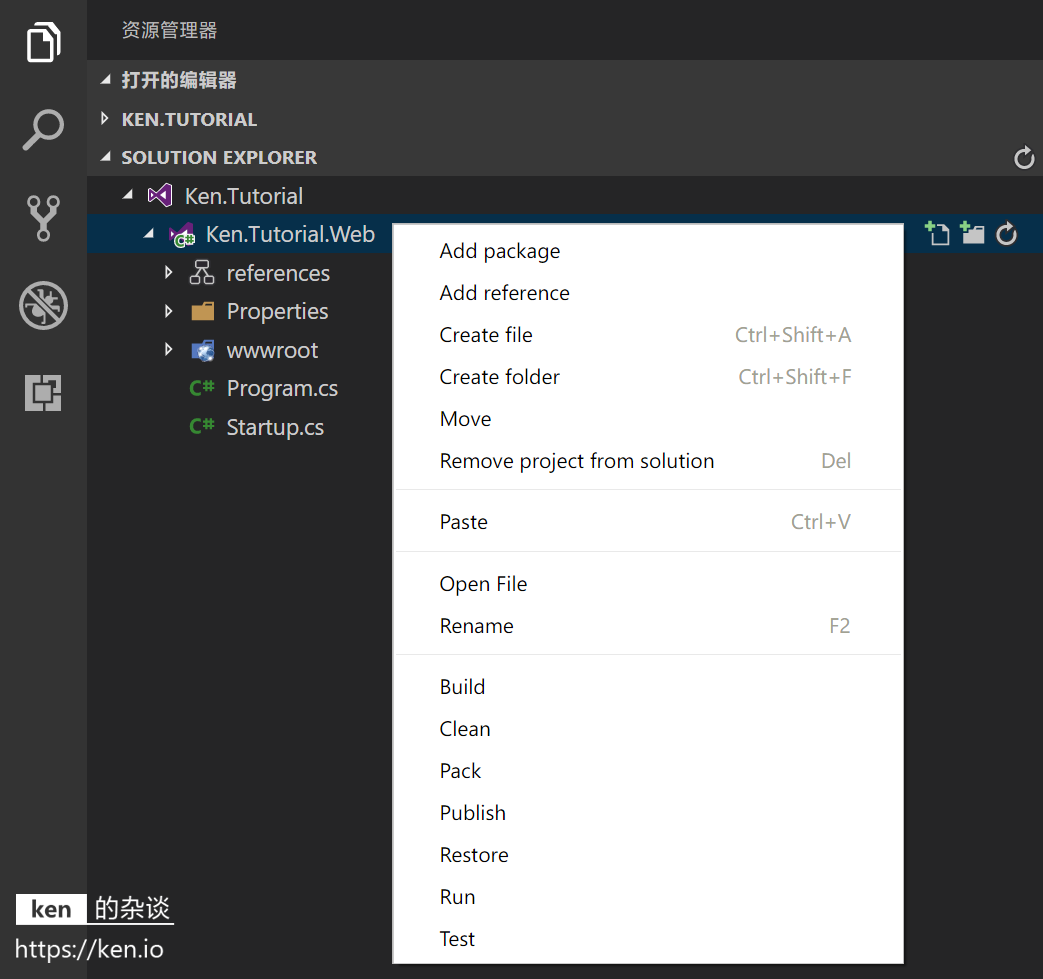
- Project滑鼠右鍵選單介紹
| 選單 | 快捷鍵 | 說明 |
|---|---|---|
| Add package | / | 新增package |
| Add reference | / | 引用解決方案中的其他專案 |
| Create file | Ctrl+Shift+A | 建立檔案 |
| Create folder | Ctrl+Shift+F | 建立資料夾 |
| Move | / | 移動專案(Project) |
| Remove project from solution | Del | 從解決方案中移除專案(Project) |
| Paste | Ctrl+V | 貼上 |
| Open File | / | 開啟專案檔案(.csproj) |
| Rename | F2 | 修改解決方案名稱 |
| Build | / | 編譯專案(Project) |
| Clean | / | 清理專案(Project)的編譯輸出 |
| Pack | / | 專案(Project)打包 |
| Publish | / | 釋出專案(Project) |
| Restore | / | 恢復專案(Project) |
| Test | / | 執行專案(Project)中的單元測試 |
四、ASP.NET Core MVC 輸出HelloWorld
1、引入 ASP.NET Core MVC
修改應用啟動類(Startup.cs),引入MVC模組並配置預設路由
public class Startup
{
    public void ConfigureServices(IServiceCollection services)
    {
        //引入MVC模組
        services.AddMvc();
    }

    public void Configure(IApplicationBuilder app, IHostingEnvironment env)
    {
        if (env.IsDevelopment())
        {
            app.UseDeveloperExceptionPage();
        }

        app.UseMvc(routes =>
        {
            //配置預設路由
            routes.MapRoute(
                name: "Default",
                template: "{controller}/{action}",
                defaults: new { controller = "Home", action = "Index" }
            );
        });
    }
}
2、建立Controller與Action
- 建立HomeController
在Ken.Tutorial.Web專案中新增資料夾:Controllers,並在資料夾中建立類HomeController型別選擇為:class
using System;

namespace Ken.Tutorial.Web.Controllers
{
    public class HomeController
    {
    }
}
- 引用MVC名稱空間,並繼承與
Controller
using System;
using Microsoft.AspNetCore.Mvc;

namespace Ken.Tutorial.Web.Controllers
{
    public class HomeController : Controller
    {
    }
}
ControllerName=Home
- 定義Action:Index
using System;
using Microsoft.AspNetCore.Mvc;

namespace Ken.Tutorial.Web.Controllers
{
    public class HomeController : Controller
    {
        public IActionResult Index()
        {
            return Content("Hello World!");
        }
    }
}
ActionName=Index
3、專案啟動與訪問測試
- 修改協議與埠
修改Ken.Tutorial.Web專案Properties資料夾中launchSettings.json檔案,使用HTTP協議並監聽埠5001
"Ken.Tutorial.Web": {
  "commandName": "Project",
  "launchBrowser": true,
  "applicationUrl": "http://localhost:5001",
  "environmentVariables": {
    "ASPNETCORE_ENVIRONMENT": "Development"
  }
- 啟動專案
按下F5啟動專案,專案啟動成功後,VS Code會幫我們開啟預設瀏覽器並訪問:http://localhost:5001
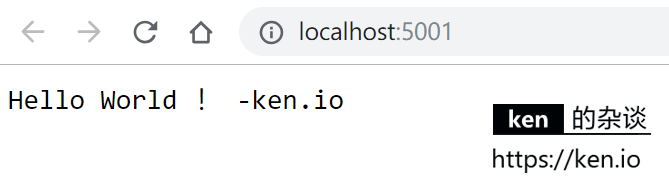
之所以顯示HomeController中Index(Action)的返回內容,是因為我們前面定義了預設路由可以從{controller}/{action}訪問路徑對應Action,而我們又定義了預設值:controller = "Home", action = "Index"
routes.MapRoute(
    name: "Default",
    template: "{controller}/{action}",
    defaults: new { controller = "Home", action = "Index" }
);
我們也可以通過http://localhost:5001/home/index顯示訪問
五、ASP.NET Core 檢視基礎使用
1、建立返回View的Action
在HomeController新增Action:Time
public IActionResult Time()
{
    //將當前伺服器時間放入ViewBag中
    ViewBag.ServerTime = DateTime.Now;
    return View("Time");
}
2、建立檢視檔案
在專案中建立資料夾 Views,並建立對應的HomeController檢視子資料夾:Home。之所以這樣建立資料夾,是因為當我們返回檢視時,只指定ViewName,而不指定完整的路徑。ASP.NET Core MVC框架會預設在以下專案目錄中依次讀取檢視檔案:
- /Views/{ControllerName}
- /Views/Shared
- /Pages/Shared
如果找到檢視檔案便會渲染檢視,如果沒找到便會丟擲異常。
建立檢視檔案 /Views/Home/Time.cshtml
@ViewBag.ServerTime -ken.io
檢視渲染時@ ViewBag.ServerTime會輸出Action中賦值的內容,-ken.io會被作為字串渲染
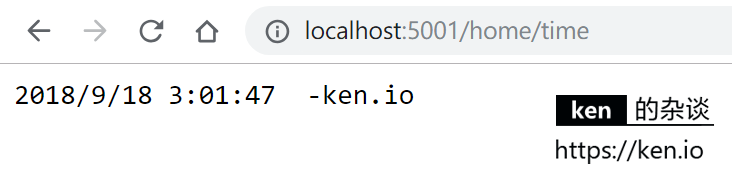
3、啟動專案測試
按下F5啟動專案,專案啟動成功後在瀏覽器中輸入http://localhost:5001/home/time並訪問,將會看到以下輸出:
六、備註
1、附錄
- 本文程式碼示例