
OpenCV計算機視覺之顯示影象
阿新 • • 發佈:2018-12-10
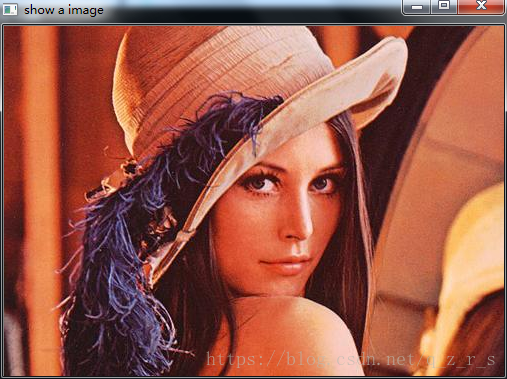
#include <iostream>

#include <opencv2/core/core.hpp>
#include <opencv2/highgui/highgui.hpp>

using namespace std;
using namespace cv;

int main()
{
	Mat img;
	//Mat imread( const string& filename, int flags=1 );
	img = imread("1.jpg",1);

	if(img.empty()){
		cout << "read image failed!" << endl;
		return 1;
	}
	//void imshow(const string& winname, InputArray mat);
	imshow("show a image", img);
	cout << img.rows << '*' << img.cols << endl;
	cout << img.channels() << endl;

	waitKey(0);
	return 0;
}
顯示效果如下:
Mat imread( const string& filename, int flags=1 );此函式有兩個輸入引數,第一個為檔名,第二個為讀取方式,預設值為1,所以也可以不輸入此引數;當flags使用預設引數時,都入的為三通道的影象;當flags輸入引數為0時,讀入的為單通道的灰度圖; 因此根據此函式,顯示單通道灰度圖的方法就有以下兩種操作: 第一種方法:
img = imread("1.jpg",0);第二種方法:
#include <opencv2/imgproc/imgproc.hpp>

img = imread("1.jpg",1);
//void cvtColor( InputArray src, OutputArray dst, int code, int dstCn=0 );
cvtColor(img, img, CV_RGB2GRAY);
這兩種方法的顯示效果如下:
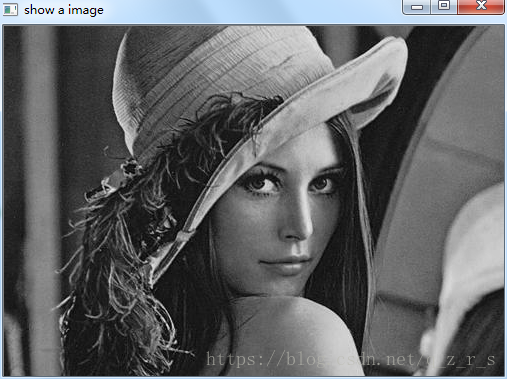
以上兩種方法結果是一樣的,但是就簡潔性來說,還是第一種方法方便,僅需一句即可搞定了。