
vsftpd配置虛擬,本地,匿名使用者
阿新 • • 發佈:2018-12-09
1.安裝vsftpd 2.配置匿名使用者ftp 3.配置虛擬使用者ftp 4.配置本地使用者ftp 5.寫明ftp的使用場景以及如何安裝與配置 要求: 1.安裝並配置完成後要使用ftp客戶端工具登入配置
1.ftp的使用場景
1.伺服器與使用者端之間進行檔案的傳輸 2.資料的備份
2.安裝與配置
1.安裝前準備
[root@localhost ~]# yum install vsftpd epel-release -y    安裝vsftpd和epel-release服務
[root@localhost ~]# systemctl stop firewalld.service          關閉防火牆
2.配置匿名使用者
1.配置
[root@localhost ~]# cat /etc/passwd | grep ftp 檢視ftp的家目錄
ftp:x:14:50:FTP User:/var/ftp:/sbin/nologin
[root@localhost ftp]# vim /etc/vsftpd/vsftpd.conf
anon_upload_enable=YES 允許匿名使用者上傳
anon_other_write_enable=YES 允許匿名使用者建立和刪除目錄
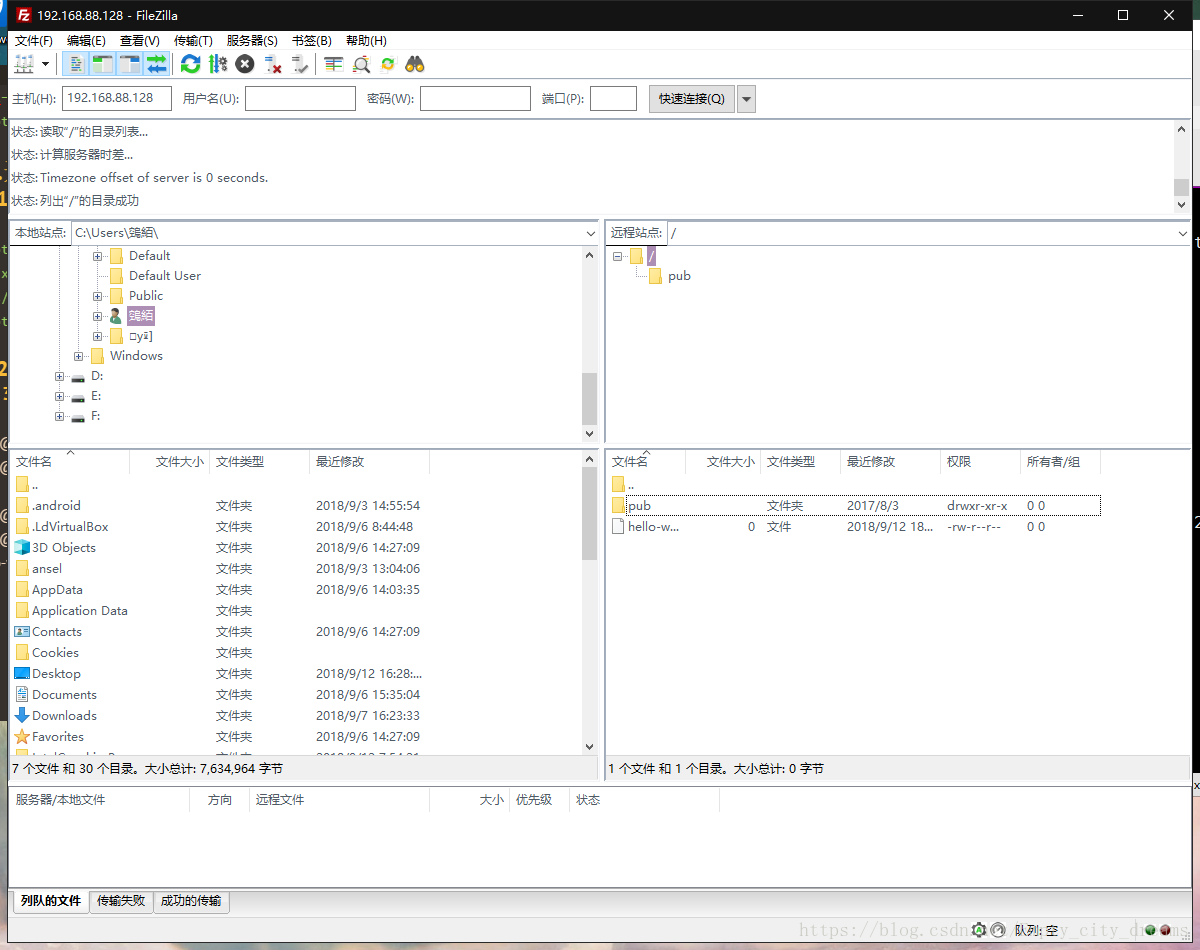
[root@localhost ~]# systemctl start vsftpd 啟動vsftpd服務 2.檢視效果
.1主機端
[root@localhost ~]# chmod 777 /var/ftp/pub/   給檔案完全許可權,不然匿名使用者無法上傳檔案
[root@localhost ~]# cd /var/ftp/
[root@localhost ftp]# ls
pub
[root@localhost ftp]# touch hello-world
[root@localhost ftp]# ls
hello-world  pub
2.FTP軟體檢視效果
3.主機端檢視效果
[root@localhost ~]# cd /var/ftp/pub/ 3.配置虛擬使用者(虛擬使用者是匿名訪問,必須開啟匿名訪問)
1。建立虛擬使用者
[root@localhost ~]# echo 'kong' >> /etc/vsftpd/vu.list     新增使用者名稱和密碼
[root@localhost ~]# echo '123' >> /etc/vsftpd/vu.list
[root@localhost ~]# cat /etc/vsftpd/vu.list
kong
123
[root@localhost ~]# yum install db4* -y        安裝db4工具
[root@localhost ~]# db_load -T -t hash -f /etc/vsftpd/vu.list /etc/vsftpd/vu.db     轉換檔案為資料庫檔案
[root@localhost ~]# chmod 600 /etc/vsftpd/vu.*    保證使用者賬號檔案安全性,誰知為600
[root@localhost ~]# ll /etc/vsftpd/vu.*
-rw------- 1 root root 12288 9月  12 18:42 vu.db
-rw------- 1 root root     9 9月  12 18:39 vu.list
2.新增虛擬使用者的對映賬號
[root@localhost ~]# useradd -d /var/kongbai/ -s /sbin/nologin bais 對映賬號為bais
[root@localhost ~]# chmod 755 /var/kongbai/
[root@localhost ~]# vim /etc/pam.d/vsftpd 最好備份一下這個檔案,全部刪除,新增內容
#%PAM-1.0
auth required pam_userdb.so db=/etc/vsftpd.vu
account required pam_userdb.so db=/etc/vsftpd.vu
[root@localhost ~]# echo 'guest_enable=YES' >> /etc/vsftpd/vsftpd.conf
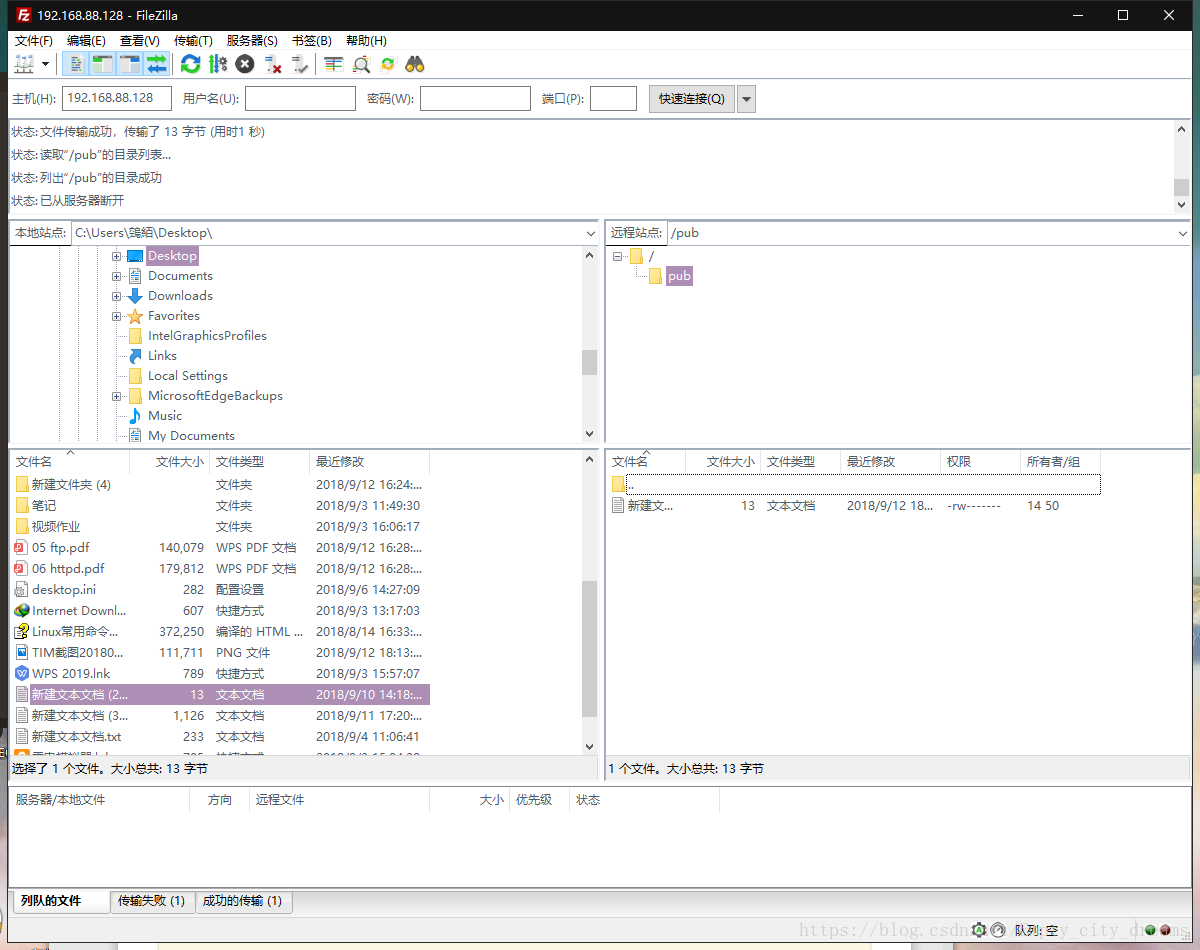
[root@localhost ~]# echo 'guest_username=bais' >> /etc/vsftpd/vsftpd.conf3.檢視效果
1.主機端
[root@localhost ~]# cd /var/kongbai/
[root@localhost kongbai]# touch hello-world
[root@localhost kongbai]# ls
hello-world
2.FTP軟體
3.主機端
[[email protected] kongbai]# ll
總用量 4
-rw-r--r-- 1 root root  0 9月  12 19:05 hello-world
-rw------- 1 bais bais 13 9月  12 19:06 新建文字文件 (2).t
4.配置本地使用者
1.配置
[root@localhost ~]# vim /etc/vsftpd/vsftpd.conf  新增以下兩行,有的話可以不加
local_enable=YES
write_enable=YES
[root@localhost ~]# systemctl restart vsftpd
[root@localhost ~]# useradd kongcheng      建立使用者名稱和密碼
[root@localhost ~]# passwd kongcheng
[root@localhost ~]# cat /etc/passwd | grep kongcheng     查詢建立的使用者的家目錄
kongcheng:x:1001:1001::/home/kongcheng:/bin/bash
[root@localhost home]# cd /home/kongcheng/0
[root@localhost kongcheng]# ll -d
drwx------ 3 kongcheng kongcheng 78 9月  13 10:22 .         家目錄的所有者必須是剛剛建立的使用者
2.檢視效果
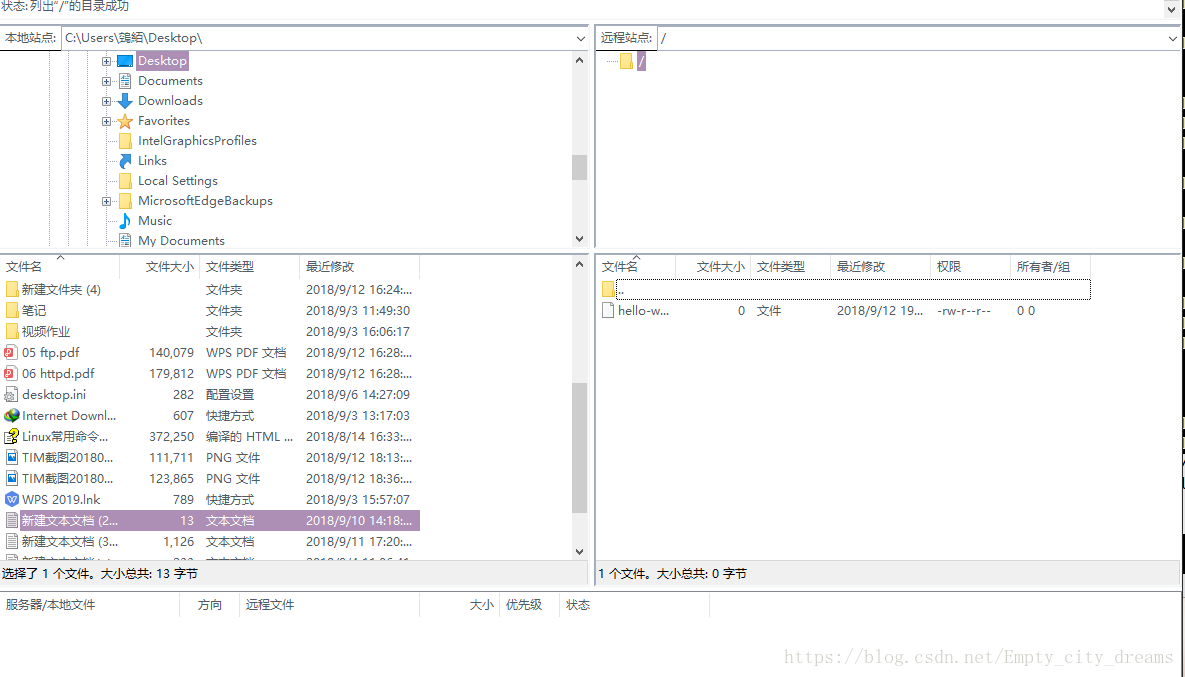
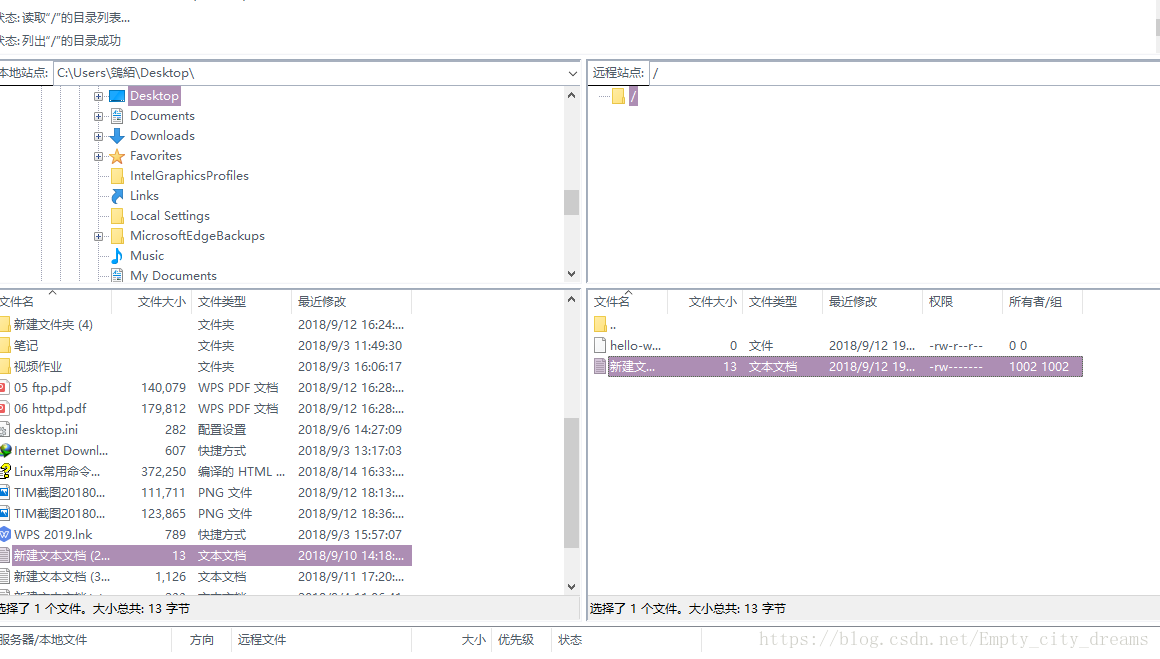
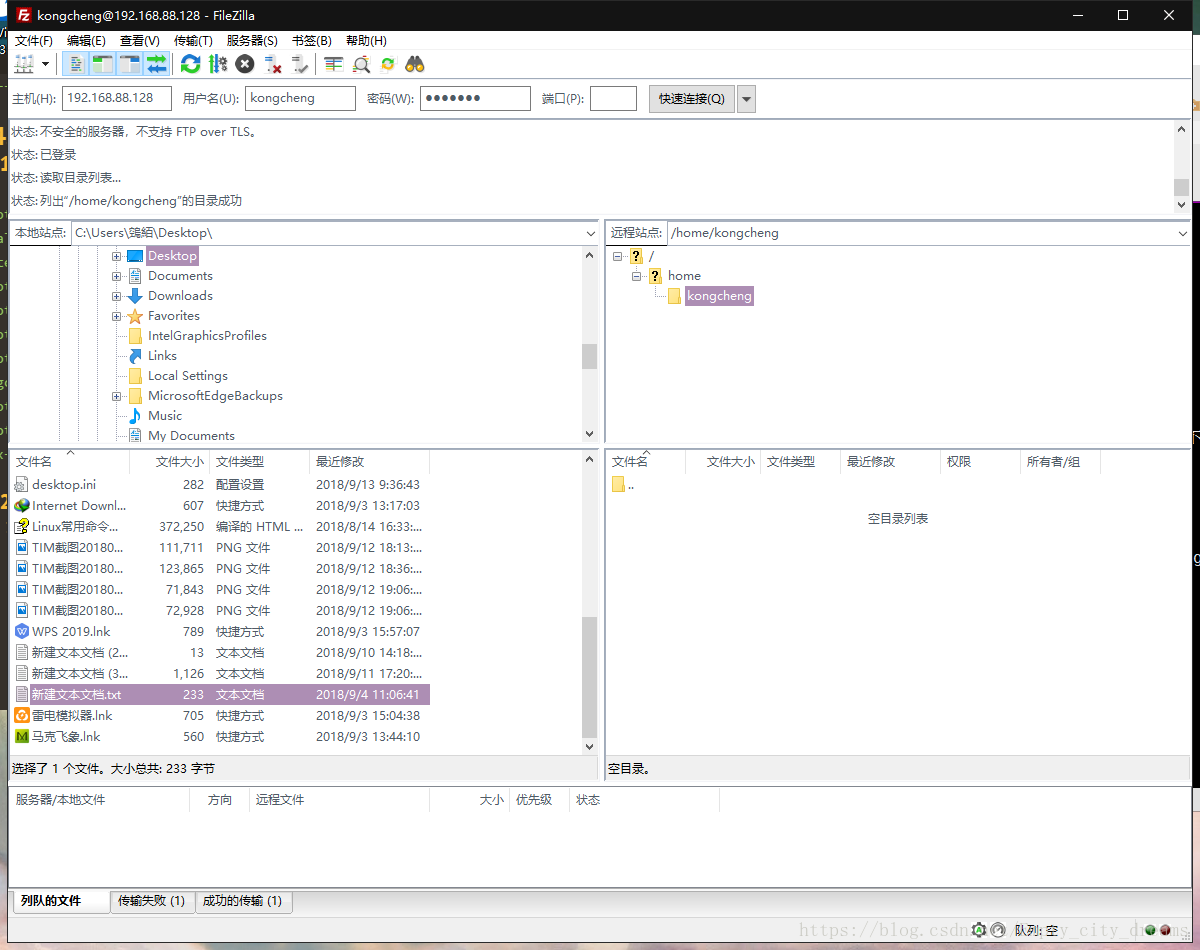
1.使用者端
2.主機端新增檔案
[root@localhost kongcheng]# touch hello-world
[root@localhost kongcheng]# ls
hello-world
3.使用者端檢視

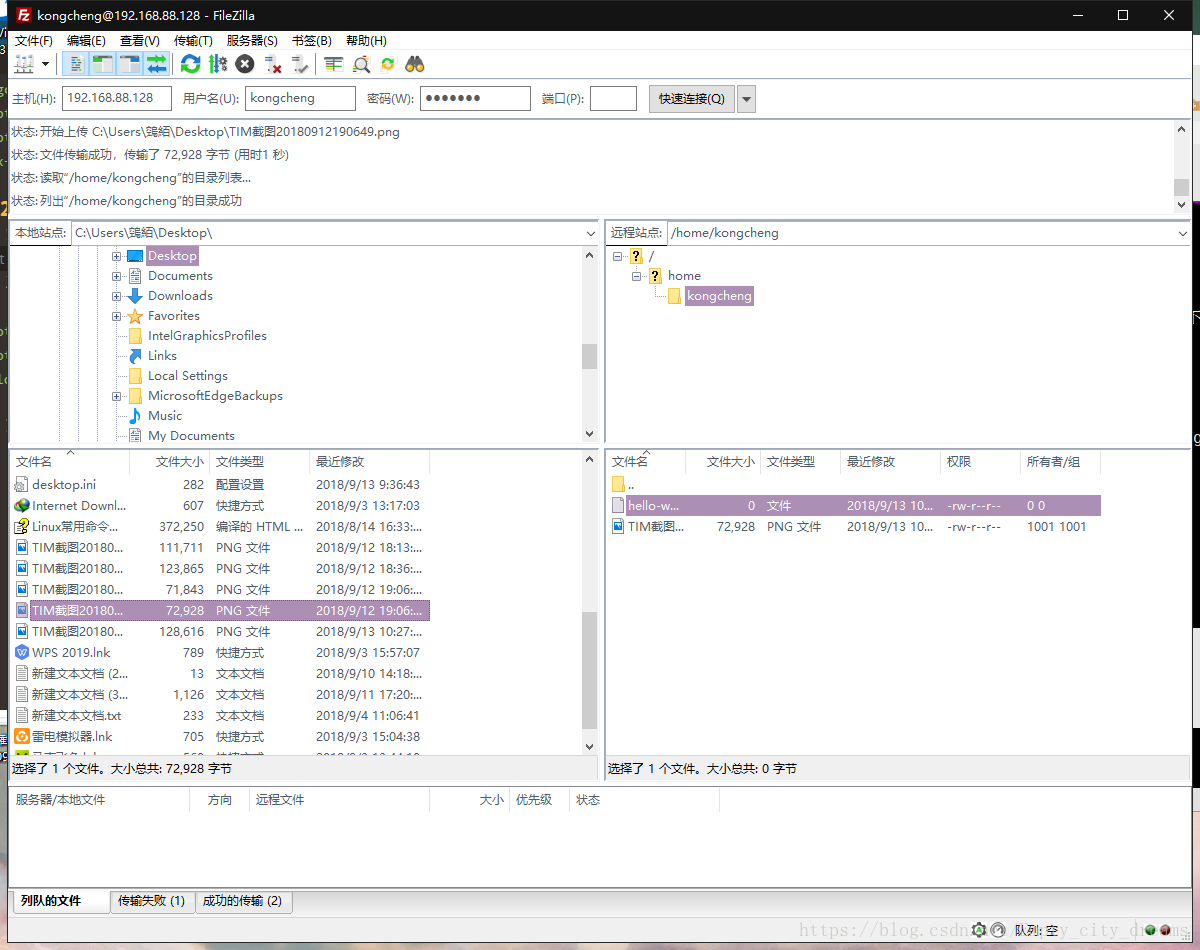
4.主機端檢視
[root@localhost kongcheng]# ls
hello-world  TIM截圖20180912190649.png