android進階3step2:Android App通訊——經典藍芽通訊
Android經典藍芽案例
- 一、Android中藍芽裝置的使用
- - 1.藍芽許可權
- - 2.藍芽功能開啟
- - 3.搜尋藍芽裝置
- - 4.建立RFCOMM通道
- - 5.藍芽裝置雙向資料傳輸
1.開啟藍芽許可權:AndroidManifest.xml 中配置
   <uses-permission android:name="android.permission.BLUETOOTH" />
    <uses-permission android:name="android.permission.BLUETOOTH_ADMIN" />
2.藍芽功能開啟
--1.判斷裝置是否支援藍芽 oncreate中
BluetoothAdapter.getDefaultAdapter() 獲取系統預設的藍芽裝置,為空則表明不支援藍芽
       /**
         * 判斷系統是否預設支援藍芽裝置
         */
        mBluetoothAdapter = BluetoothAdapter.getDefaultAdapter();
        if (mBluetoothAdapter == null) {
            Toast.makeText(this, "不支援藍芽裝置", Toast.LENGTH_SHORT).show();
        } else {
            Toast.makeText(this, "支援藍芽裝置", Toast.LENGTH_SHORT).show();

        }
--2.判斷裝置是否已經開啟藍芽,沒有則開啟
主要程式碼: 通過意圖傳輸開啟藍芽的action,並傳一個請求碼,在onActivityResult中校驗即可
    /**
         * 檢查藍芽是否開啟
         * 1、no,則開啟
         * 2.yes,彈出提示框已經開始
         */
        if (!mBluetoothAdapter.isEnabled()) {
            //開啟的意圖
            Intent enableIntent = new Intent(BluetoothAdapter.ACTION_REQUEST_ENABLE);
            //通過在onActivityResult返回的返回碼是否一致返回來判斷是否開啟成功
            startActivityForResult(enableIntent, REQUEST_CODE);
        } else {
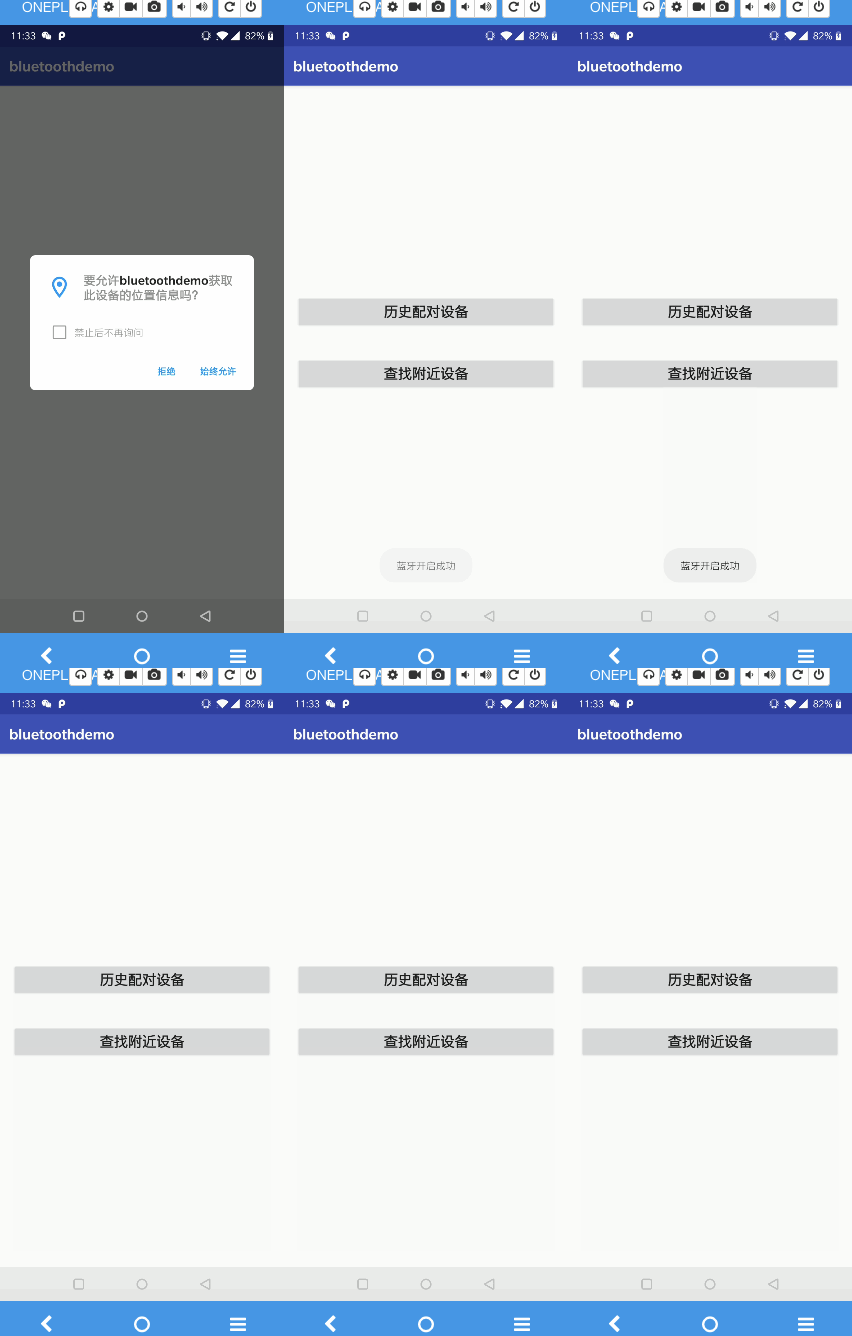
            Toast.makeText(this, "藍芽開啟成功", Toast.LENGTH_SHORT).show();
        }
完整:
 @Override
    protected void onStart() {
        super.onStart();
        /**
         * 檢查藍芽是否開啟
         * 1、no,則開啟
         * 2.yes,彈出提示框已經開始
         */
        if (!mBluetoothAdapter.isEnabled()) {
            //開啟的意圖
            Intent enableIntent = new Intent(BluetoothAdapter.ACTION_REQUEST_ENABLE);
            //通過在onActivityResult返回的返回碼是否一致返回來判斷是否開啟成功
            startActivityForResult(enableIntent, REQUEST_CODE);
        } else {
            Toast.makeText(this, "藍芽開啟成功", Toast.LENGTH_SHORT).show();
        }
    }

    @Override
    protected void onActivityResult(int requestCode, int resultCode, @Nullable Intent data) {
        super.onActivityResult(requestCode, resultCode, data);
        if (requestCode == REQUEST_CODE) {
            Toast.makeText(this, "藍芽開啟成功", Toast.LENGTH_SHORT).show();

        }
    }
3.查詢藍芽裝置(兩種不同形式)
--1查詢裝置 --- 查詢配對的裝置(歷史)
- getBondedDevices()
返回已配對裝置的一組 BluetoothDevice
下面是一個方法,放在onstart()執行完之後執行
  /**
     * 查詢之前配對過的裝置
     */
    private void pairedDevices() {
        if (mBluetoothAdapter == null) {
            return;
        }
        /**
         * 拿到所有之前配對過的設定
         * 1.有配對歷史
         * 2.沒有配對歷史 (判空)
         */

        if (mBluetoothAdapter.getBondedDevices() != null && mBluetoothAdapter.getBondedDevices().size() > 0) {
            //拿到配對裝置集合
            Set<BluetoothDevice> devices = mBluetoothAdapter.getBondedDevices();
            for (BluetoothDevice device : devices) {
                //列印配對裝置的資訊
                Log.d(TAG, "pairedDevices:  name= " + device.getName());
                Log.d(TAG, "pairedDevices:  address= " + device.getAddress());
            }
        } else {
            Log.d(TAG, "沒有匹配過藍芽裝置的記錄");

            Toast.makeText(this, "沒有匹配過藍芽裝置的記錄", Toast.LENGTH_SHORT).show();
        }
    }
列印結果:根據自己裝置匹配的情況來輸出
D/MainActivity-vv: pairedDevices:  name= iPad
D/MainActivity-vv: pairedDevices:  address= A4:E9:75:6B:13:6D
--查詢裝置 --- 發現裝置
一:注意事項
1:android6.0使用藍芽時,需要開啟gps定位許可權,不然無法搜尋其它藍芽裝置。
二:許可權
1:許可權配置 6.0之後許可權要動態獲取,如果不動態獲取,就搜尋不到裝置!!!(之前有寫過動態獲取許可權的工具類)
<!--允許程式連線到已配對的藍芽裝置-->
<uses-permission android:name="android.permission.BLUETOOTH" />
<!-- 允許程式發現和配對藍芽裝置 -->
<uses-permission android:name="android.permission.BLUETOOTH_ADMIN" />
    <!--android 6.0 涉及到的許可權-->
<uses-permission android:name="android.permission.ACCESS_FINE_LOCATION" />
<uses-permission android:name="android.permission.ACCESS_COARSE_LOCATION" />
- 發現裝置:startDiscovery()
- 該程序為非同步程序,該方法會立即返回一個布林值,指示是否已成功
啟動發現操作
- 發現程序通常包含約 12 秒鐘的查詢掃描
 /**
     * 開始掃描裝置
     */
    private void findDevices() {
        //如果藍芽正在查詢,則取消查詢
        if (mBluetoothAdapter.isDiscovering()) {
            mBluetoothAdapter.cancelDiscovery();
        }
        //重寫開啟查詢
        mBluetoothAdapter.startDiscovery();
    }
寫一個廣播來接收掃描後的結果:
  //建立一個廣播接受者來接收action的資訊
    private BroadcastReceiver mReceiver = new BroadcastReceiver() {
        @Override
        public void onReceive(Context context, Intent intent) {
            String action = intent.getAction();
            //發現新裝置
            if (action.equals(BluetoothDevice.ACTION_FOUND)) {
                //拿到新裝置資訊
                BluetoothDevice device = intent.getParcelableExtra(BluetoothDevice.EXTRA_DEVICE);
                Log.d(TAG, "onReceive:new device: " + device.getName());
                Log.d(TAG, "onReceive:new device: " + device.getAddress());

            }
            //搜尋裝置完畢
            else if (action.equals(BluetoothAdapter.ACTION_DISCOVERY_FINISHED)) {
                Log.d(TAG, "onReceive: discovery done ");
            }

        }
    };
註冊和登出廣播:
  /**
     * 在onresume中註冊廣播
     */
    private void registerReceiver() {
        IntentFilter mFilter = new IntentFilter();
        mFilter.addAction(BluetoothDevice.ACTION_FOUND);
        mFilter.addAction(BluetoothAdapter.ACTION_DISCOVERY_FINISHED);
        registerReceiver(mReceiver, mFilter);

    }

    /**
     * 在onpause中登出廣播
     */
    private void unregisterReceiver() {
        unregisterReceiver(mReceiver);
    }

    @Override
    protected void onResume() {
        super.onResume();
        registerReceiver();
    }

    @Override
    protected void onPause() {
        super.onPause();
        unregisterReceiver();
    }

log結果:
//搜尋歷史配對裝置
/com.demo.bluetoothdemo D/MainActivity-vv:
    pairedDevices:  name= iPad
    pairedDevices:  address= A4:E9:75:6B:13:6D

//發現新裝置
/com.demo.bluetoothdemo D/MainActivity-vv:
    onReceive:new device:name= null
    onReceive:new device:address70:78:3C:D1:88:FB
/com.demo.bluetoothdemo D/MainActivity-vv:
    onReceive:new device:name= [000E0B1347A6]
    onReceive:new device:address00:0E:0B:13:47:A6
/com.demo.bluetoothdemo D/MainActivity-vv:
 onReceive:new device:name= null
onReceive:new device:address00:0E:0E:13:47:A6
4.連線裝置(兩臺裝置上建立連線)
- 要在兩臺裝置上建立連線
需要實現伺服器端和客戶端機制
- 伺服器裝置和客戶端裝置分別獲得需要的藍芽Socket
連線為伺服器
- 設定伺服器套接字並接受連線的基本過程:
- - .通過呼叫 listenUsingRfcommWithServiceRecord(String, UUID)獲取 BluetoothServerSocket
- - .通過呼叫 accept() 開始偵聽連線請求
- - .除非要接受更多連線,否則呼叫 close()
設定客戶端
- 發起與遠端裝置(保持開放的伺服器套接字的裝置)的連線
- a. 首先要獲取表示該遠端裝置的 BluetoothDevice 物件
- b. 然後使用 BluetoothDevice 來獲取 BluetoothSocket 併發起連線
1.使用 BluetoothDevice,通過呼叫 createRfcommSocketToServiceRecord(UUID) 獲取BluetoothSocket
2.通過呼叫 connect() 發起連線
-二、 藍芽聊天室案例介紹
案例大綱
- - 藍芽聊天室案例框架分析
- - UI介面分析
- - 藍芽後臺服務設計
經典藍芽通訊
官方文件:官方文件詳細說明兩個藍芽的通訊
案例:谷歌推薦的託管在Github上的示例應用BluetoothChat
