
使用Spring的定時器@Scheduled註解實現定時任務
阿新 • • 發佈:2018-11-14
在很多時候我們在專案中需要週期性地執行一些操作,並且這些操作不能通過簡單的for迴圈和while迴圈來實現,因此我們需要有一個可以實現定時操作的方法,在spring中就有這麼一個非常方便的方法,下面就簡單記錄下@Scheduled註解的使用方法。
1、首先我們需要一個spring專案,這個是前提條件。
首先我們需要在.xml的配置檔案中引入
xmlns:task="http://www.springframework.org/schema/task"
http://www.springframework.org/schema/task
http://www.springframework.org/schema/task/spring-task-3.1.xsd
然後需要開啟定時器@Scheduled註解的掃描
<!--開啟定時器-->
<task:annotation-driven/>
最後需要掃描編寫定時器任務的類所在的包
<!--掃描定時器類所在的包-->
<context:component-scan base-package="com.ssm.time"/>
配置檔案裡就只需要配置這些東西。
2、接下來我們開始編寫定時器的類
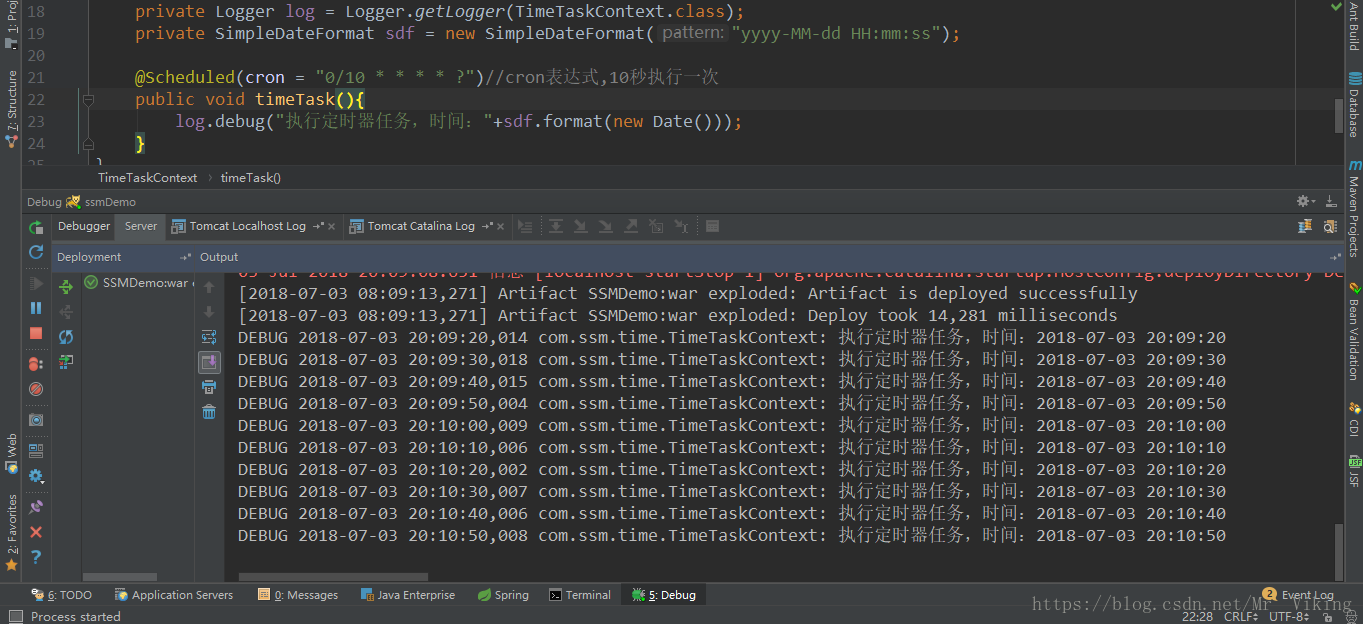
package com.ssm.time;

import org.apache.log4j.Logger;
import org.springframework.scheduling.annotation.Scheduled;
import org.springframework.stereotype.Component;

import java.text.SimpleDateFormat;
import java.util.Date;

/**
 * created by viking on 2018/07/03
 * 定時器任務類
 */

@Component
public class TimeTaskContext {

    private Logger log = Logger.getLogger(TimeTaskContext.class);
    private SimpleDateFormat sdf = new SimpleDateFormat("yyyy-MM-dd HH:mm:ss");

    @Scheduled(cron = "0/10 * * * * ?")//cron表示式,10秒執行一次
    public void timeTask(){
        log.debug("執行定時器任務,時間:"+sdf.format(new Date()));
    }
}
這就是一個簡單的使用案例了,程式碼不多,配置也不算複雜。然後我們看一下執行效果吧。
如果有不對的地方,歡迎各位大佬指出,有疑問的地方也歡迎大家留言,我們一起討論~