
微信小程式自定義全屏遮罩
阿新 • • 發佈:2018-11-12
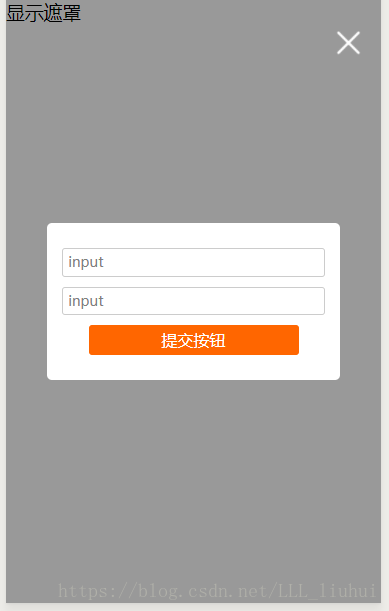
效果如下:
1、wxml
<view class='' bindtap='showMask'>顯示遮罩</view>
<view class="mask" hidden="{{flag}}">
  <view class="maskContent">
    <view>
      <input class='input' placeholder="input" />
    </view>
    <view>
      <input class='input' placeholder="input" />
    </view>
    <view class='btn'>提交按鈕</view>
  </view>
  <view class="closeImg" bindtap="closeMask">
    <image  class="closeImg_image" src="/images/close.png"></image>
  </view>
</view>
2、wxss
/* 設定背景遮罩層樣式 */
.mask {
  position: fixed;
  left: 0;
  top: 0;
  right: 0;
  bottom: 0;
  background: rgba(0, 0, 0, 0.5);
  display: flex;
  justify-content: center;
  align-items: center;
  flex-direction: column;
}
/* 設定遮罩內容樣式 */
.maskContent {
  width: 70%;
  background: #fff;
  border-radius: 5px;
  padding: 30rpx;
}
/* 設定關閉按鈕圖片的位置 */
.closeImg {
  position: fixed;
  top: 40rpx;
  right: 40rpx;
}
/* 設定關閉按鈕寬高 */
.closeImg_image {
  width: 50rpx;
  height: 50rpx;
}
.btn{
  width: 80%;
  margin: 20rpx auto;
  background: #ff6600;
  color: #fff;
  line-height: 60rpx;
  font-size: 32rpx;
  text-align: center;
  border-radius: 3px;
}
.input{
  border: 1px solid #ccc;
  border-radius: 3px;
  font-size: 28rpx;
  padding: 0 10rpx;
  margin: 20rpx 0;
  line-height: 60rpx;
}
3、js
Page({
  data: {
    flag: true,
  },
  showMask: function () {
    this.setData({ flag: false })
  },
  closeMask: function () {
    this.setData({ flag: true })
  }
})