windows安裝Jupyter Notebook Windows下的Python 3.6.1的下載與安裝(適合32bits和64bits)(圖文詳解)
這是我自定義的Python 的安裝目錄 (D:\SoftWare\Python\Python36\Scripts)
1、Jupyter Notebook 和 pip
為了更加方便地寫 Python 程式碼,還需要安裝 Jupyter notebook。 利用 pip 安裝 Jupyter notebook。
為什麼要使用 Jupyter?參考: https://www.zhihu.com/question/37490497
pip: Python 的包管理工具,安裝 Python 的同時已經安裝好了。
Jupyter notebook
2、Jupyter notebook 安裝
命令列視窗輸入: pip install jupyter
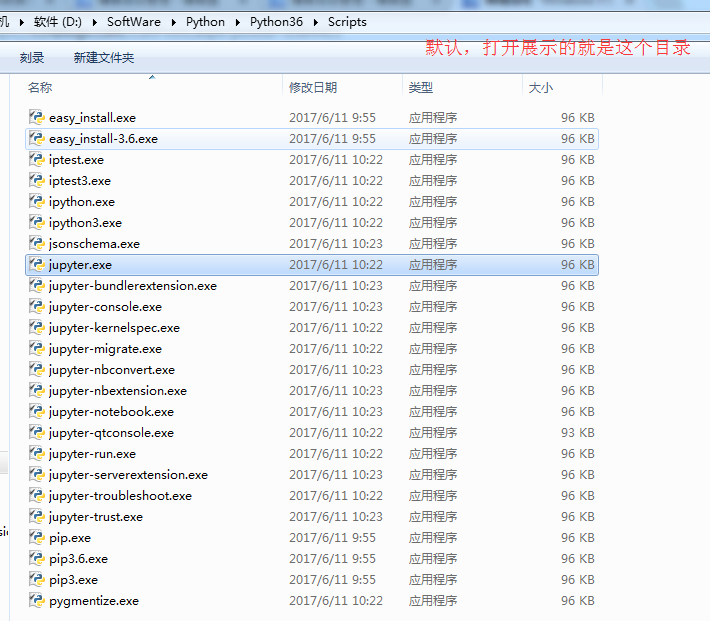
切換到 D:\SoftWare\Python\Python36\Scripts目錄下,
當然,若大家是預設安裝的話,則在C:\Users\Administrator\AppData\Local\Programs\Python\Python36\Scripts 目錄下 。
或者將該目錄新增到 path,就不用切換了。
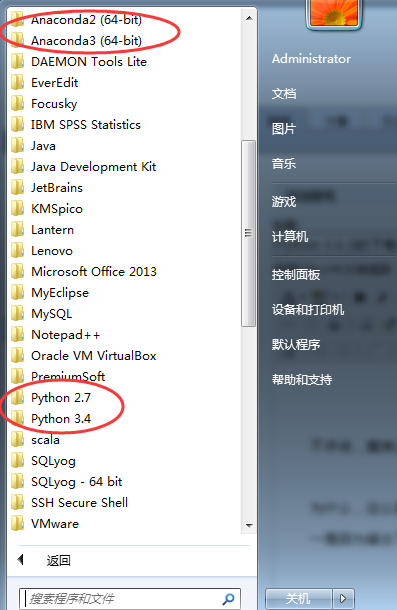
我這裡,因為考慮到機器學習深度學習那邊,已經安裝了Anaconda2和Anaconda3,所以這邊的資料分析所用的python3.6.1就不新增到path了。每次去切換到這個目錄來,也不麻煩。
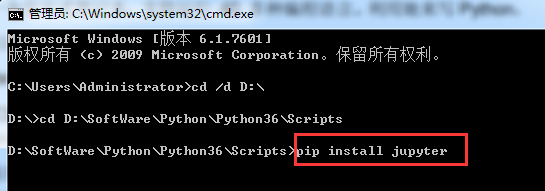

Microsoft Windows [版本 6.1.7601]
版權所有 (c) 2009 Microsoft Corporation。保留所有權利。

C:\Users\Administrator>cd /d D:\

D:\>cd D:\SoftWare\Python\Python36\Scripts

D:\SoftWare\Python\Python36\Scripts>pip install jupyter


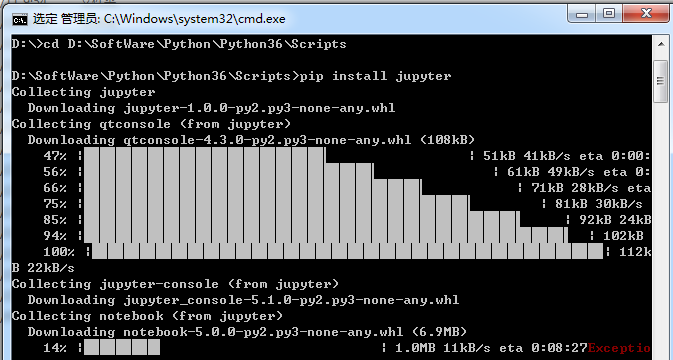
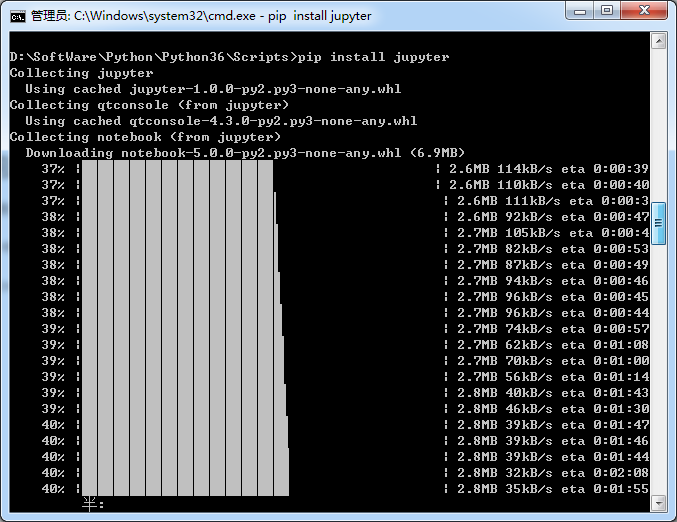

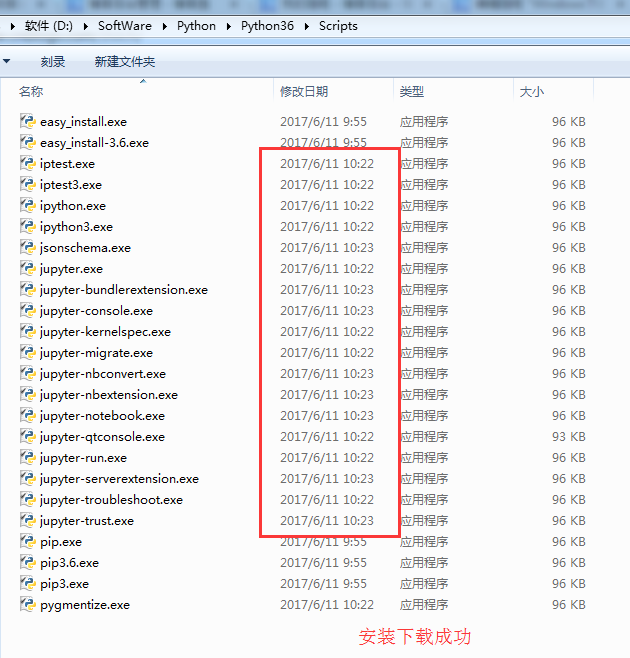
安裝成功。
3、 jupyter notebook的啟動
命令列視窗輸入: jupyter notebook
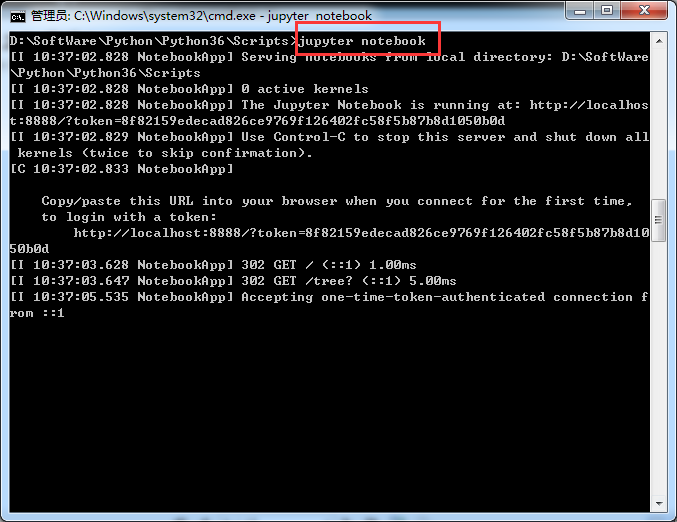

D:\SoftWare\Python\Python36\Scripts>jupyter notebook
[I 10:37:02.828 NotebookApp] Serving notebooks from local directory: D:\SoftWare
\Python\Python36\Scripts
[I 10:37:02.828 NotebookApp] 0 active kernels
[I 10:37:02.828 NotebookApp] The Jupyter Notebook is running at: http://localhos
t:8888/?token=8f82159edecad826ce9769f126402fc58f5b87b8d1050b0d
[I 10:37:02.829 NotebookApp] Use Control-C to stop this server and shut down all
 kernels (twice to skip confirmation).
[C 10:37:02.833 NotebookApp]

    Copy/paste this URL into your browser when you connect for the first time,
    to login with a token:
        http://localhost:8888/?token=8f82159edecad826ce9769f126402fc58f5b87b8d10
50b0d
[I 10:37:03.628 NotebookApp] 302 GET / (::1) 1.00ms
[I 10:37:03.647 NotebookApp] 302 GET /tree? (::1) 5.00ms
[I 10:37:05.535 NotebookApp] Accepting one-time-token-authenticated connection f
rom ::1

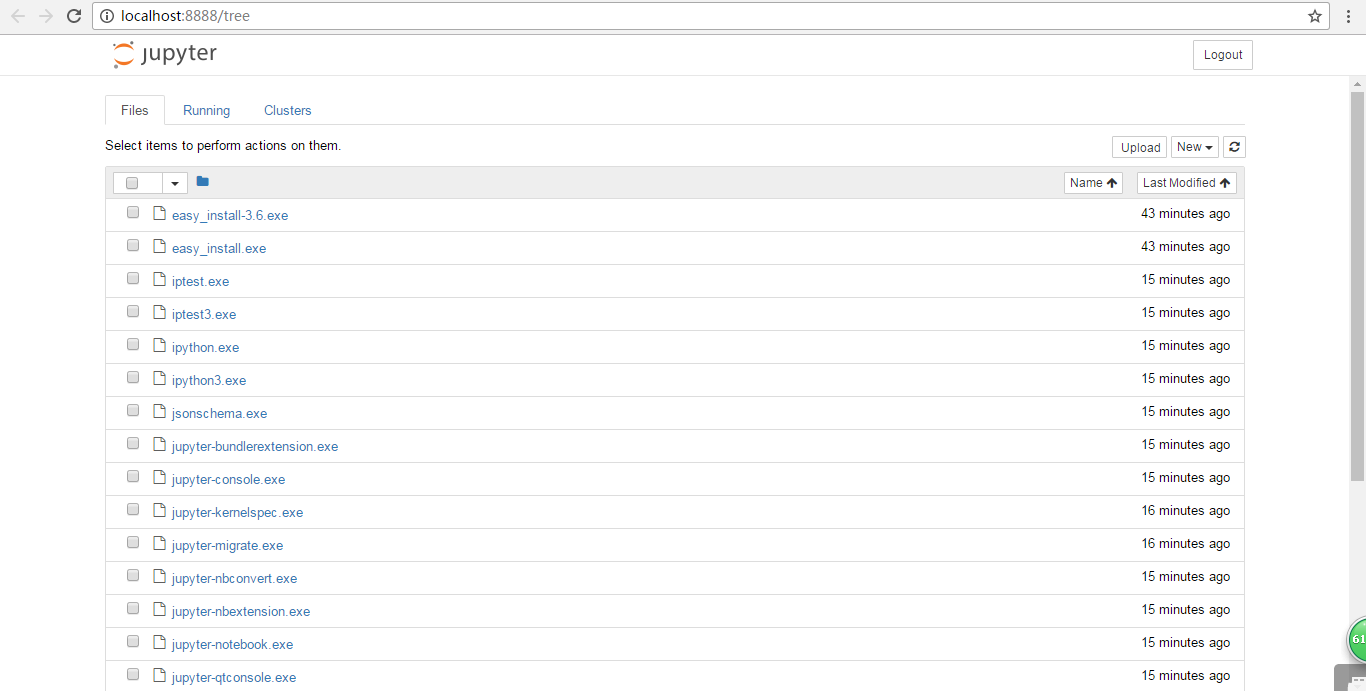
同時,預設瀏覽器會開啟 Jupyter notebook 視窗。 說明 Jupyter notebook 安裝成功了。
4、配置 Jupyter notebook
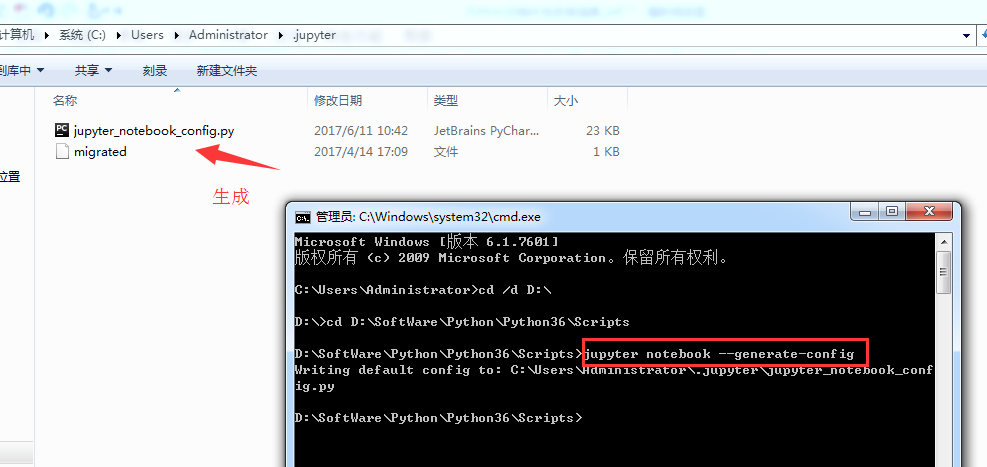
jupyter notebook --generate-config
執行之前

開啟“.jupyter”資料夾,可以看到裡面有個配置檔案。

Microsoft Windows [版本 6.1.7601]
版權所有 (c) 2009 Microsoft Corporation。保留所有權利。

C:\Users\Administrator>cd /d D:\

D:\>cd D:\SoftWare\Python\Python36\Scripts

D:\SoftWare\Python\Python36\Scripts>jupyter notebook --generate-config
Writing default config to: C:\Users\Administrator\.jupyter\jupyter_notebook_conf
ig.py

D:\SoftWare\Python\Python36\Scripts>

修改jupyter_notebook_config.py配置檔案
開啟這個配置檔案,找到“c.NotebookApp.notebook_dir=……”,把路徑改成自己的工作目錄。

比如,這裡要變更為
## The directory to use for notebooks and kernels.
c.NotebookApp.notebook_dir = 'D:\Code\jupyter-notebook'
,當然,資料夾 jupyter-notebook 需要自己建立好。

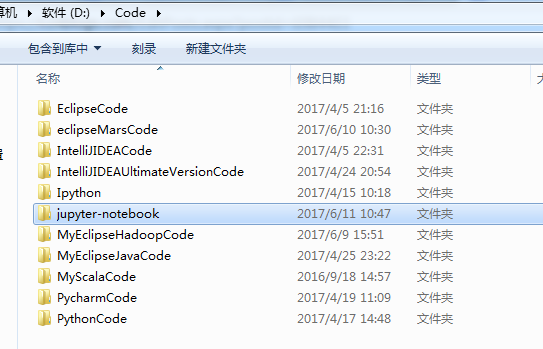

配置檔案修改完成後, 以後在 jupyter notebook 中寫的程式碼等都會儲存在自己建立的目錄中。
jupyter notebook的自定義啟動(變了)
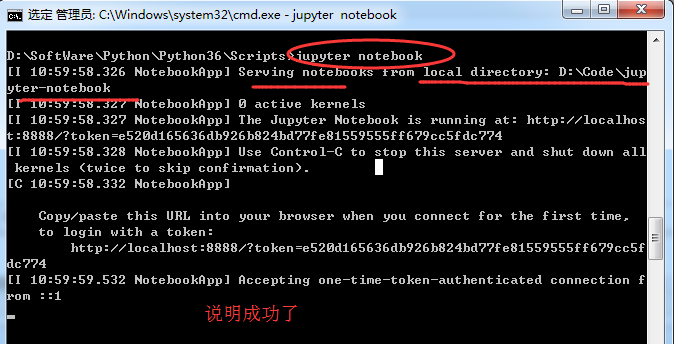
配置檔案修改成後,就可以啟動 jupyter notebook 了,命令列視窗中輸入 jupyter notebook,
預設瀏覽器就會開啟一個頁面
jupyter notebook的啟動
命令列視窗輸入: jupyter notebook
以前是


D:\SoftWare\Python\Python36\Scripts>jupyter notebook
[I 10:37:02.828 NotebookApp] Serving notebooks from local directory: D:\SoftWare
\Python\Python36\Scripts
[I 10:37:02.828 NotebookApp] 0 active kernels
[I 10:37:02.828 NotebookApp] The Jupyter Notebook is running at: http://localhos
t:8888/?token=8f82159edecad826ce9769f126402fc58f5b87b8d1050b0d
[I 10:37:02.829 NotebookApp] Use Control-C to stop this server and shut down all
 kernels (twice to skip confirmation).
[C 10:37:02.833 NotebookApp]

    Copy/paste this URL into your browser when you connect for the first time,
    to login with a token:
        http://localhost:8888/?token=8f82159edecad826ce9769f126402fc58f5b87b8d10
50b0d
[I 10:37:03.628 NotebookApp] 302 GET / (::1) 1.00ms
[I 10:37:03.647 NotebookApp] 302 GET /tree? (::1) 5.00ms
[I 10:37:05.535 NotebookApp] Accepting one-time-token-authenticated connection f
rom ::1

現在是

Microsoft Windows [版本 6.1.7601]
版權所有 (c) 2009 Microsoft Corporation。保留所有權利。

C:\Users\Administrator>cd /d D:\

D:\>cd D:\SoftWare\Python\Python36\Scripts

D:\SoftWare\Python\Python36\Scripts>jupyter notebook
[I 10:59:58.326 NotebookApp] Serving notebooks from local directory: D:\Code\jup
yter-notebook
[I 10:59:58.327 NotebookApp] 0 active kernels
[I 10:59:58.327 NotebookApp] The Jupyter Notebook is running at: http://localhos
t:8888/?token=e520d165636db926b824bd77fe81559555ff679cc5fdc774
[I 10:59:58.328 NotebookApp] Use Control-C to stop this server and shut down all
 kernels (twice to skip confirmation).
[C 10:59:58.332 NotebookApp]

    Copy/paste this URL into your browser when you connect for the first time,
    to login with a token:
        http://localhost:8888/?token=e520d165636db926b824bd77fe81559555ff679cc5f
dc774
[I 10:59:59.532 NotebookApp] Accepting one-time-token-authenticated connection f
rom ::1


當然,其實啊,這個玩意非常的簡單和方便。關於修改名字、上傳等操作,後續關注的我部落格。
常見問題及解決方案
如何新增 Path?
計算機-右擊-單機“屬性”
單機“高階系統設定”
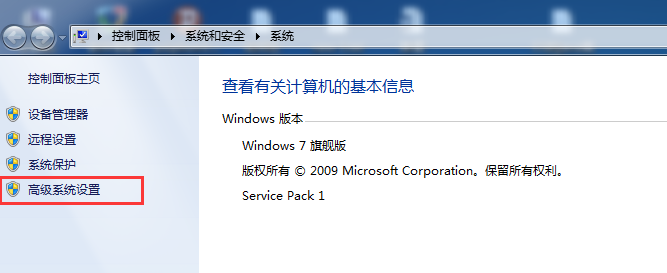
單機“環境變數”
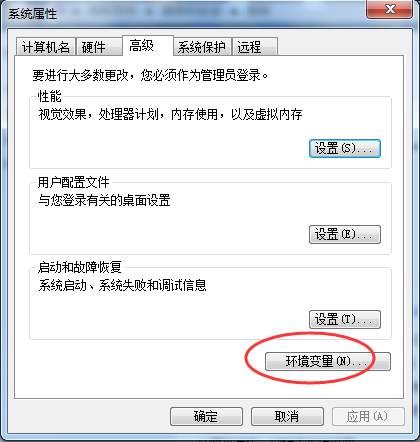
找到系統變數 path,編輯
在最後加上 2 個路徑:
C:\Users\Administrator\AppData\Local\Programs\Python\Python36
C:\Users\Administrator\AppData\Local\Programs\Python\Python36\Scripts
說明:以上預設安裝路徑,每個電腦上是類似的,找到複製這個路徑加到 Path 中即可
我的路徑是已經改了,在下面的這篇部落格裡,可以看到
Windows下的Python 3.6.1的下載與安裝(適合32bits和64bits)(圖文詳解)
這是我自定義的Python 的安裝目錄 (D:\SoftWare\Python\Python36\Scripts)
jupyter notebook 閃退
解決辦法:更換預設瀏覽器。 ,建議用谷歌瀏覽器或者火狐瀏覽器
