
pxe+kickstart進行多版本系統安裝
PXE
PXE(preboot execute environment,預啟動執行環境)是由Intel公司開發的最新技術,工作於Client/Server的網絡模式,支持工作站通過網絡從遠端服務器下載映像,並由此支持通過網絡啟動操作系統,在啟動過程中,終端要求服務器分配IP地址,再用TFTP(trivial file transfer protocol)或MTFTP(multicast trivial file transfer protocol)協議下載一個啟動軟件包到本機內存中執行,由這個啟動軟件包完成終端(客戶端)基本軟件設置,從而引導預先安裝在服務器中的終端操作系統。
PXE工作原理
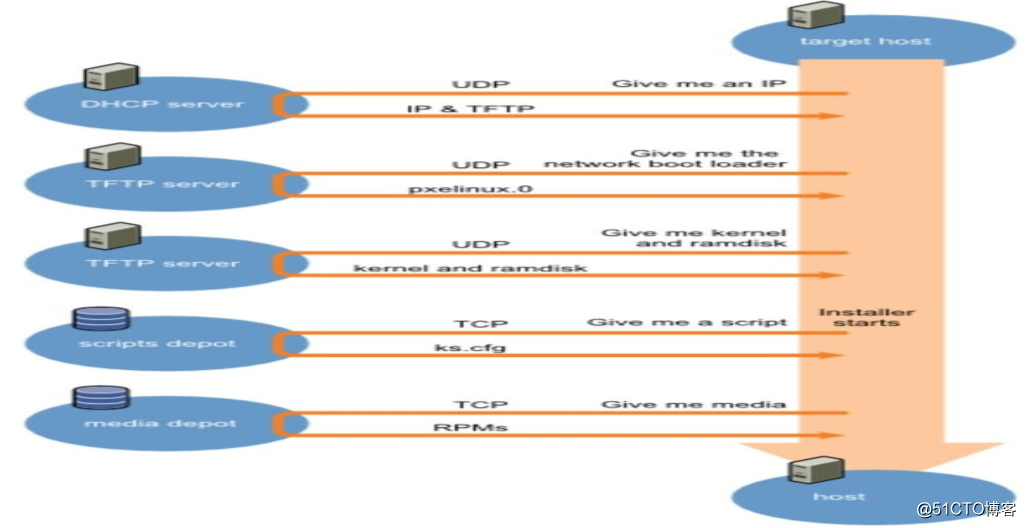
實驗流程
前提
環境搭建
三臺虛擬機,一臺預裝centos系統,另外兩臺創建空機器就好(安裝centos7的機器最好配置1.5g以上內存),selinux關閉,iptables規則清空。
軟件需求
system-config-kickstart 圖形化的工具,生成kickstart文件(要求圖形界面centos6和7的有一定區別,最好使用兩臺有圖形的機器去生成kickstart文件)
dhcp 搭建dhcp服務器給空白機器提供ip地址以便後續的系統部署
tftp 提供基礎系統引導文件
syslinux 提供pxelinux.0文件
kickstart文件生成
首先安裝kickstart圖形化工具
        yum install system-config-kickstart -y
        #我這裏已經裝過了就不再重復安裝了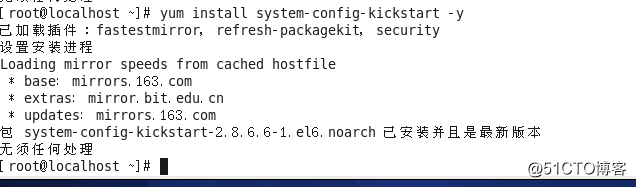
安裝完成後在終端輸入
system-config-kickstart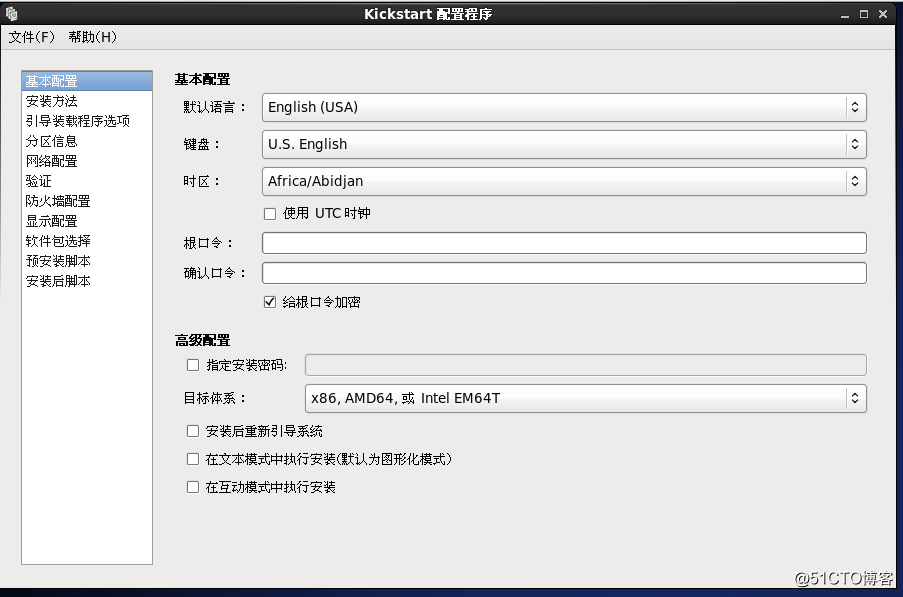
6和7這個程序的界面基本相同。
因為提供了中文,因此就不在過多截圖和說明。跟著指示一步一步選擇即可,全部選擇完成後可以選擇“文件”進行保存。
kickstart文件的結構分析
centos6
#platform=x86, AMD64, 或 Intel EM64T
#version=DEVEL
# Firewall configuration
firewall --disabled
# Install OS instead of upgrade  指明是安裝系統還是升級系統
install
# Use network installation 使用網絡安裝系統,指明包安裝路徑
url --url="http://192.168.99.150/centos/6"
# Root password 設定root密碼
rootpw --iscrypted $1$83EH4TBr$Q.b9cbOc79IC4aXYbCO3A0
# System authorization information  密鑰加密算法啟用shadow文件
auth  --useshadow  --passalgo=sha512
# Use text mode install  使用文本模式或者圖形模式安裝系統
text
# System keyboard  鍵盤設定
keyboard us
# System language 語言設定
lang en_US
# SELinux configuration selinux是否關閉
selinux --disabled
# Do not configure the X Window System  是否安裝圖形界面
skipx
# Installation logging level 日誌級別
logging --level=info
# Reboot after installation 聲明安裝完成後重啟系統
reboot
# System timezone 設置時區(可以改成亞洲上海)
timezone  Africa/Abidjan
# System bootloader configuration 設定BootLoader
bootloader --location=mbr
# Clear the Master Boot Record  清除mbr記錄
zerombr
# Partition clearing information 清除全部分區
clearpart --all --initlabel
# Disk partitioning information 分區設定
part /boot --fstype="ext4" --size=200
part / --fstype="ext4" --size=16000
part swap --fstype="swap" --grow --size=2048

%packages  安裝的包設定(這裏僅僅最小化安裝)
@core
centos7
#platform=x86, AMD64, 或 Intel EM64T
#version=DEVEL
# Install OS instead of upgrade
install
# Keyboard layouts
keyboard ‘us‘
# Root password
rootpw --iscrypted $1$/oxkHD8i$x9g6m.ghBq2L3Vz6ENY7i0
# Use network installation
url --url="http://192.168.99.150/centos/7"
# System language
lang en_US
# System authorization information
auth  --useshadow  --passalgo=sha512
# Use text mode install
text
# SELinux configuration
selinux --disabled
# Do not configure the X Window System
skipx
# Firewall configuration
firewall --disabled
# Reboot after installation
reboot
# System timezone
timezone Africa/Abidjan
# System bootloader configuration
bootloader --location=mbr
# Clear the Master Boot Record
zerombr
# Partition clearing information
clearpart --all --initlabel
# Disk partitioning information
part /boot --fstype="xfs" --size=200
part / --fstype="xfs" --size=16000
part swap --fstype="swap" --grow --size=2048

%packages 安裝包選項最小化安裝 7在選擇完包之後要添加%end表示結束
@^minimal
%end
服務搭建
DHCP構建
1.安裝dhcp
yum install dhcp -y 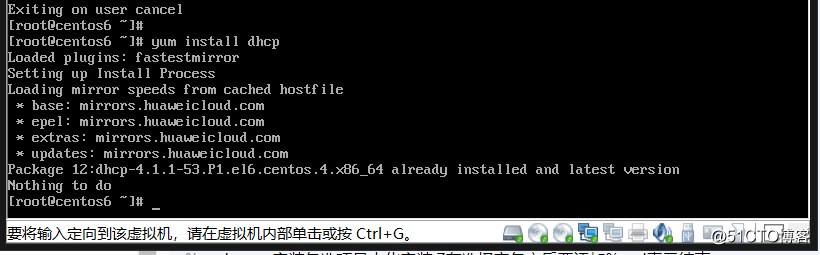
2.創建dhcp地址段配置文件,安裝dhcp之後會默認生成示例文件,只要對示例文件進行簡單修改即可使用。
cp /usr/share/doc/dhcp-4.1.1/dhcpd.conf.sample /etc/dhcp/dhcpd.conf3.修改文件,添加以下字段
subnet 192.168.99.0 netmask 255.255.255.0 {     #設定分配的子網和掩碼
        range 192.168.99.160 192.168.99.200;         #設定地址範圍
        option subnet-mask 255.255.255.0;              #設定掩碼
        option routers 192.168.99.150;                     #指定網關地址
        default-lease-time 86400;                             #設定租約期,不設定話默認是全局時間
        max-lease-time 864000;                               #最大租約期,不設定繼承全局
        next-server 192.168.99.150;                         #指定下一個服務器地址,用來指明提供ftp或者http服務的地址
        filename "pxelinux.0";
}
4.啟動服務並且設定開機啟動
    chkconfig dhcpd on
    service dhcpd start
    #centos 7 使用systemctl enable dhcpd     systemctl start dhcpd
地址分配記錄,新配置的應該不會有記錄這裏是實驗完成後的記錄。
/var/lib/dhcpd/dhcpd.leases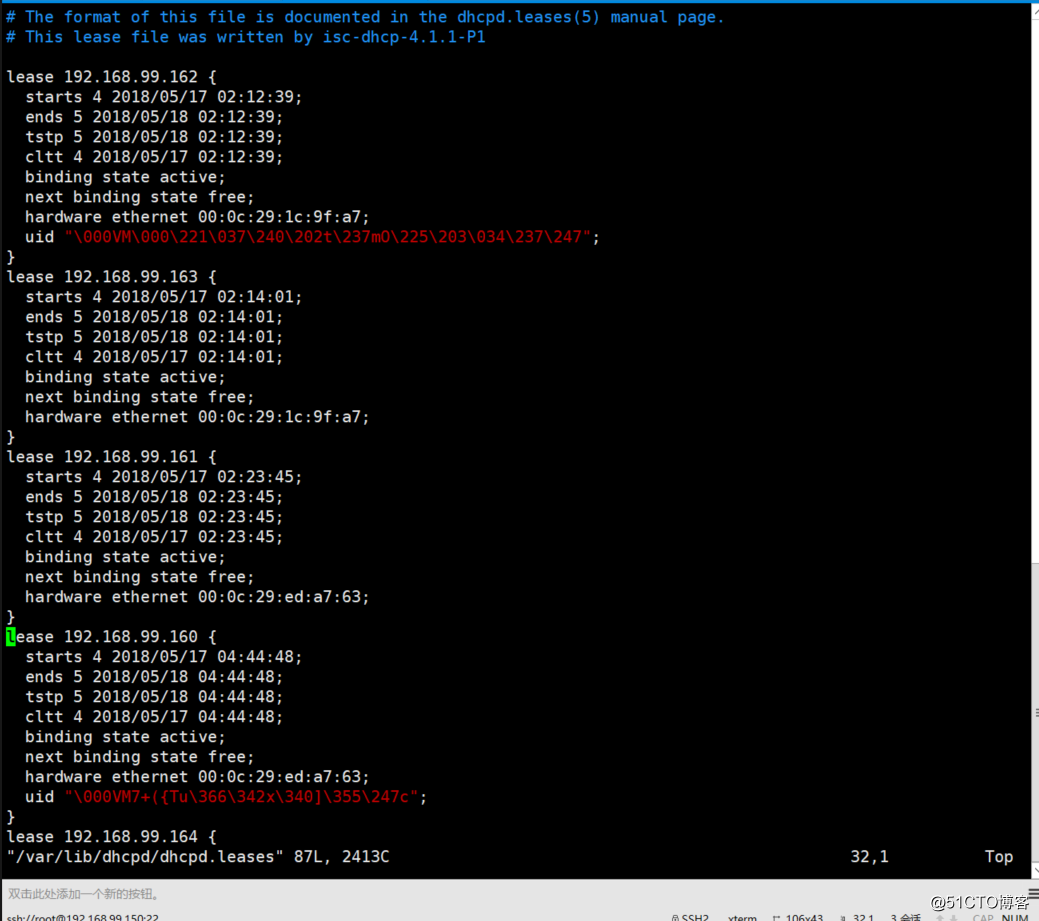
配置httpd服務提供包的安裝和kickstart文件
1.通過yum方式安裝httpd並且開機啟動
yum install httpd -y
chkconfig httpd on
#centos7
#systemctl enable httpd
2.創建相應目錄掛載光盤文件(使用兩個光驅掛載以便節省磁盤空間)以及存放ks文件。要註意權限,最好在掛載完成後在宿主機網頁訪問一下。
    mkdir -pv /var/www/html/centos/{6,7,ks}
    mount /dev/sr0 /var/www/html/centos/6/
    mount /dev/sr1 /var/www/html/centos/7/
    mv centos6.cfg centos7.cfg /var/www/html/ks/   #之前準備好的ks文件均為最小化安裝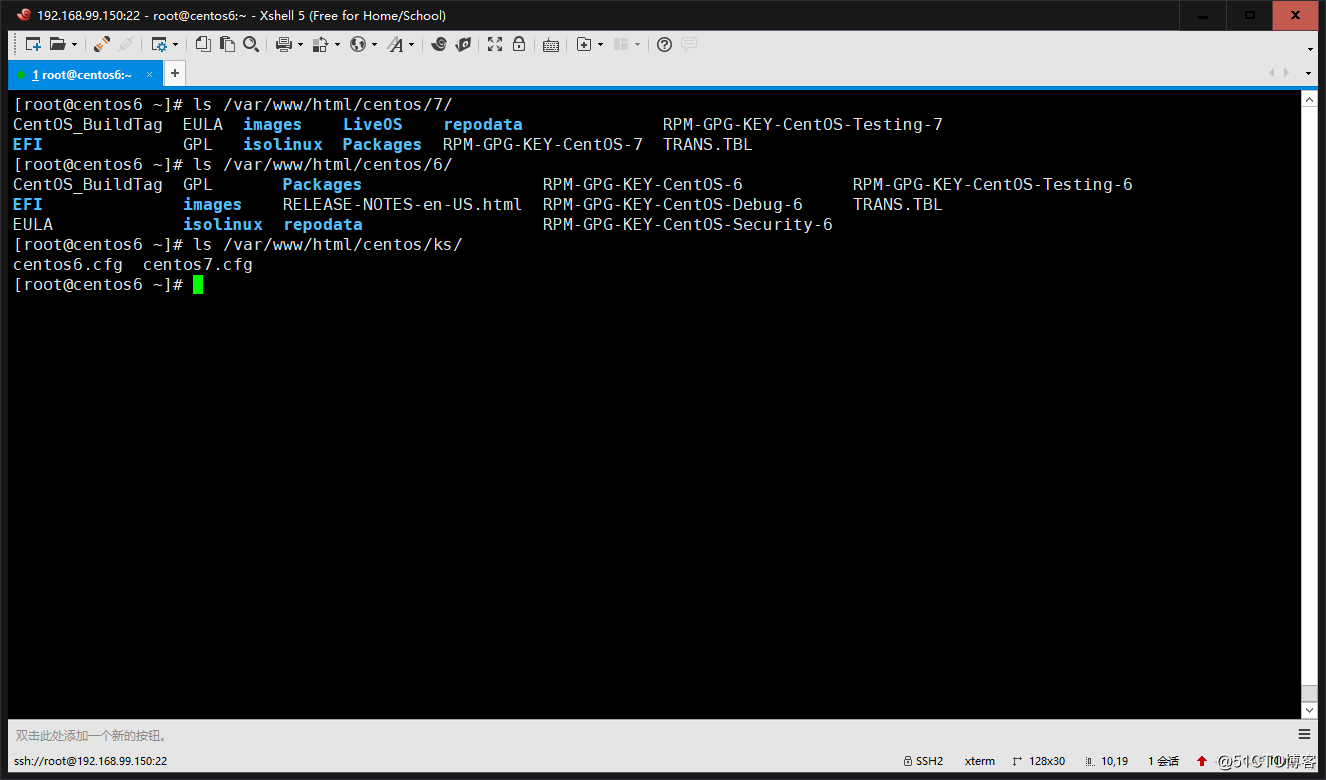
配置tftp服務並且準備啟動文件
1.安裝tftp服務並且配置開機啟動
    yum install tftp-server -y
    chkconfig tftp on
    chkconfig xinetd on (centos 6 tftp由xinetd管理)
    #centos7
    # systemctl enable tftp
2.準備相關的啟動文件及目錄
mkdir /var/lib/tftpboot/pxelinux.cfg
mkdir -pv /var/lib/tftpboot/centos{6,7}
cp /usr/share/syslinux/pxelinux.0 /var/lib/tftpboot/
cp /var/www/html/centos/6/isolinux/vesamenu.c32 /var/lib/tftpboot/
cp /var/www/html/centos/6/isolinux/{vmlinuz,initrd.img} /var/lib/tftpboot/centos6/
cp /var/www/html/centos/7/isolinux/{vmlinuz,initrd.img} /var/lib/tftpboot/centos7/
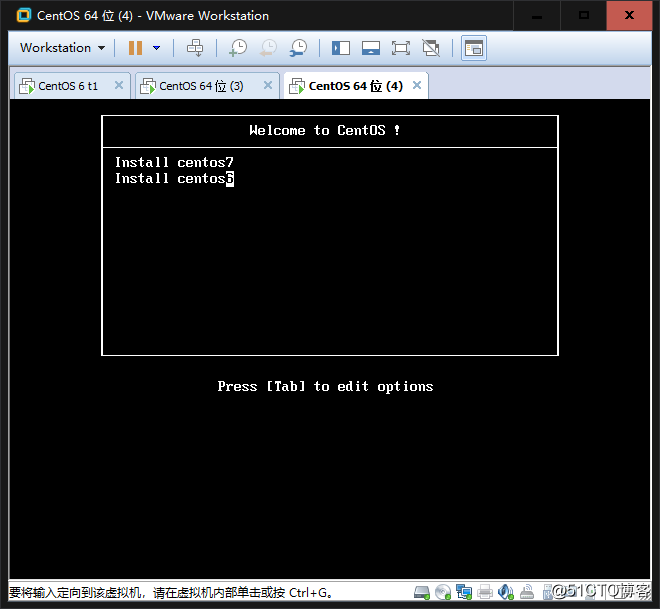
cp /var/www/html/centos/6/isolinux/isolinux.cfg /var/lib/tftpboot/pxelinux.cfg/default3.修改default菜單文件
#僅僅修改label字段
label linux7
  menu label Install centos^7
  kernel centos7/vmlinuz
  append initrd=centos7/initrd.img text ks=http://192.168.99.150/centos/ks/centos7.cfg
label linux6
  menu label Install centos^6
  kernel centos6/vmlinuz
  append initrd=centos6/initrd.img text ks=http://192.168.99.150/centos/ks/centos6.cfg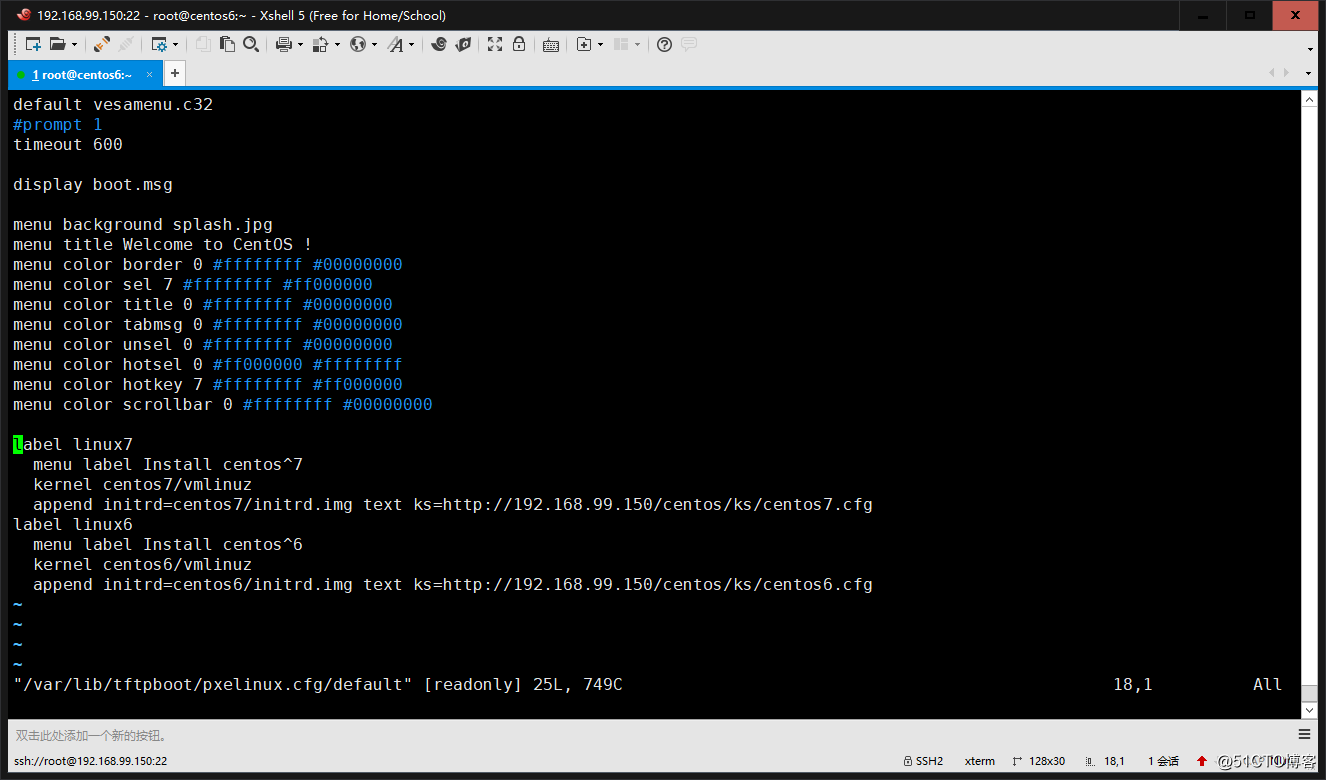

驗證
1.重啟httpd dhcpd xinetd服務
service httpd restart
service dhcpd restart
service xinetd restart
#centos7使用systemctl命令重啟服務,centos7不再使用xinetd管理tftp服務
#systemctl restart tftp
2.驗證服務端口是否正常啟動
ss -tunlp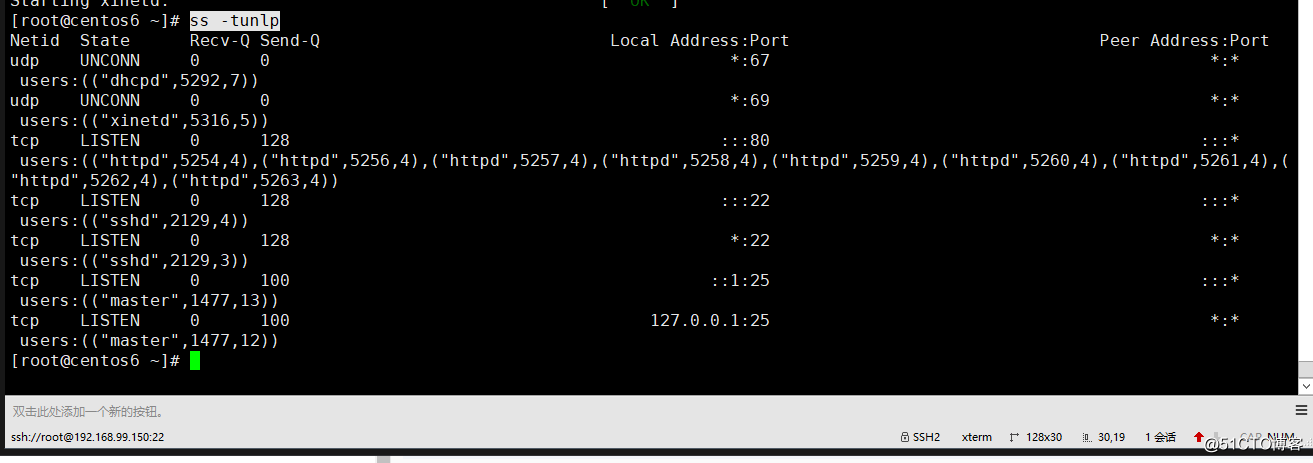
3.配置3臺主機都到vmnat2段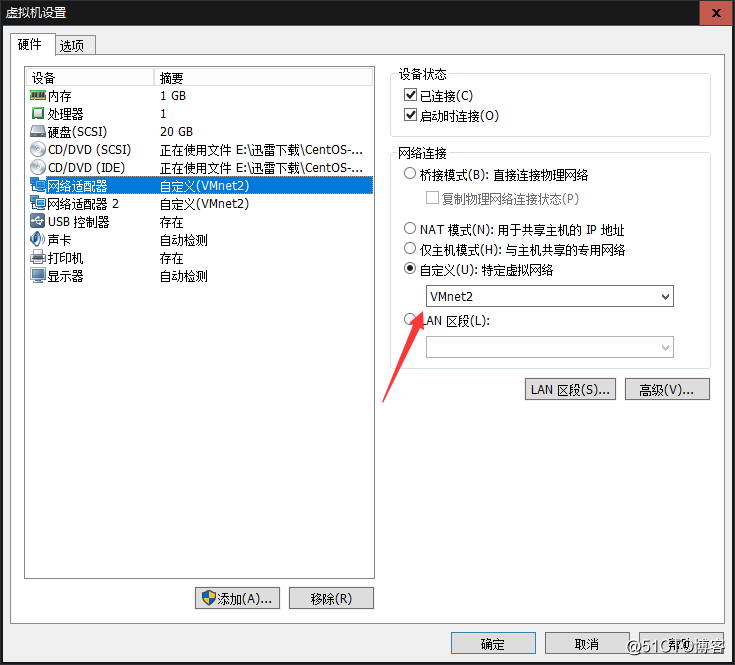
4.啟動2臺空白虛擬機分別安裝centos6和centos7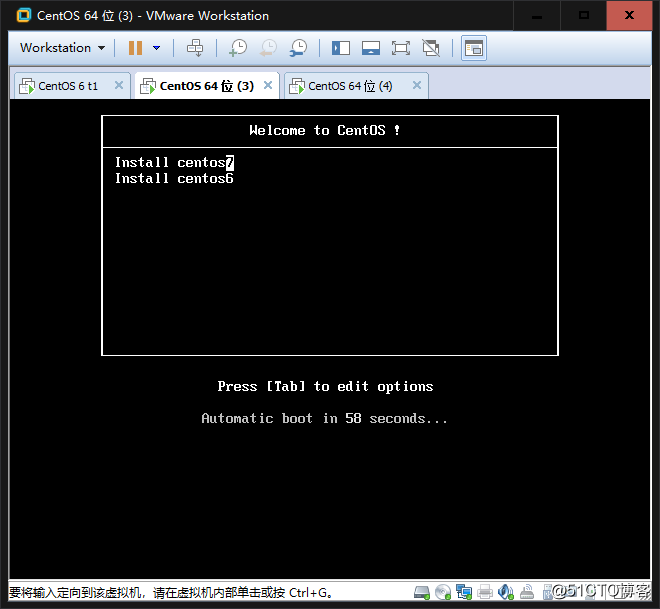
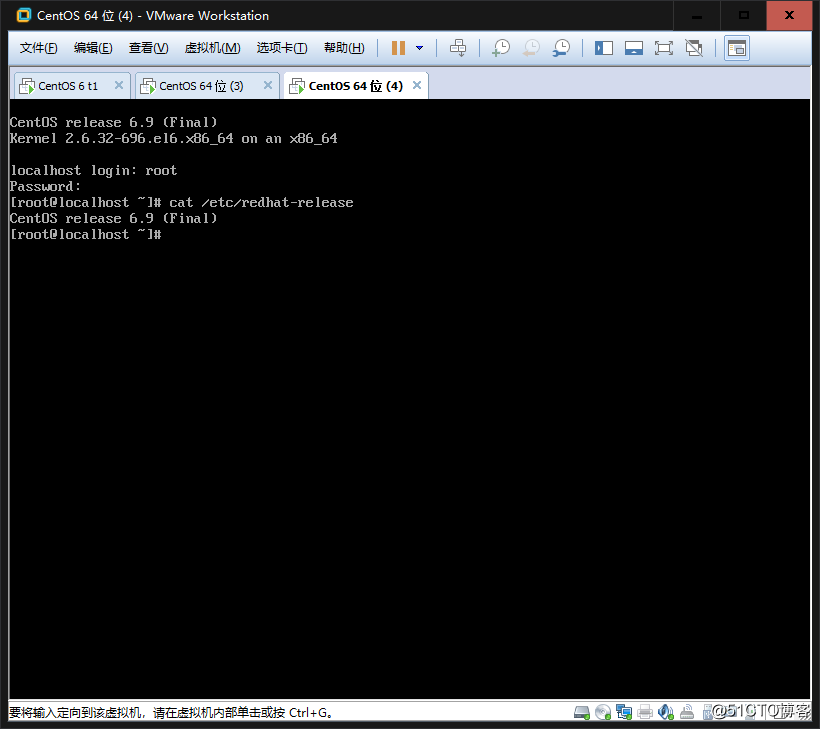
5.靜靜等待安裝完成
centos6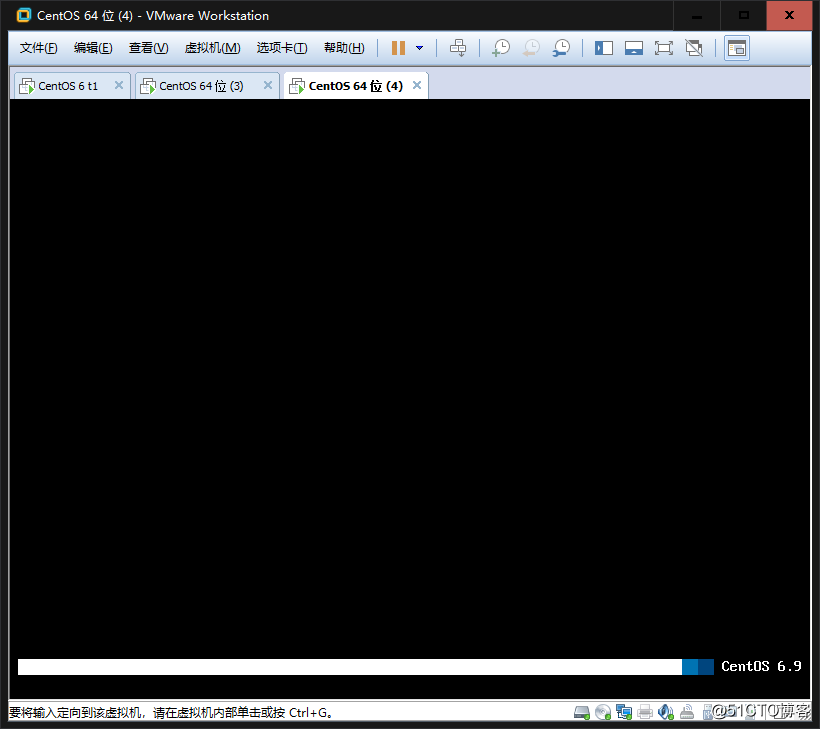
centos7
.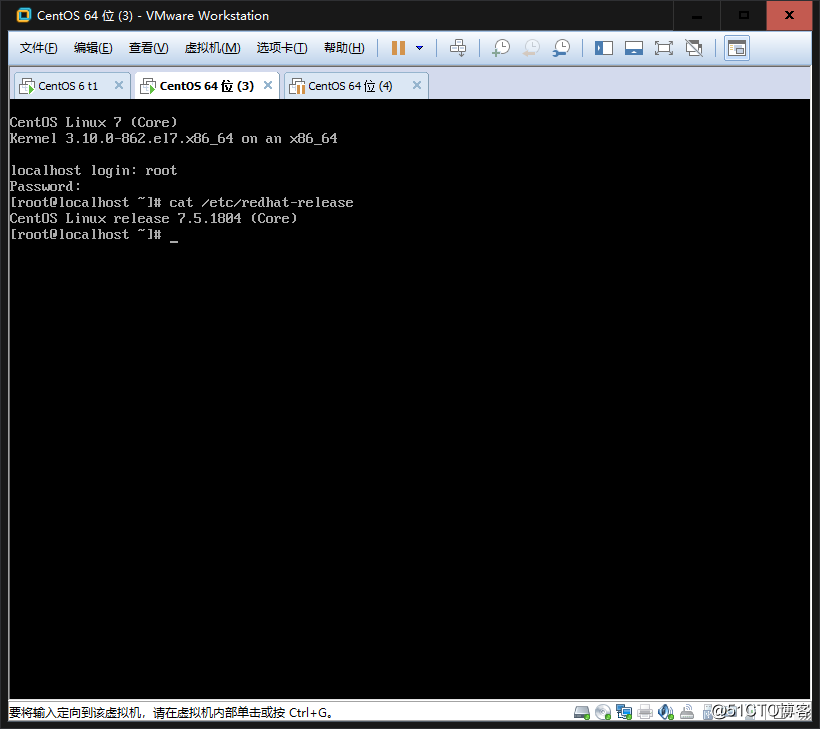
總結
實驗進行基本順利,感覺對pxe過程的中的坑有了比較詳細的了解,下篇會繼續pxe的進階cobbler的配置。
pxe+kickstart進行多版本系統安裝