
通過獲取配置文件的方式獲取dataSource
阿新 • • 發佈:2017-08-18
cto .class 無法 nco 新增 pub 文件目錄 public inner
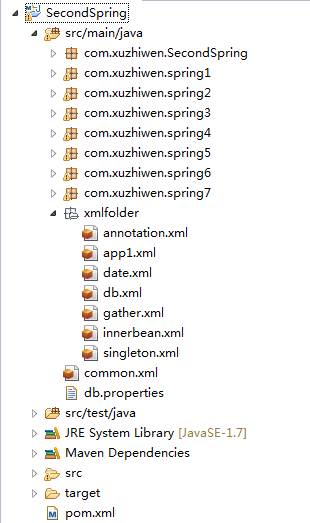
第一步:新建工程 SecondSpring
文件目錄結構如下:
第二步: 導入spring相關的jar包,已經 mysql的jar包
過程略...
第三步: 新建連接數據庫的配置文件
db.properties
jdbc.driverClassName=com.mysql.jdbc.Driver
jdbc.url=jdbc:mysql://localhost:3306/test
jdbc.username=root
jdbc.password=123456
第四步:新增spring配置文件
common.xml
<beans xmlns="http://www.springframework.org/schema/beans"xmlns:xsi="http://www.w3.org/2001/XMLSchema-instance" xsi:schemaLocation="http://www.springframework.org/schema/beans http://www.springframework.org/schema/beans/spring-beans-2.5.xsd"> <import resource="xmlfolder/app1.xml" /> <import resource="xmlfolder/innerbean.xml" /> <import resource="xmlfolder/singleton.xml" /> <import resource="xmlfolder/annotation.xml" /> <import resource="xmlfolder/gather.xml" /> <import resource="xmlfolder/date.xml" /> <import resource="xmlfolder/db.xml" /> </beans>
db.xml
<beans xmlns="http://www.springframework.org/schema/beans"xmlns:xsi="http://www.w3.org/2001/XMLSchema-instance" xmlns:p="http://www.springframework.org/schema/p" xsi:schemaLocation="http://www.springframework.org/schema/beans http://www.springframework.org/schema/beans/spring-beans-2.5.xsd">
<!--用於加載db.properties配置文件,否則下面的$ 無法使用 --> <bean class="org.springframework.beans.factory.config.PropertyPlaceholderConfigurer"> <property name="location"> <value>db.properties</value> </property> </bean> <bean id="dataSource" class="org.springframework.jdbc.datasource.DriverManagerDataSource"> <property name="driverClassName" value="${jdbc.driverClassName}" /> <property name="url" value="${jdbc.url}" /> <property name="username" value="${jdbc.username}" /> <property name="password" value="${jdbc.password}" /> </bean> </beans>
第五步: 新建測試類
JDBCTest.java
package com.xuzhiwen.spring7;

import org.springframework.context.ApplicationContext;
import org.springframework.context.support.ClassPathXmlApplicationContext;
import org.springframework.jdbc.datasource.DriverManagerDataSource;

public class JDBCTest {
    public static void main(String[] args) {
        ApplicationContext app = new ClassPathXmlApplicationContext("common.xml");
        DriverManagerDataSource ds = (DriverManagerDataSource) app.getBean("dataSource");
        System.out.println("url:"+ds.getUrl());
        System.out.println("username:"+ds.getUsername());
        System.out.println("password:"+ds.getPassword());
    }
}
第六步:運行結果如下
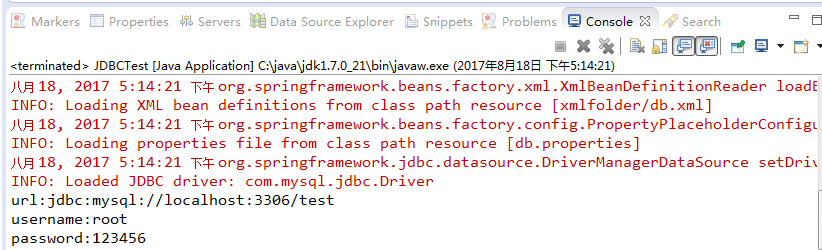
通過獲取配置文件的方式獲取dataSource