
MQTT的學習之Mosquitto簡要教程(安裝&使用)
Mosquitto是一個實現了MQTT3.1協議的代理服務器,由MQTT協議創始人之一的Andy Stanford-Clark開發,它為我們提供了非常棒的輕量級數據交換的解決方案。本文的主旨在於記錄Mosquitto服務的安裝和使用,以備日後查閱。
獲取&安裝
在Linux系統上安裝Mosquitto,本人建議大家使用源碼安裝模式,最新的源碼可從 http://mosquitto.org/files/source/ 地址中獲取。解壓之後,我們可以在源碼目錄裏面找到主要的配置文件config.mk,其中包含了所有Mosquitto的安裝選項,詳細的參數說明如下:
# 是否支持tcpd/libwrap功能.
#WITH_WRAP:=yes

# 是否開啟SSL/TLS支持
#WITH_TLS:=yes

# 是否開啟TLS/PSK支持
#WITH_TLS_PSK:=yes

# Comment out to disable client client threading support.
#WITH_THREADING:=yes

# 是否使用嚴格的協議版本(老版本兼容會有點問題)
#WITH_STRICT_PROTOCOL:=yes

# 是否開啟橋接模式
#WITH_BRIDGE:=yes

# 是否開啟持久化功能
#WITH_PERSISTENCE:=yes

# 是否監控運行狀態
#WITH_MEMORY_TRACKING:=yes
這裏需要註意的是,默認情況下Mosquitto的安裝需要OpenSSL的支持;如果不需要SSL,則需要關閉config.mk裏面的某些與SSL功能有關的選項(WITH_TLS、WITH_TLS_PSK)。接著,就是運行make install進行安裝,完成之後會在系統命令行裏發現mosquitto、mosquitto_passwd、mosquitto_pub和mosquitto_sub四個工具(截圖如下),分別用於啟動代理、管理密碼、發布消息和訂閱消息。
實戰項目中,沒有安全監測是不可能的,因此我模擬真實環境,直接去安裝了OpenSSL。
編譯與安裝 OpenSSL
prefix 是安裝目錄,openssldir 是配置文件目錄,另外建議安裝兩次,shared 作用是生成動態連接庫。linux版的OpenSSL下載地址為:https://www.openssl.org/source/,我所使用的是openssl-1.1.0f.tar.gz版本,並且將mosquitto-1.4.14.tar.gz提前也上傳至該目錄下並解壓,後面會使用。
1、上傳下載好的壓縮包,並解壓:
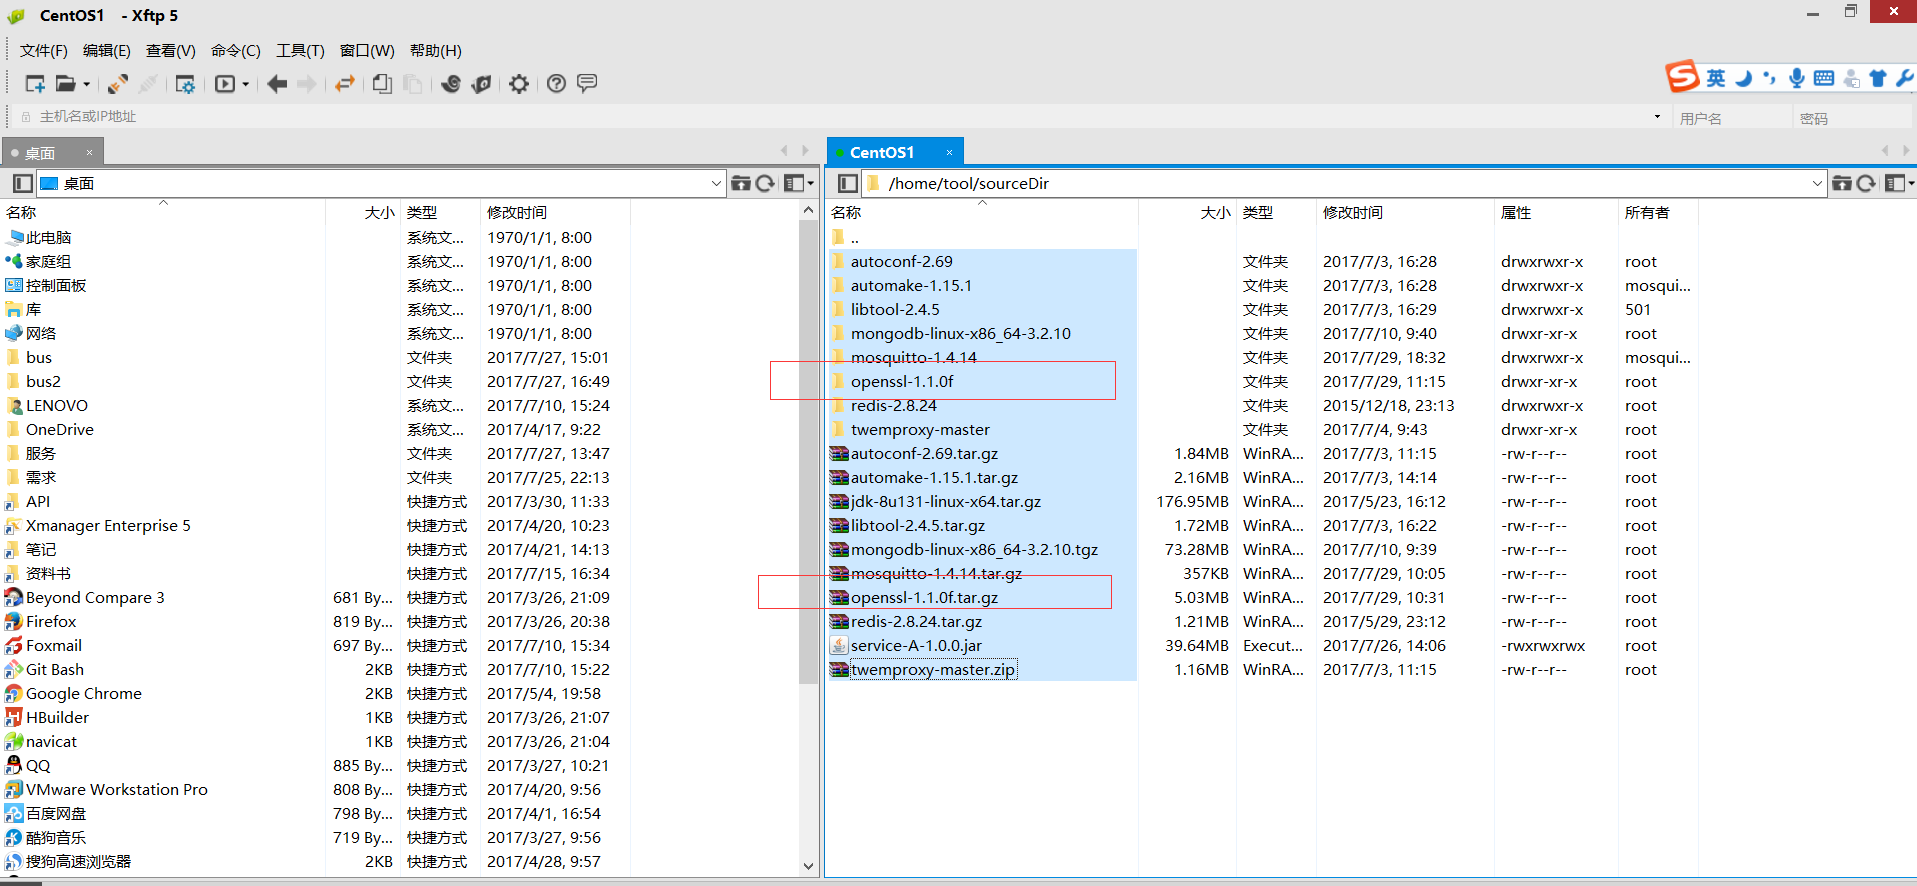
2、在/home/tool下創建文件夾openssl作為安裝路徑,在openssl下創建files文件夾;然後,cd到openssl-1.1.0f文件夾下:

3、執行命令
1、  ./config --prefix=/home/tool/openssl --openssldir=/home/tool/openssl/files

2、  make && make install

3、  ./config shared --prefix=/home/tool/openssl --openssldir=/home/tool/openssl/files
4、 make clean

5、 make && make  install
至此,openssl安裝完畢,我以為現在可以安裝mosquitto了,結果在安裝的過程中會報各種各樣的錯誤,因為mosquitto還需要依賴很多其他的報,具體錯誤我就不一一說出來了,因為解決這些問題我就花了差不多2個小時,下面直接把安裝的命令列出來,大家對這一一執行就行了。
安裝其他依賴包:
yum install gcc gcc-c++ libstdc++-devel

yum install openssl-devel -y

yum install c-ares-devel -y

yum install uuid-devel -y

yum install libuuid-devel -y
因為我是安裝好以後才開始整理文檔的,有可能會丟一些依賴包,敬請諒解!
安裝mosquitto:
1、切換到/home/tool/sourceDir/mosquitto-1.4.14目錄下
2、make && make install
3、安裝完以後切換到 /etc 目錄下查看: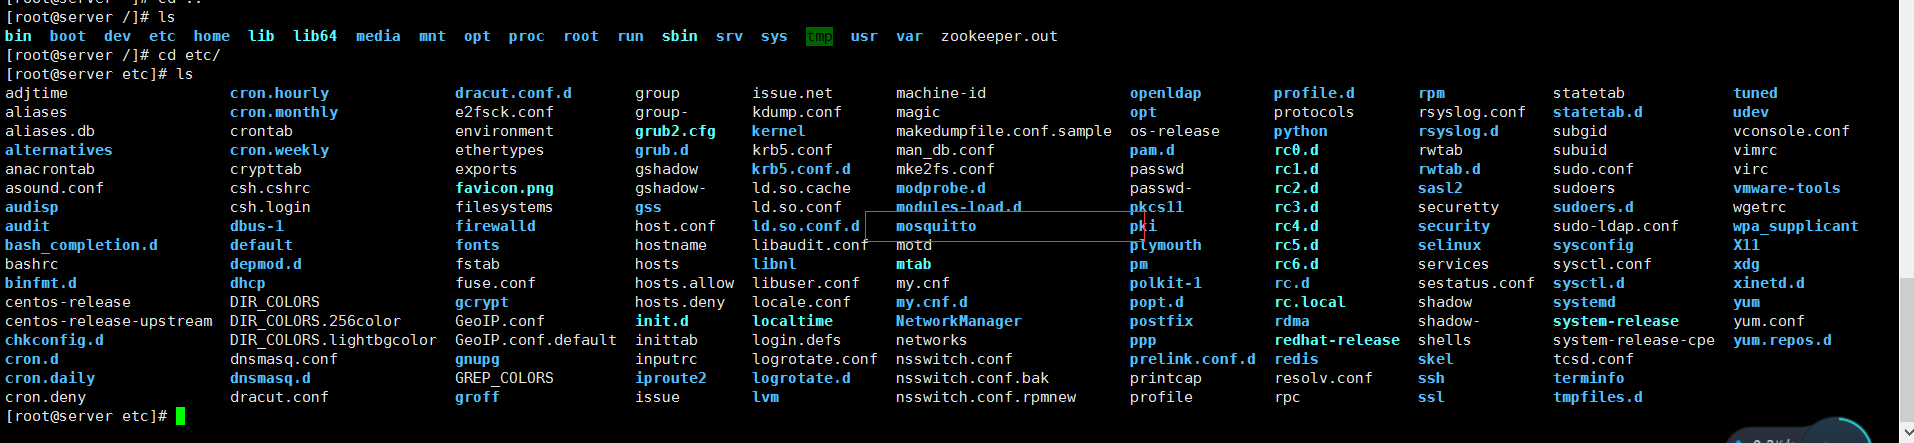
4、切換到 /etc/mosquitto目錄下,執行

5、mosquitto參數詳細說明:
# =================================================================
# General configuration
# =================================================================

# 客戶端心跳的間隔時間
#retry_interval 20

# 系統狀態的刷新時間
#sys_interval 10

# 系統資源的回收時間,0表示盡快處理
#store_clean_interval 10

# 服務進程的PID
#pid_file /var/run/mosquitto.pid

# 服務進程的系統用戶
#user mosquitto

# 客戶端心跳消息的最大並發數
#max_inflight_messages 10

# 客戶端心跳消息緩存隊列
#max_queued_messages 100

# 用於設置客戶端長連接的過期時間,默認永不過期
#persistent_client_expiration

# =================================================================
# Default listener
# =================================================================

# 服務綁定的IP地址
#bind_address

# 服務綁定的端口號
#port 1883

# 允許的最大連接數,-1表示沒有限制
#max_connections -1

# cafile:CA證書文件
# capath:CA證書目錄
# certfile:PEM證書文件
# keyfile:PEM密鑰文件
#cafile
#capath
#certfile
#keyfile

# 必須提供證書以保證數據安全性
#require_certificate false

# 若require_certificate值為true,use_identity_as_username也必須為true
#use_identity_as_username false

# 啟用PSK(Pre-shared-key)支持
#psk_hint

# SSL/TSL加密算法,可以使用“openssl ciphers”命令獲取
# as the output of that command.
#ciphers

# =================================================================
# Persistence
# =================================================================

# 消息自動保存的間隔時間
#autosave_interval 1800

# 消息自動保存功能的開關
#autosave_on_changes false

# 持久化功能的開關
persistence true

# 持久化DB文件
#persistence_file mosquitto.db

# 持久化DB文件目錄
#persistence_location /var/lib/mosquitto/

# =================================================================
# Logging
# =================================================================

# 4種日誌模式:stdout、stderr、syslog、topic
# none 則表示不記日誌,此配置可以提升些許性能
log_dest none

# 選擇日誌的級別(可設置多項)
#log_type error
#log_type warning
#log_type notice
#log_type information

# 是否記錄客戶端連接信息
#connection_messages true

# 是否記錄日誌時間
#log_timestamp true

# =================================================================
# Security
# =================================================================

# 客戶端ID的前綴限制,可用於保證安全性
#clientid_prefixes

# 允許匿名用戶
#allow_anonymous true

# 用戶/密碼文件,默認格式:username:password
#password_file

# PSK格式密碼文件,默認格式:identity:key
#psk_file

# pattern write sensor/%u/data
# ACL權限配置,常用語法如下:
# 用戶限制:user <username>
# 話題限制:topic [read|write] <topic>
# 正則限制:pattern write sensor/%u/data
#acl_file

# =================================================================
# Bridges
# =================================================================

# 允許服務之間使用“橋接”模式(可用於分布式部署)
#connection <name>
#address <host>[:<port>]
#topic <topic> [[[out | in | both] qos-level] local-prefix remote-prefix]

# 設置橋接的客戶端ID
#clientid

# 橋接斷開時,是否清除遠程服務器中的消息
#cleansession false

# 是否發布橋接的狀態信息
#notifications true

# 設置橋接模式下,消息將會發布到的話題地址
# $SYS/broker/connection/<clientid>/state
#notification_topic

# 設置橋接的keepalive數值
#keepalive_interval 60

# 橋接模式,目前有三種:automatic、lazy、once
#start_type automatic

# 橋接模式automatic的超時時間
#restart_timeout 30

# 橋接模式lazy的超時時間
#idle_timeout 60

# 橋接客戶端的用戶名
#username

# 橋接客戶端的密碼
#password

# bridge_cafile:橋接客戶端的CA證書文件
# bridge_capath:橋接客戶端的CA證書目錄
# bridge_certfile:橋接客戶端的PEM證書文件
# bridge_keyfile:橋接客戶端的PEM密鑰文件
#bridge_cafile
#bridge_capath
#bridge_certfile
#bridge_keyfile
5、啟動mosquitto服務:
mosquitto -c /etc/mosquitto/mosquitto.conf

6、查看端口:

7、至此,mosquitto安裝,啟動完畢!
補充問題:
1、在啟動過程中報錯:
Error: Invalid user ‘mosquitto‘.
解決方法:
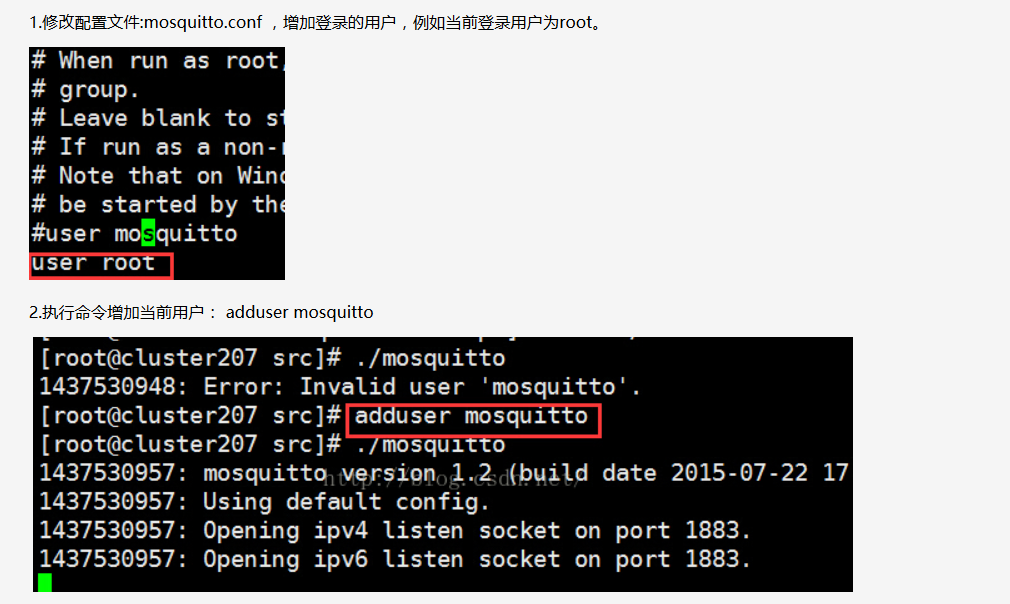
2、重啟Mosquitto
筆者在網上找了很多資料都沒有提起怎樣重啟服務器,並且在官網上也沒有相應命令提示。
所以我們使用Liunx終止進程命令,強行退出。
先kill掉,再重啟:[[email protected] ~]# ps -A | grep mosquitto 21674 ? 00:02:38 mosquitto [[email protected] ~]# kill -9 21674
編譯過程中問題:
1. ssh.h找不到。我之前安裝了openssl,為什麽還會報這個錯誤呢,因為我安裝好了以後並沒有配置環境變量 下面的命令是安裝開發環境,執行此命令,上面的openssl就可以不安裝了
yum install openssl-devel
2.ares.h找不到
yum install c-ares-devel
3.#include <uuid/uuid.h> 找不到文件解決方法:
sudo yum install e2fsprogs-devel
sudo yum install uuid-devel
sudo yum install libuuid-devel
MQTT的學習之Mosquitto簡要教程(安裝&使用)