
在Ubuntu 20.04 安裝截圖包shutter
How to Install Shutter Screenshot Tool in Ubuntu 20.04
Aaron KiliOctober 22, 2020CategoriesLinux Mint,UbuntuLeave a comment
Shutteris a free and open-source, feature-richscreenshot tool for Linuxbased operating systems such asUbuntu. It is available for all majorGNU/Linux distributions
Shutterallows you to take a screenshot of a specific area, window, or desktop/whole screen (or a specific workspace). It also allows you to edit your screenshot and apply different effects to it, draw on it to highlight points, and more. It supports exporting to PDF and public hosting platforms such asDropbox
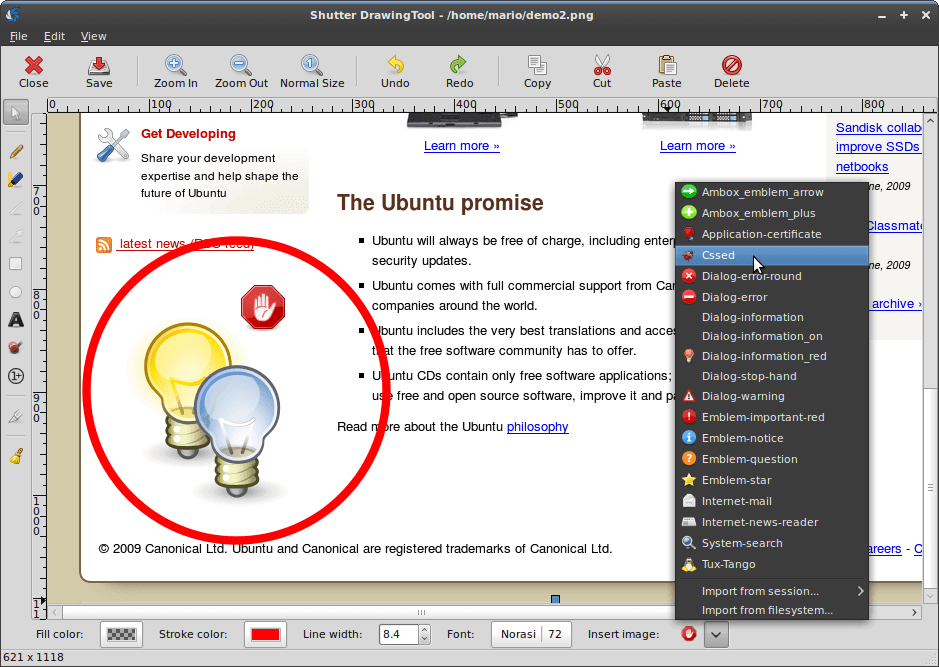
Shutter Screenshot Tool for Ubuntu & Mint
OnUbuntu 20.04, theShutterpackage is not provided in the official repositories. Therefore, you need to install theShutterpackage via a third-party unofficialUbuntu PPA(Personal Package Archives) repository in your Ubuntu system (also works onLinux Mint
Install Shutter Screenshot Tool in Ubuntu 20.04 and Linux Mint 20
First, open a terminal and add the following unofficialUbuntu PPArepository to your system (follow any prompts after running theadd-apt-repositorycommand), then update the apt packages sources list to get the latest list of packages available to include the shutter package, and install the shutter package as shown:
$ sudo add-apt-repository -y ppa:linuxuprising/shutter
$ sudo apt-get update
$ sudo apt-get install -y shutter
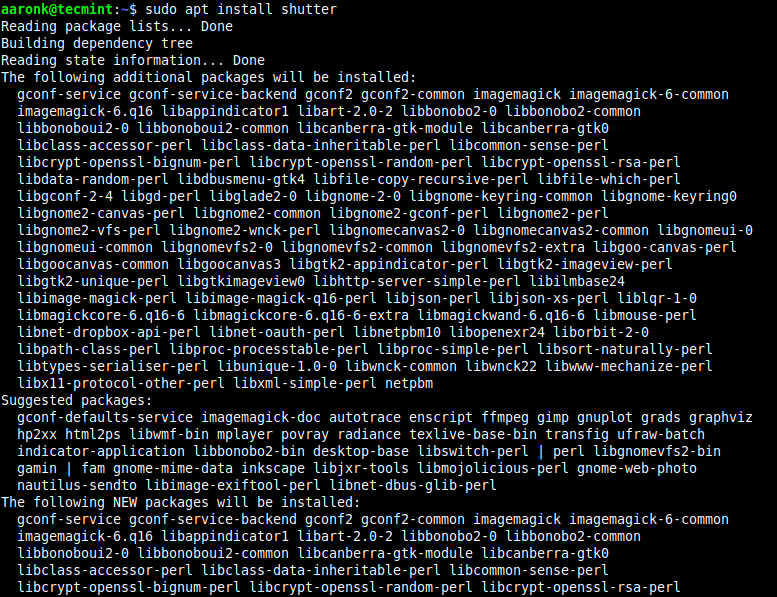
Install Shutter in Ubuntu
Once the installation is done, search for ashutterin the system menu and launch it to start using it.
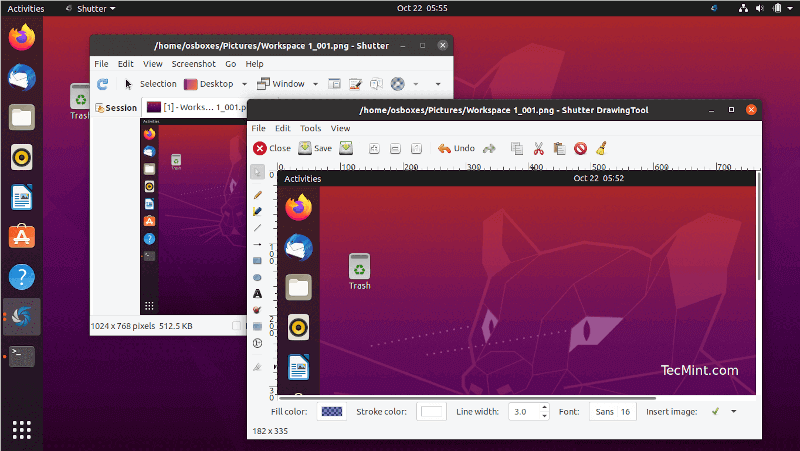
Shutter Running in Ubuntu
Remove Shutter in Ubuntu and Mint
If you no longer needShutteron your system, you can remove theShutterpackage by running the followingapt command:
$ sudo apt-get remove shutter
$ sudo add-apt-repository --remove ppa:linuxuprising/shutter