
mysql在Linux系統安裝
linux版本:CentOS7 64位
1、下載安裝包“mysql-5.6.33-linux-glibc2.5-x86_64.tar.gz”
# 安裝依賴
yum -y install perl perl-devel autoconf libaio
2、把下載的安裝包移動到/usr/local/下。
3、解壓
tar zxvf mysql-5.6.33-linux-glibc2.5-x86_64.tar.gz4、複製解壓後的mysql目錄到系統的本地軟體目錄
cp mysql-5.6.33-linux-glibc2.5-x86_64 /usr/local/mysql -r5、新增系統mysql組和mysql使用者
groupadd mysql
useradd -r -g mysql -s /bin/false mysql
注意:Because the user is required only for ownership purposes, not login purposes, the useradd command uses the -r and -s /bin/false options to create a user that does not have login permissions to your server host. Omit these options if your useradd does not support them.
6、進入安裝mysql軟體目錄,修改目錄擁有者為mysql使用者
cd mysql/
chown -R mysql:mysql ./
7、安裝資料庫,此處可能出現錯誤。
./scripts/mysql_install_db --user=mysql FATAL ERROR: please install the following Perl modules before executing scripts/mysql_install_db:
Data::Dumper
#解決方法:
yum install -y perl-Data-Dumper
8、修改當前目錄擁有者為root使用者
chown -R root:root ./9、修改當前data目錄擁有者為mysql使用者
chown -R mysql:mysql data============== 到此資料庫安裝完畢 =============
10、新增mysql服務開機自啟動
新增開機啟動,把啟動指令碼放到開機初始化目錄。

cp support-files/mysql.server /etc/init.d/mysql
# 賦予可執行許可權
chmod +x /etc/init.d/mysql
# 新增服務
chkconfig --add mysql
# 顯示服務列表
chkconfig --list

如果看到mysql的服務,並且3,4,5都是on的話則成功,如果是off,則執行
chkconfig --level 345 mysql on11、啟動mysql服務
#建立缺少的資料夾
mkdir /var/log/mariadb
service mysql start
正常提示資訊:Starting MySQL. SUCCESS!
12、把mysql客戶端放到預設路徑
ln -s /usr/local/mysql/bin/mysql /usr/local/bin/mysql注意:建議使用軟鏈過去,不要直接包檔案複製,便於系統安裝多個版本的mysql
=================== 這是分割線 ==================
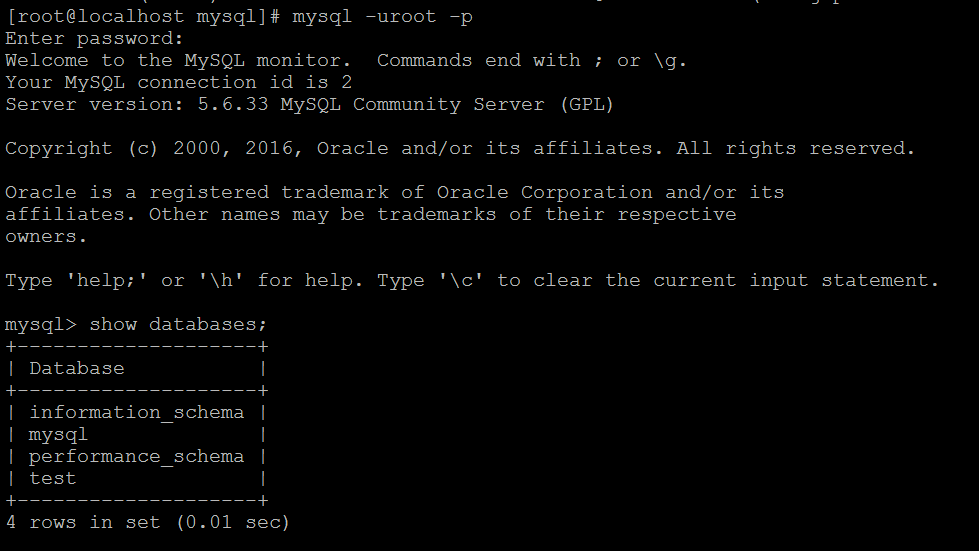
通過使用 mysql -uroot -p 連線資料庫(預設資料庫的root使用者沒有密碼,這個需要設定一個密碼)。
錯誤資訊:ERROR 2002 (HY000): Can't connect to local MySQL server through socket '/tmp/mysql.sock' (2)
解決方法:開啟/etc/my.cnf,看看裡面配置的socket位置是什麼目錄。“socket=/var/lib/mysql/mysql.sock”
路徑和“/tmp/mysql.sock”不一致。建立一個軟連線:ln -s /var/lib/mysql/mysql.sock /tmp/mysql.sock
到這裡任務算是完成了。之後就可以建立資料庫使用者,然後使用資料庫了。
###################### 分割線 ######################
許可權控制
1、去除匿名使用者
# 測試匿名使用者登入
mysql -ux3
可以看到匿名使用者可以登入,具有information_schema和test庫的相關許可權。
# 刪除匿名使用者,使用root使用者登入資料庫
delete from mysql.user where User='';
flush privileges;
再次測試匿名使用者登入
![]()
2、改mysql的root密碼,新密碼在此為'123456'
mysql> set password=password('123456');
Query OK, 0 rows affected, 1 warning (0.00 sec)
3、設定遠端登入mysql。在Linux下為了安全,預設是不允許mysql本機以外的機器訪問mysql資料庫服務,因此需要重新授權root。方便遠端訪問。
mysql> use mysql;
Reading table information for completion of table and column names
You can turn off this feature to get a quicker startup with -A
Database changed
mysql> select Host,User from user;
+-----------+-----------+
| Host | User |
+-----------+-----------+
| % | root |
| localhost | mysql.sys |
| localhost | root |
+-----------+-----------+
3 rows in set (0.00 sec)
mysql> GRANT ALL PRIVILEGES ON *.* TO [email protected]'%' identified by '000000';
Query OK, 0 rows affected, 1 warning (0.00 sec)
mysql> flush privileges;
Query OK, 0 rows affected (0.00 sec)
授權語句最後的‘000000’是mysql資料庫root使用者的新密碼。
4、非必要的步驟,如果遠端連不上,估計是防火牆的問題,關閉試試:
[[email protected] mysql]# service iptables stop (不好用的情況使用sudo systemctl stop firewalld.service && sudo systemctl disable firewalld.service)
setenforce 0iptables:將鏈設定為政策 ACCEPT:filter [確定]
iptables:清除防火牆規則: [確定]
iptables:正在解除安裝模組: [確定]
[[email protected] mysql]# setenforce 0
setenforce: SELinux is disabl